Mod 14: Lift Kit/Wheels/Tires
After doing some longer camping trips and utterly failing at off-roading at Rausch Creek, I knew I wanted to move the suspension/wheel/tire line item to the top of my mod list. On my last 4Runner, I took the more budget approach when replacing my suspension, and while it worked, I really wanted to get high quality, badass components for this time around. Here are a list of components:
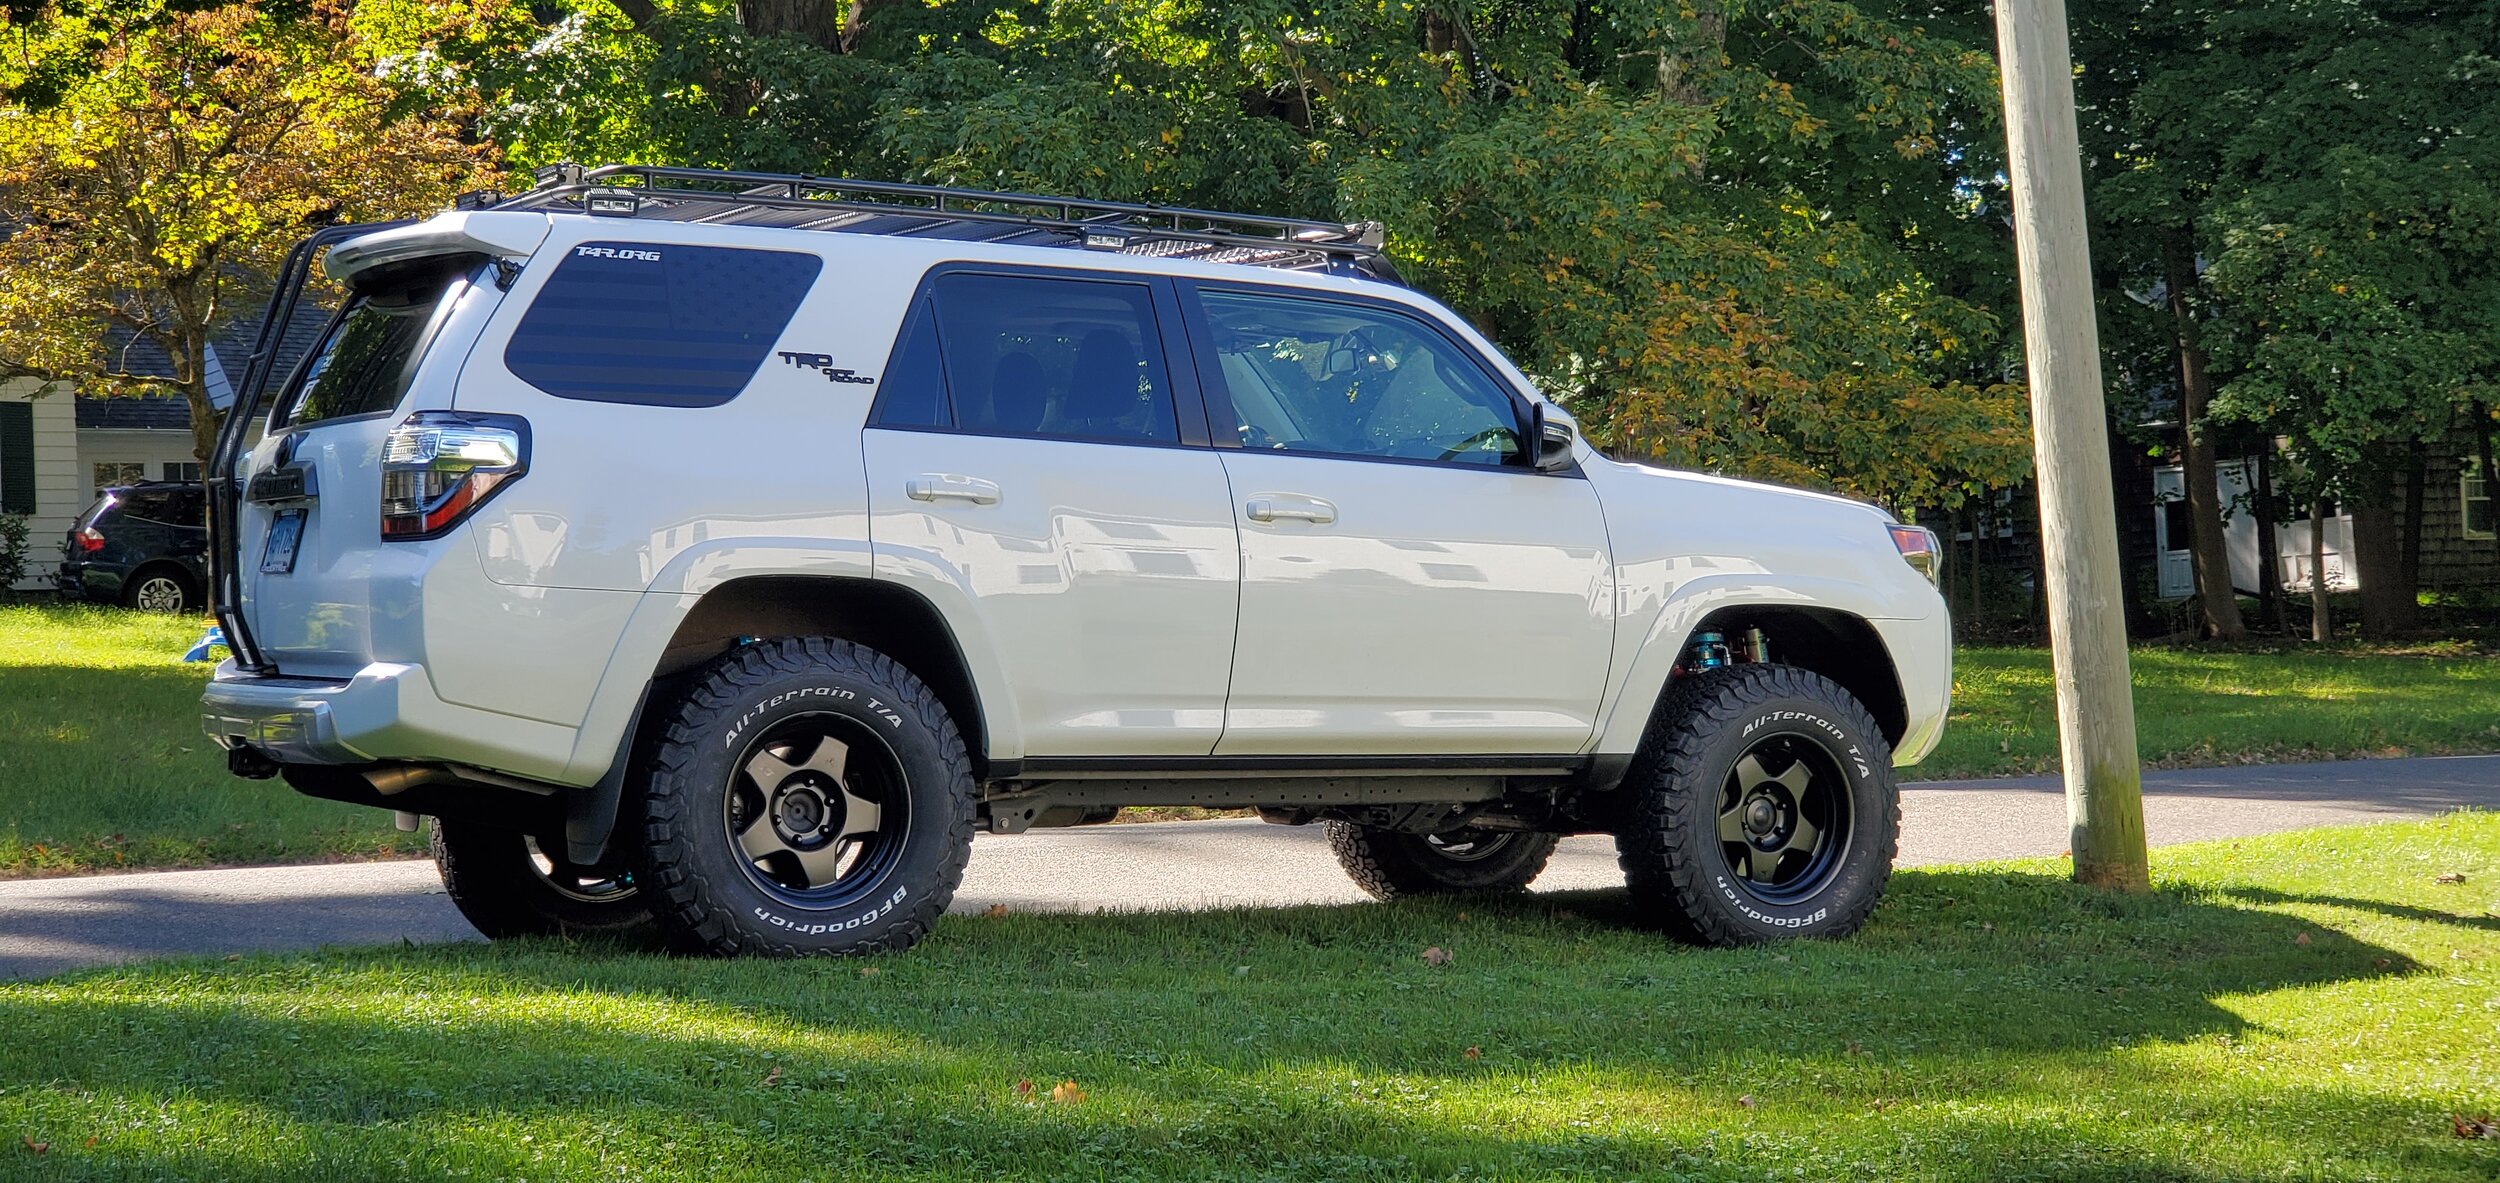
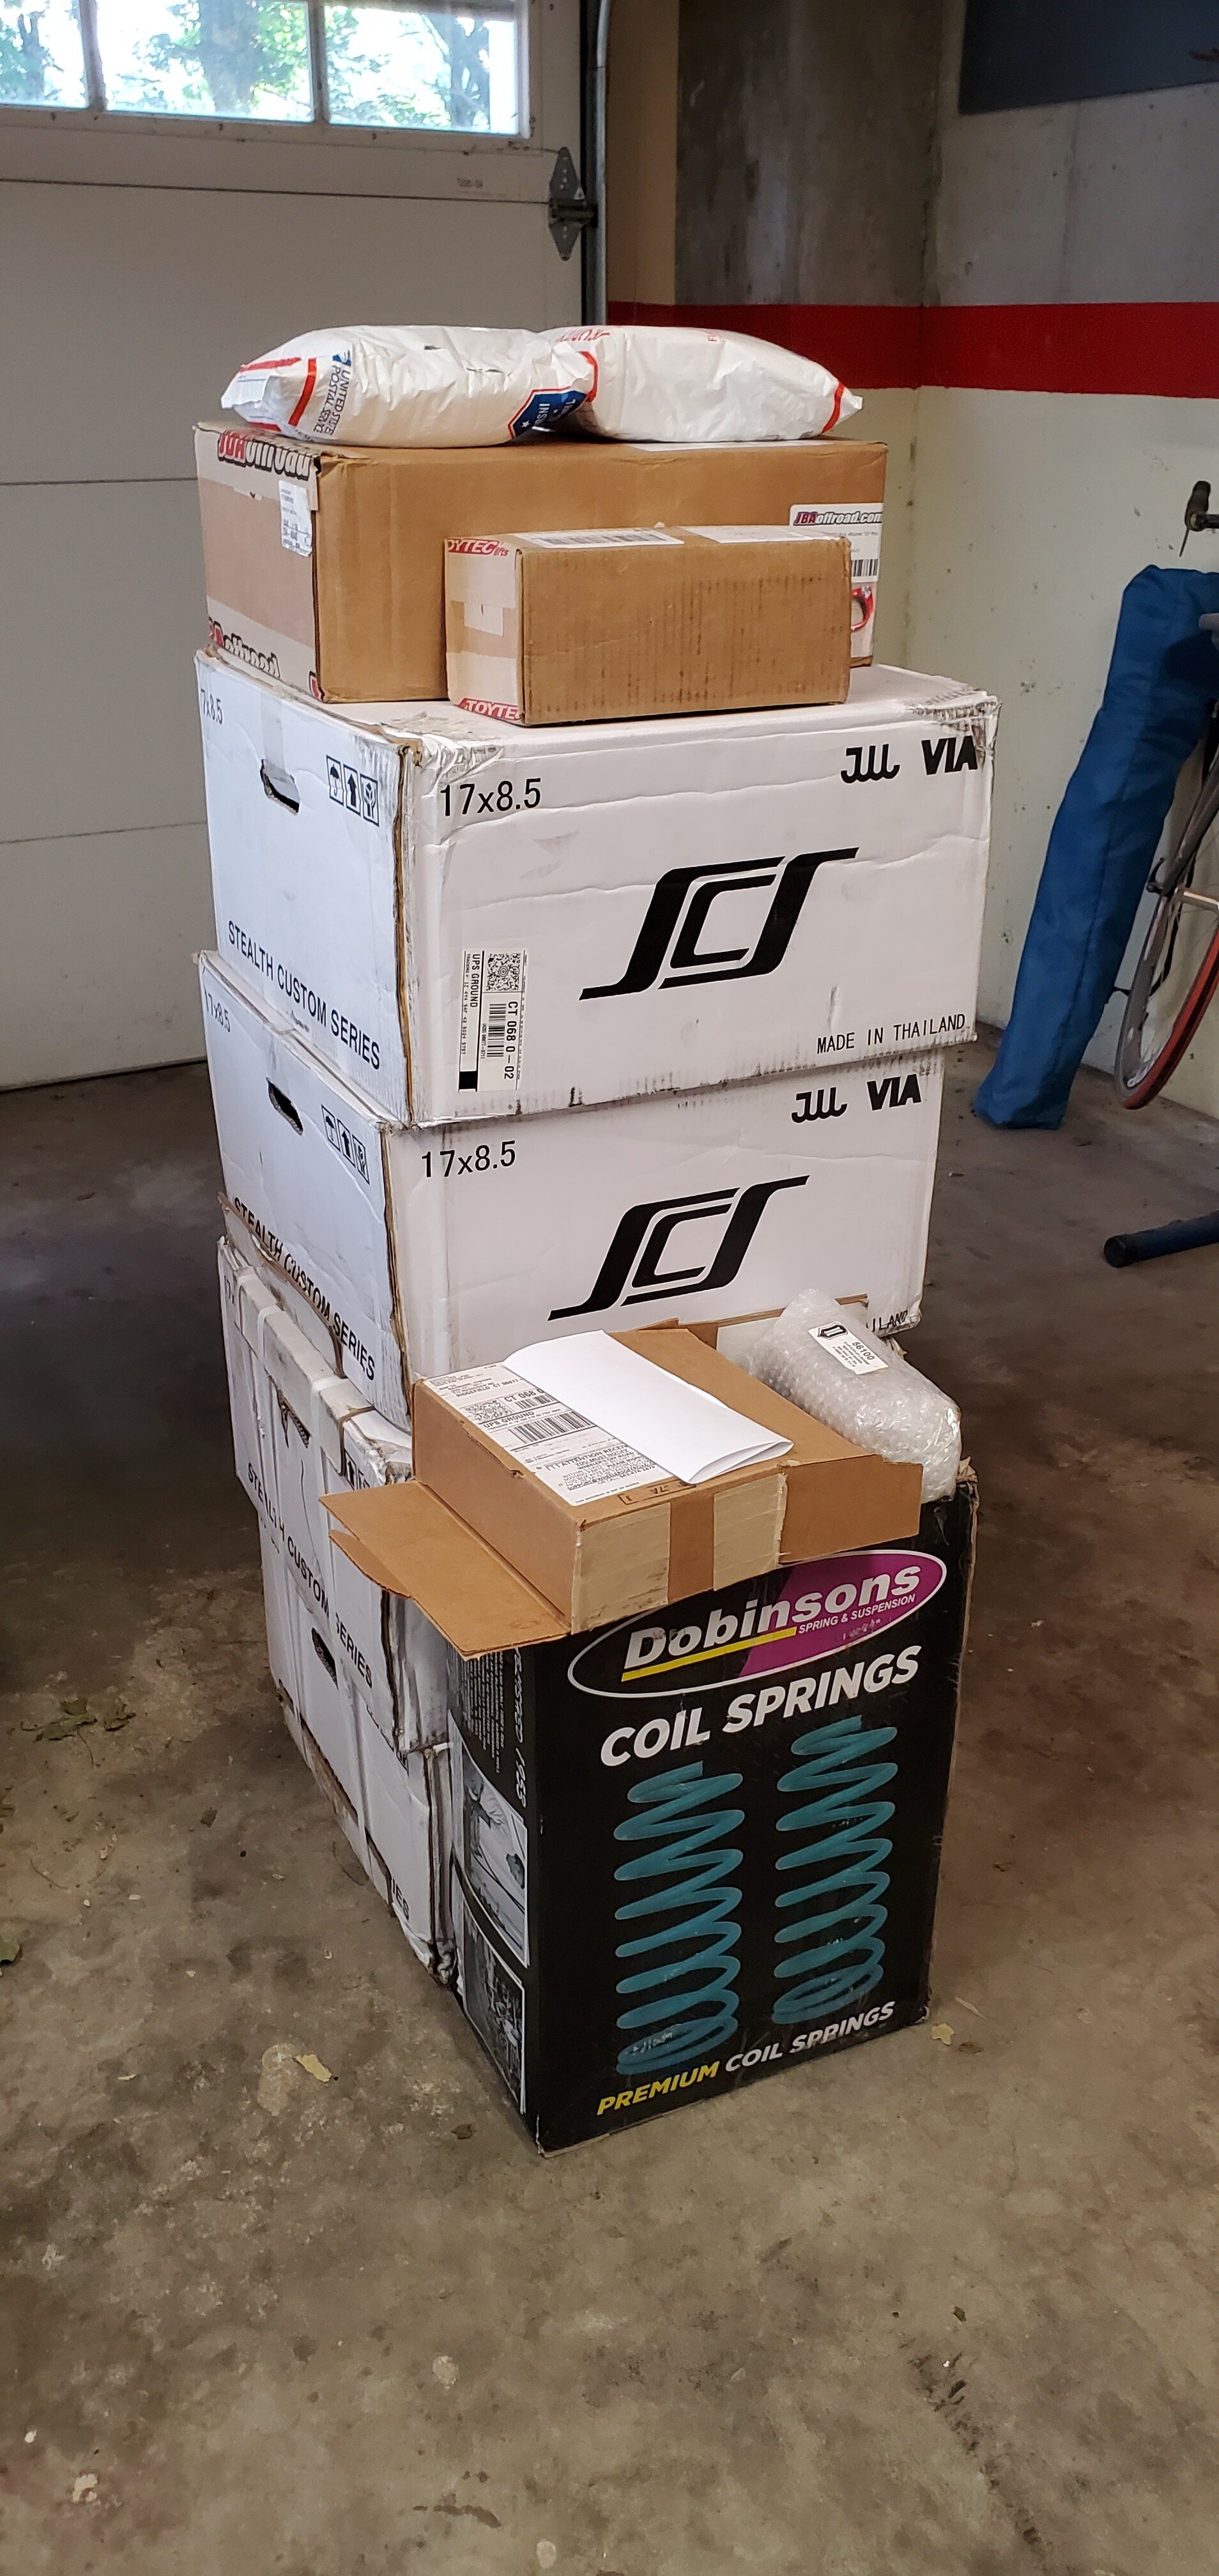
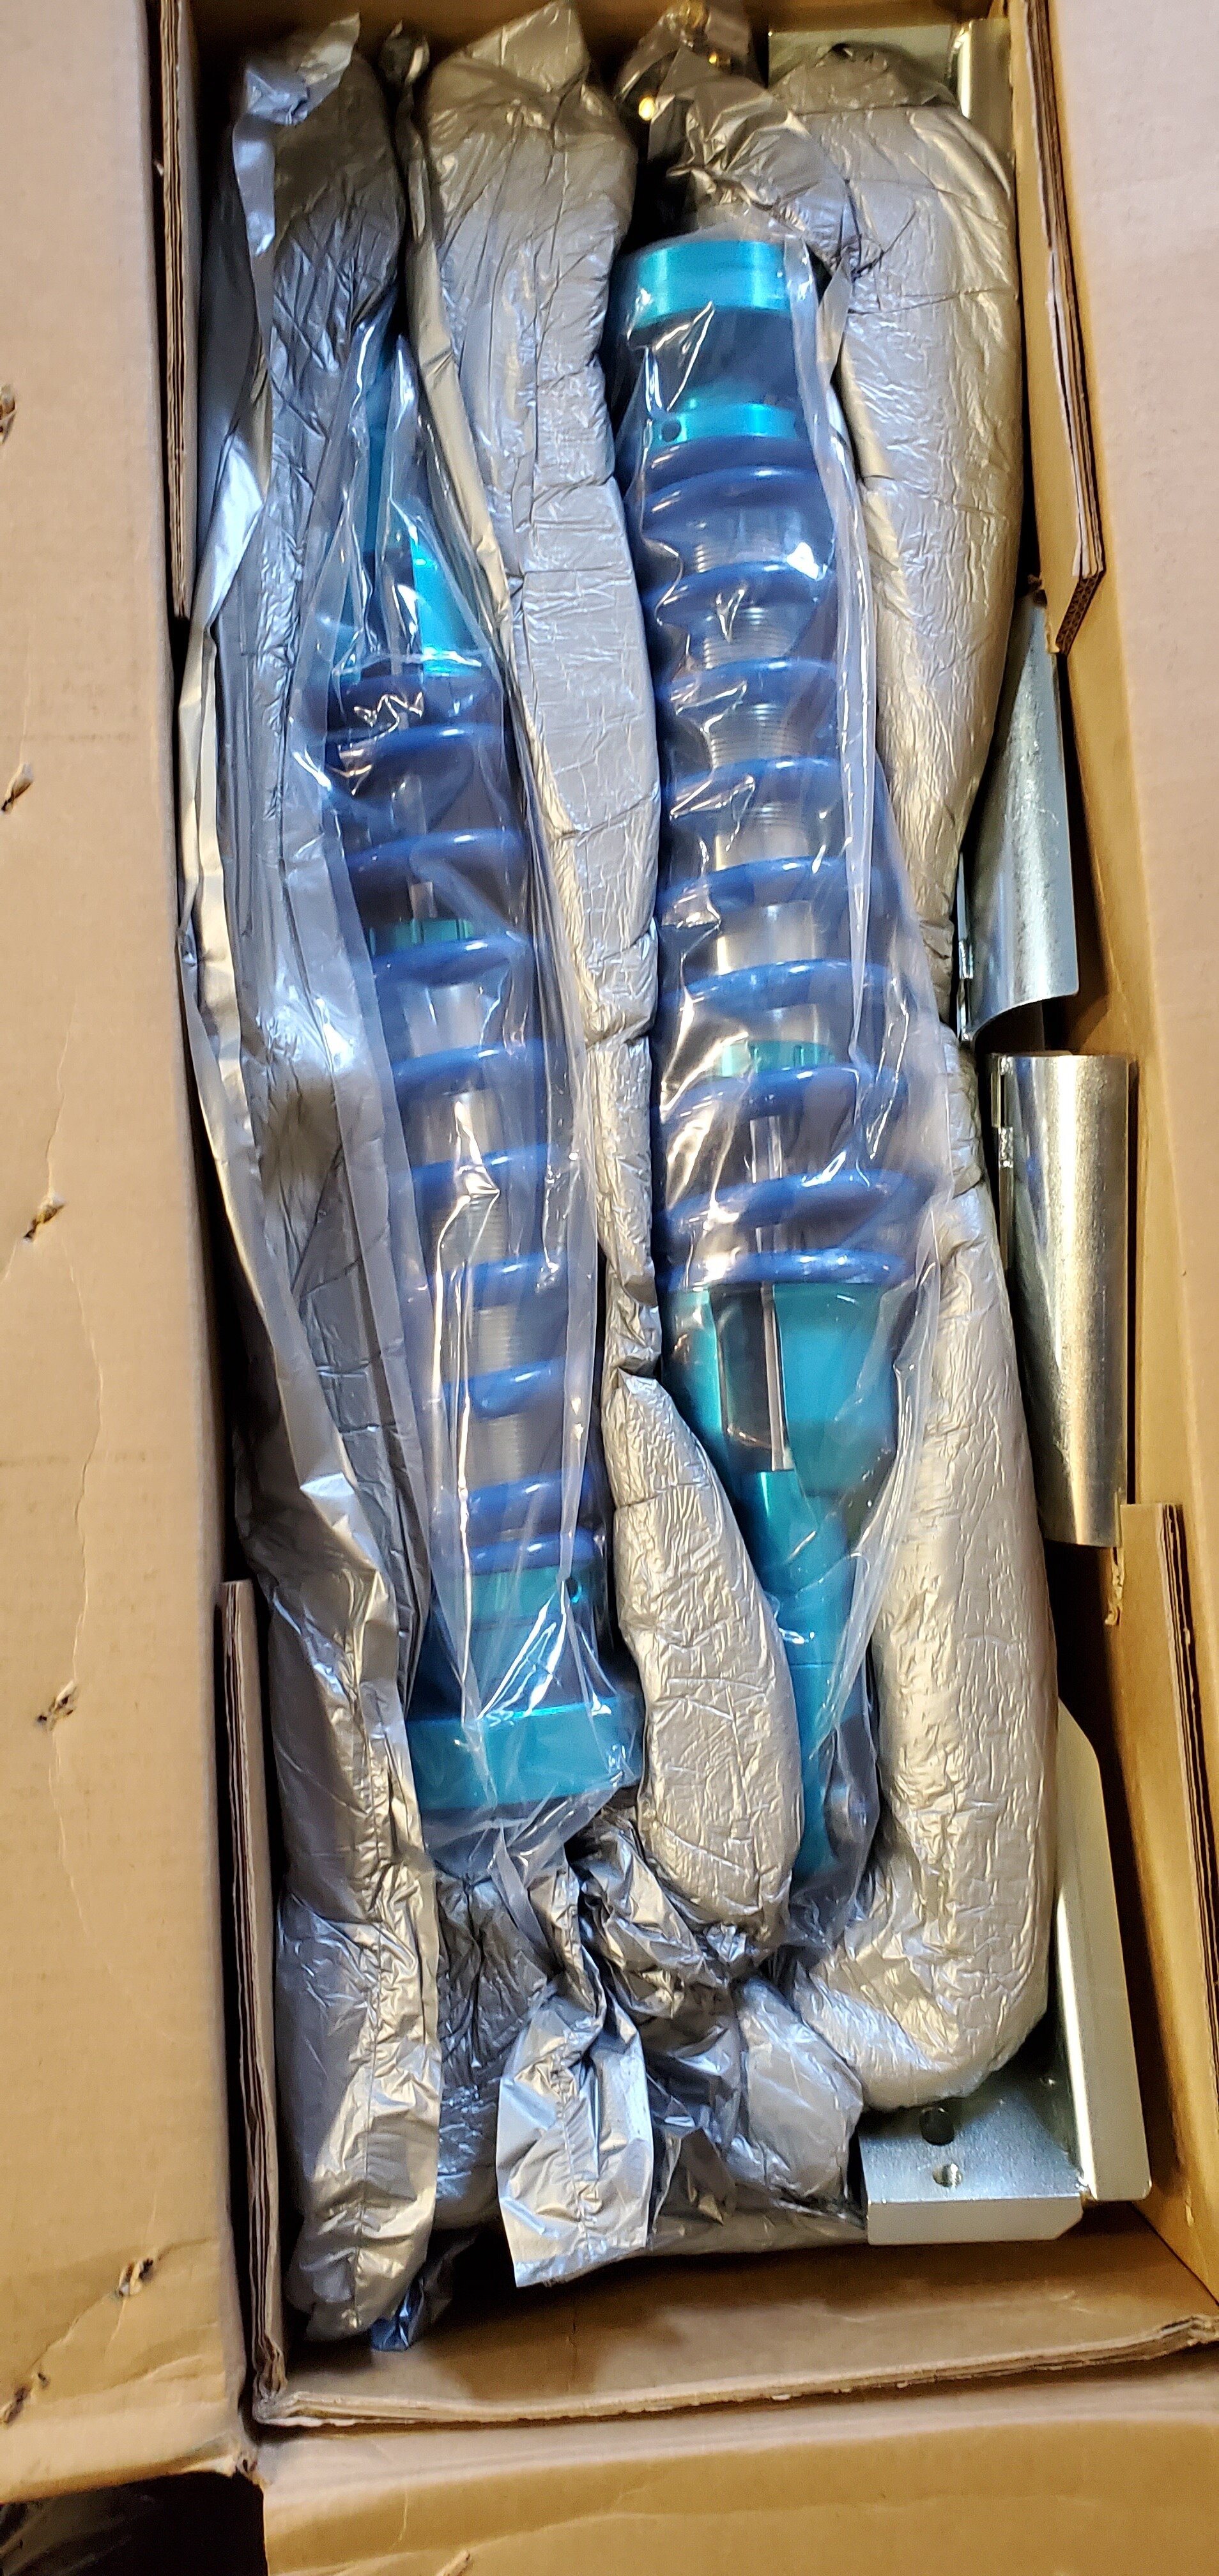
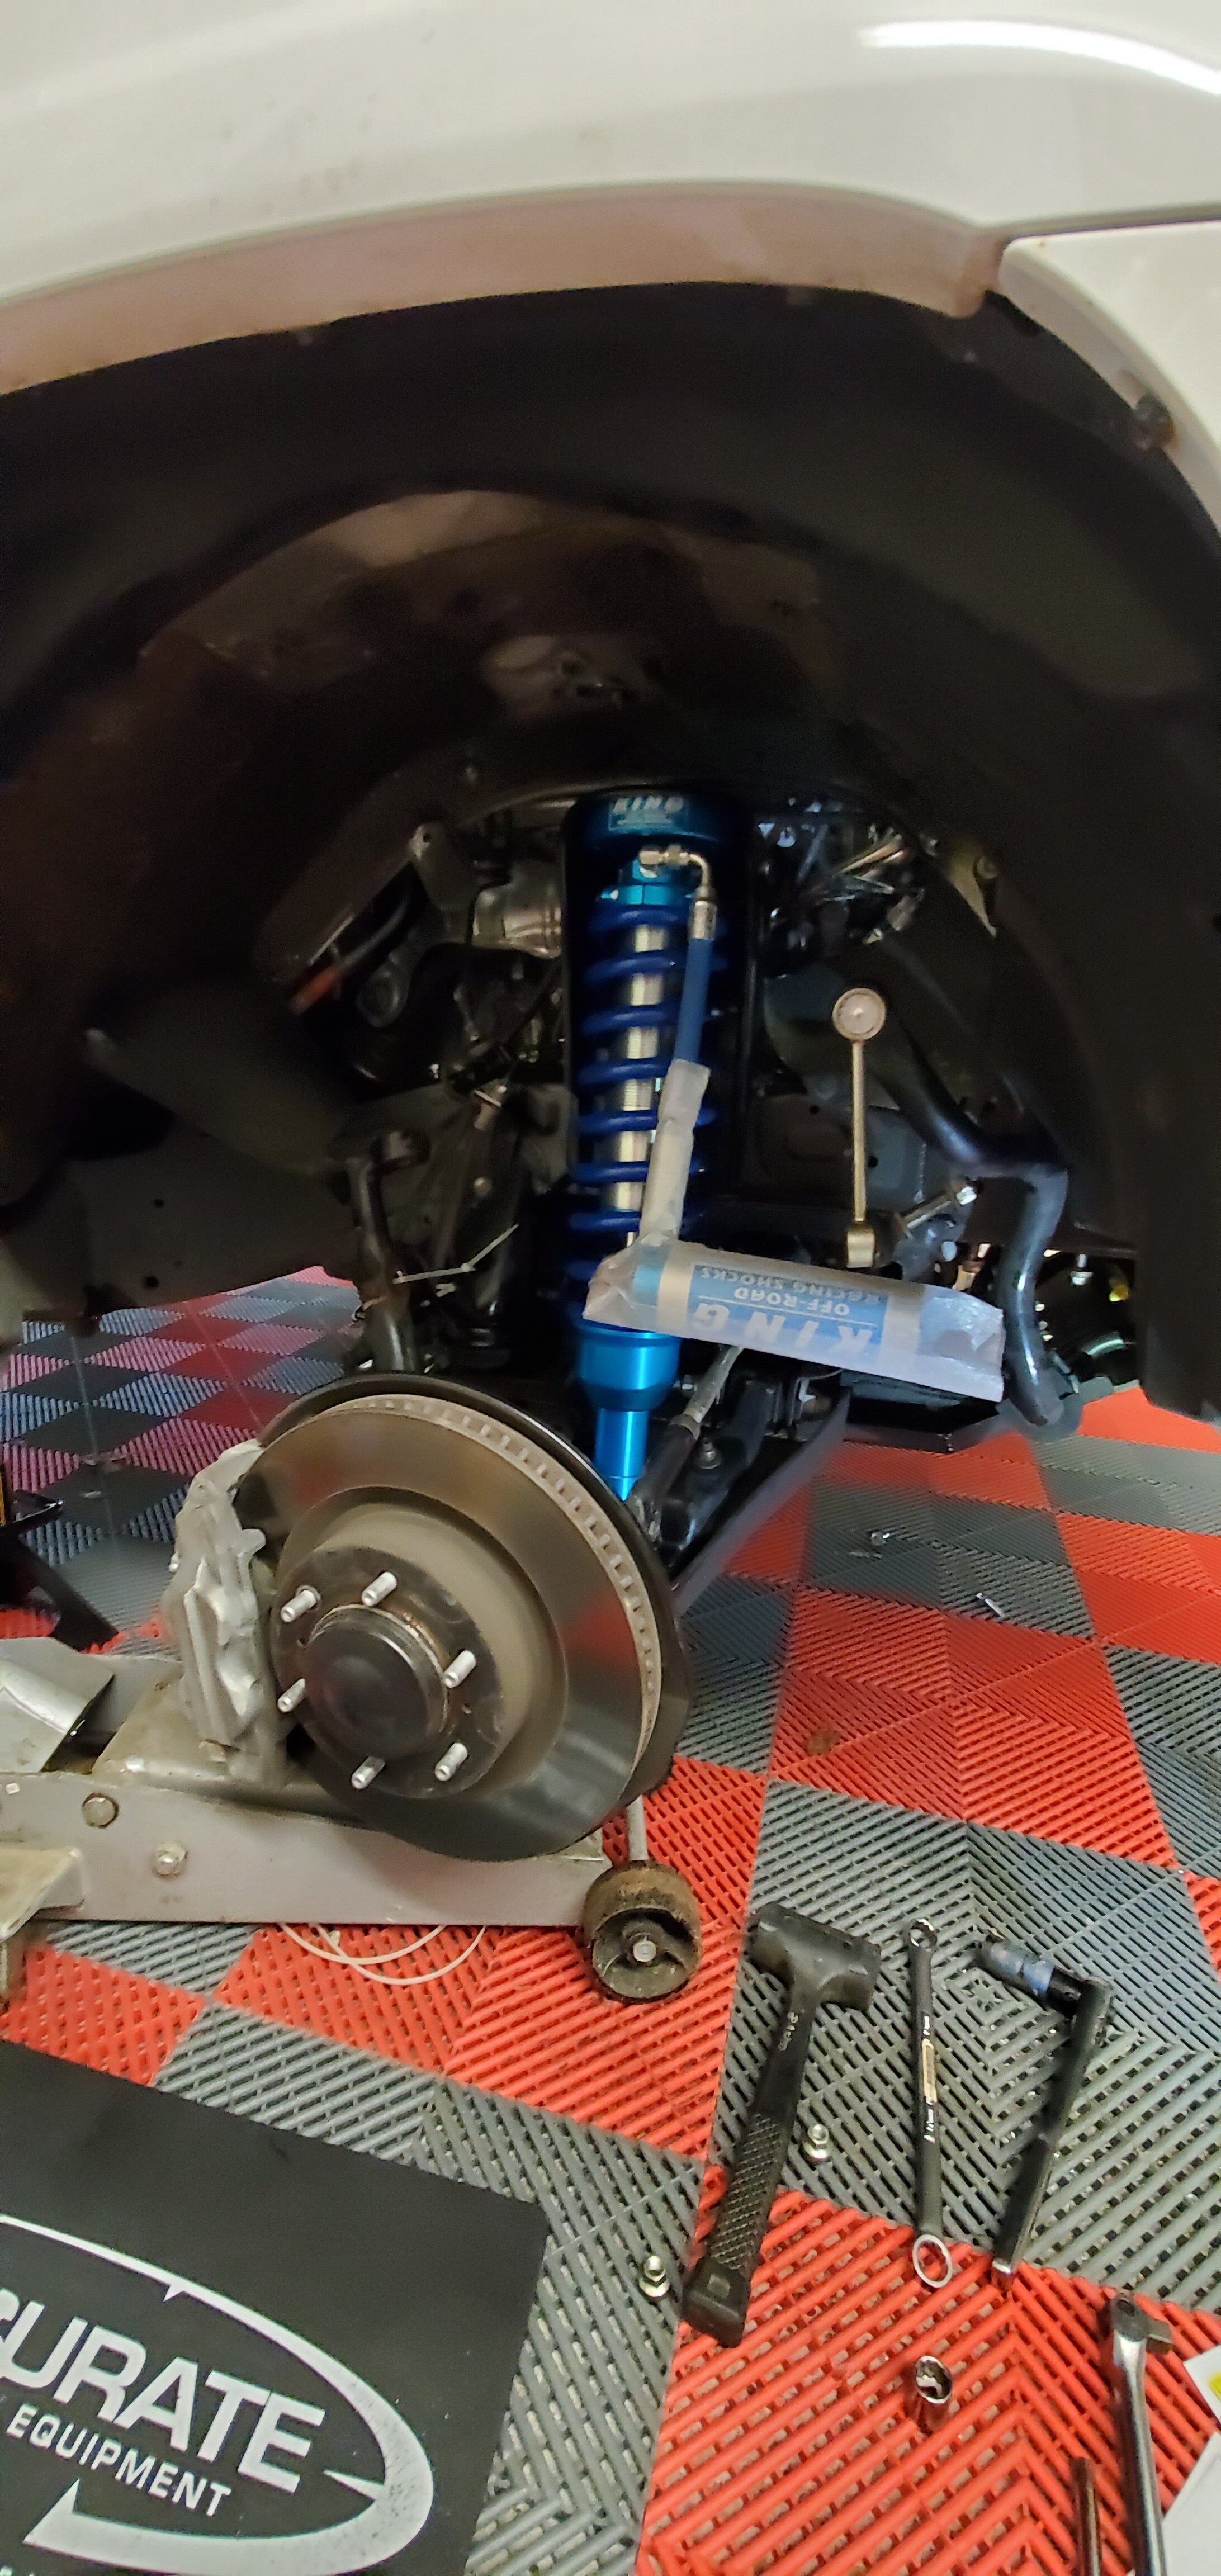
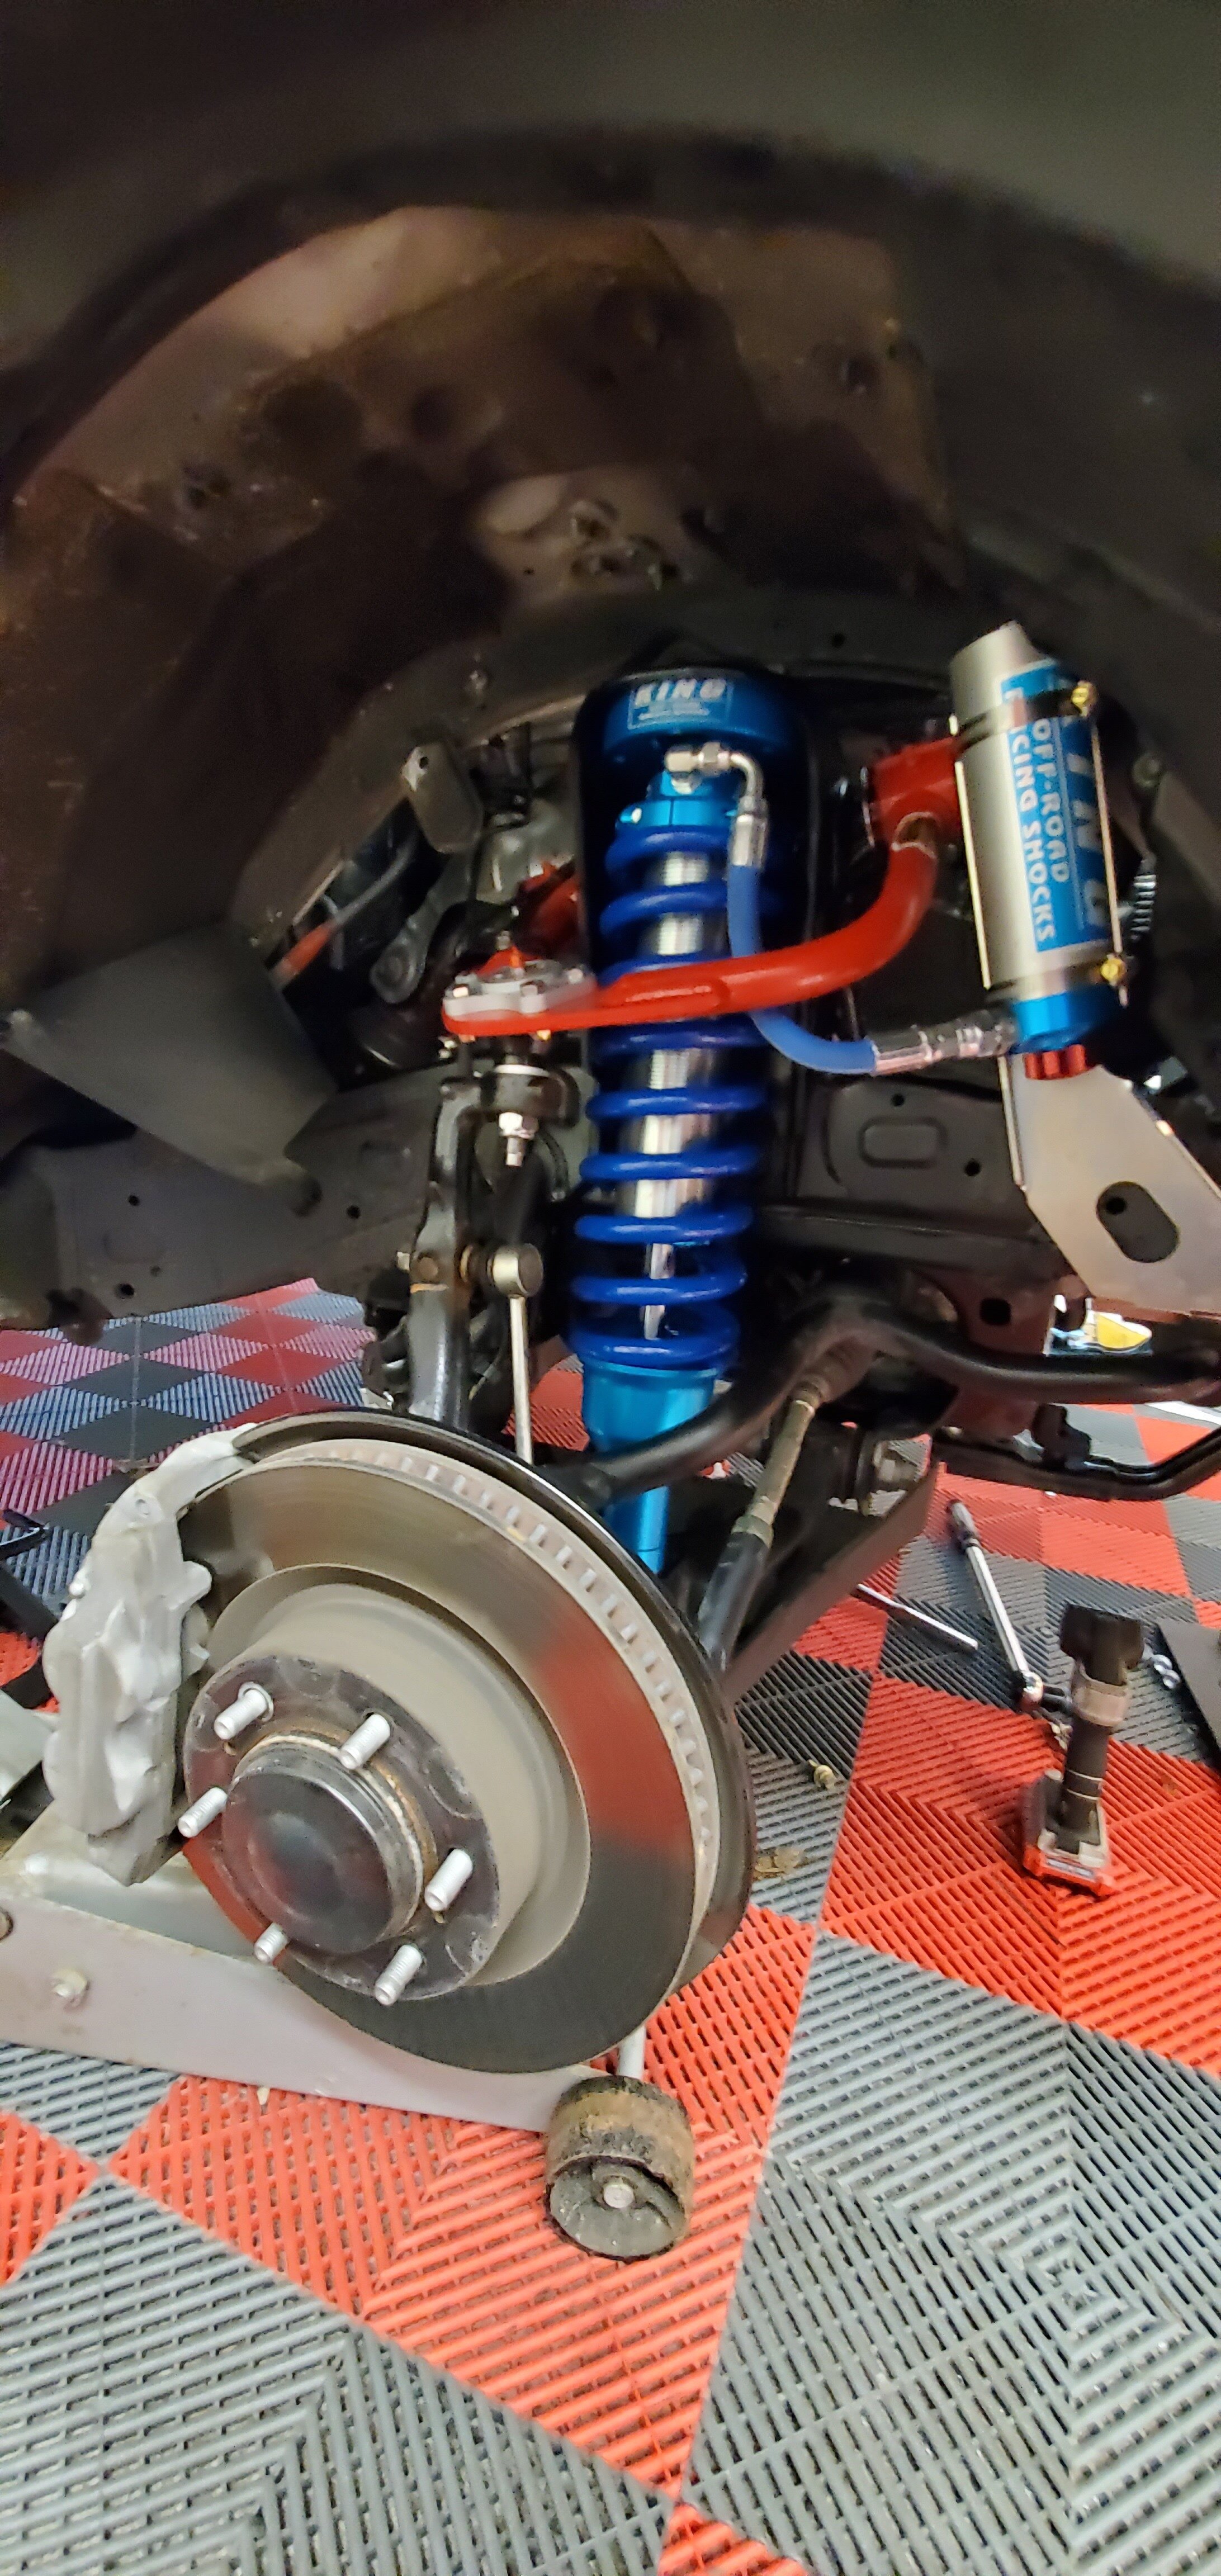
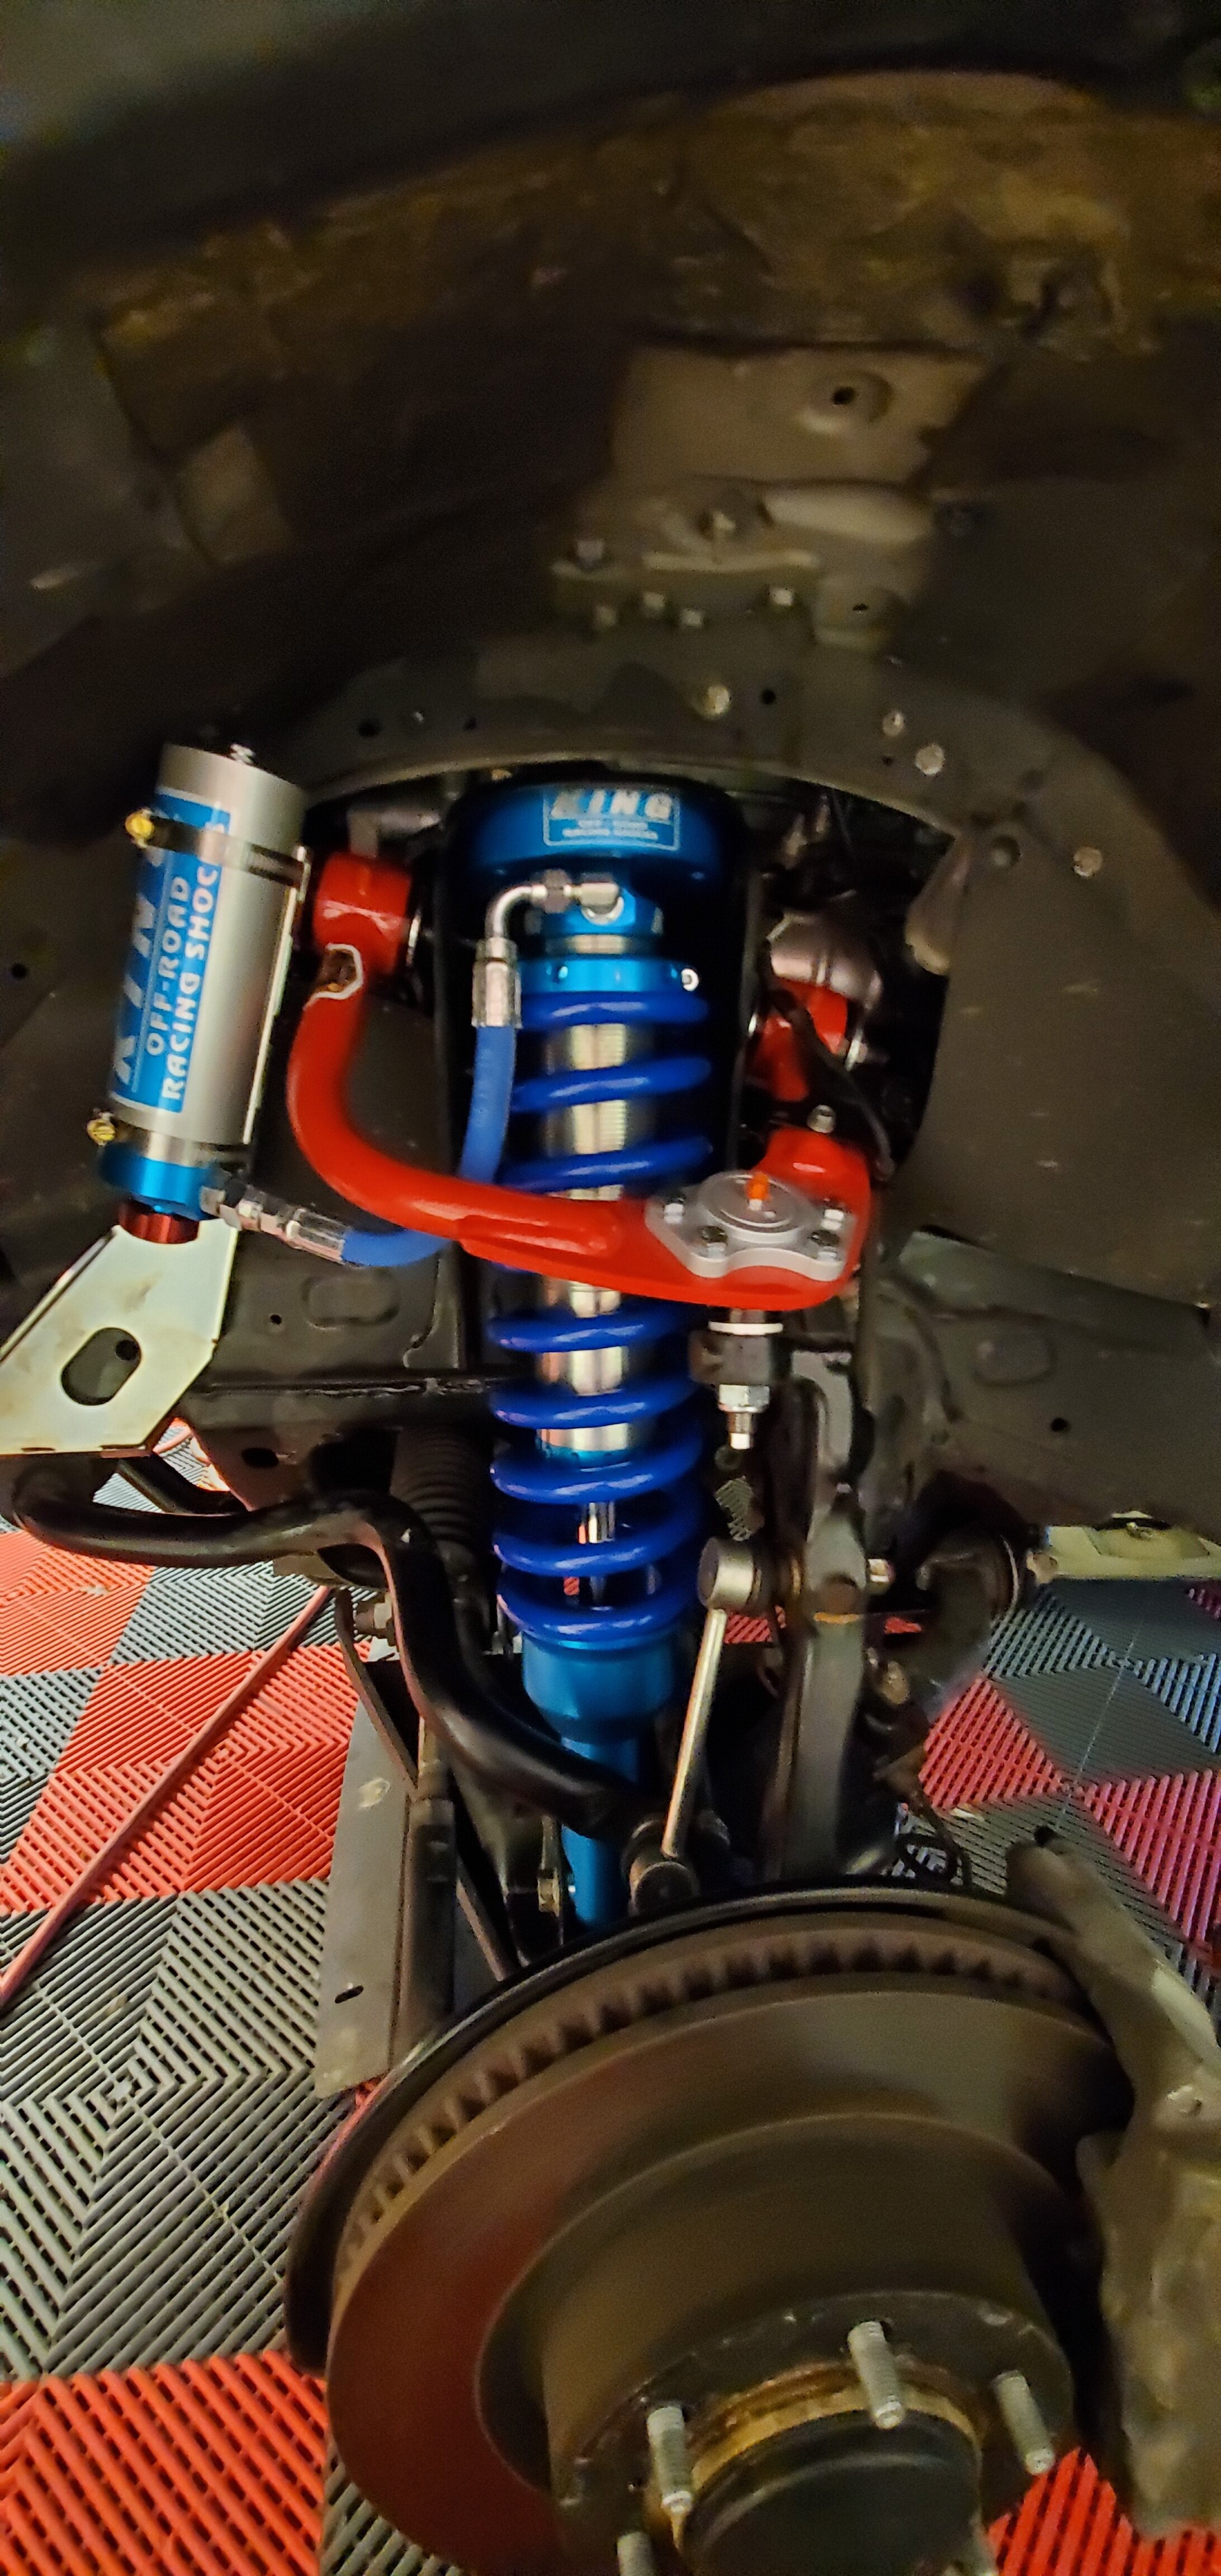
-King Front Extended Travel Coilovers w/adjuster (550lb spring)
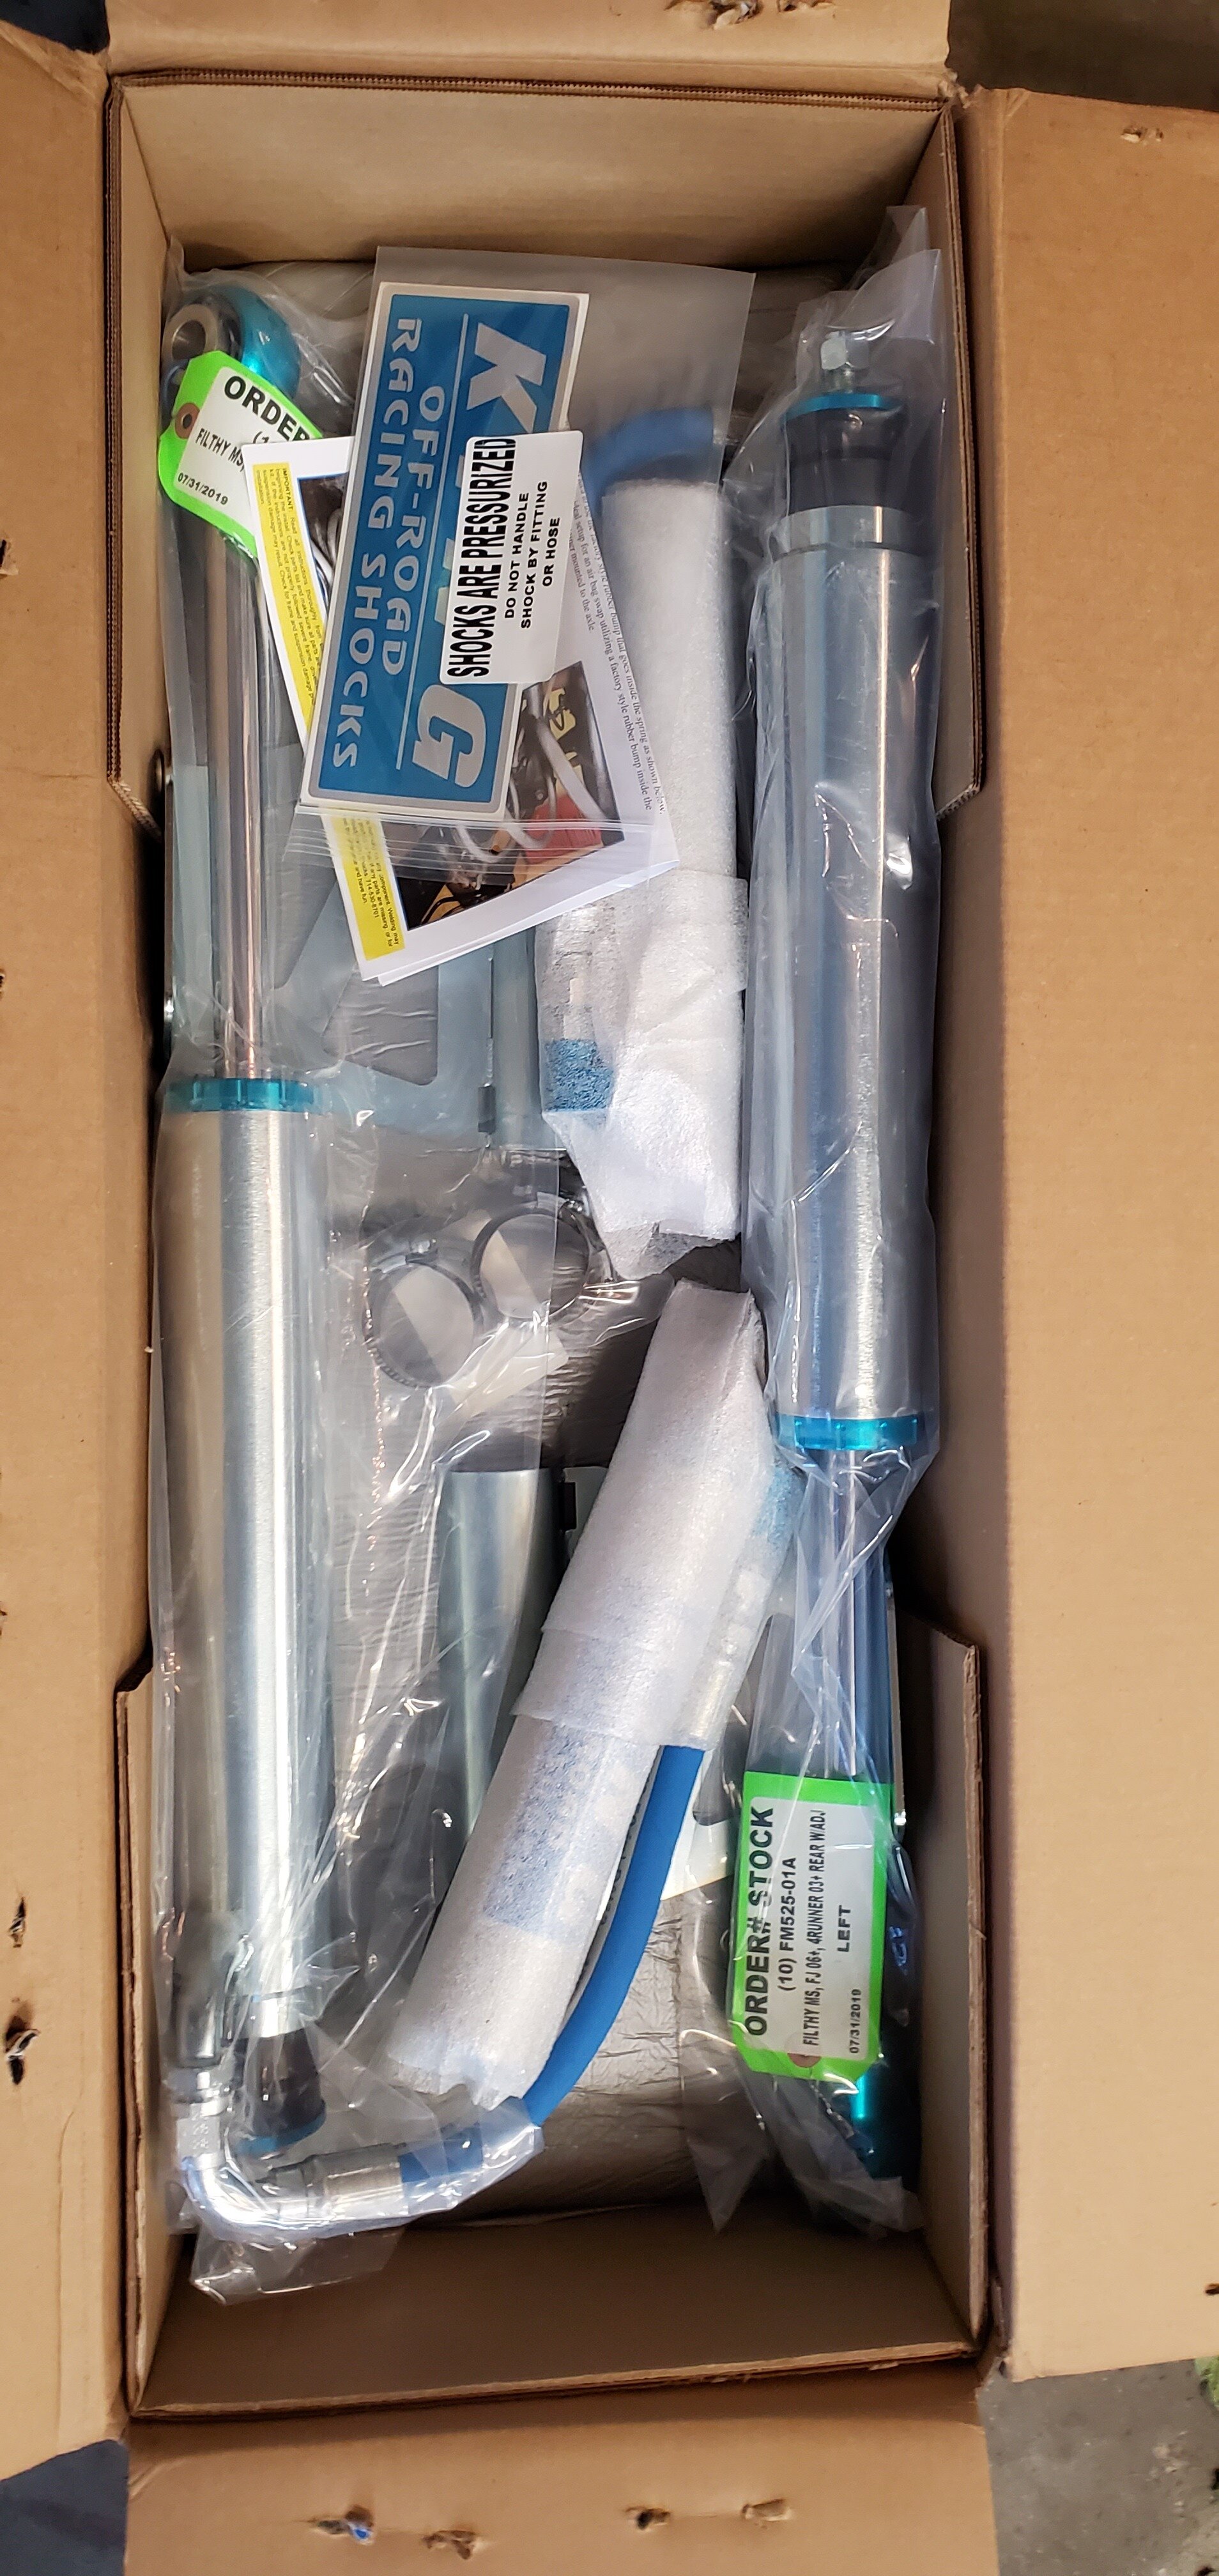
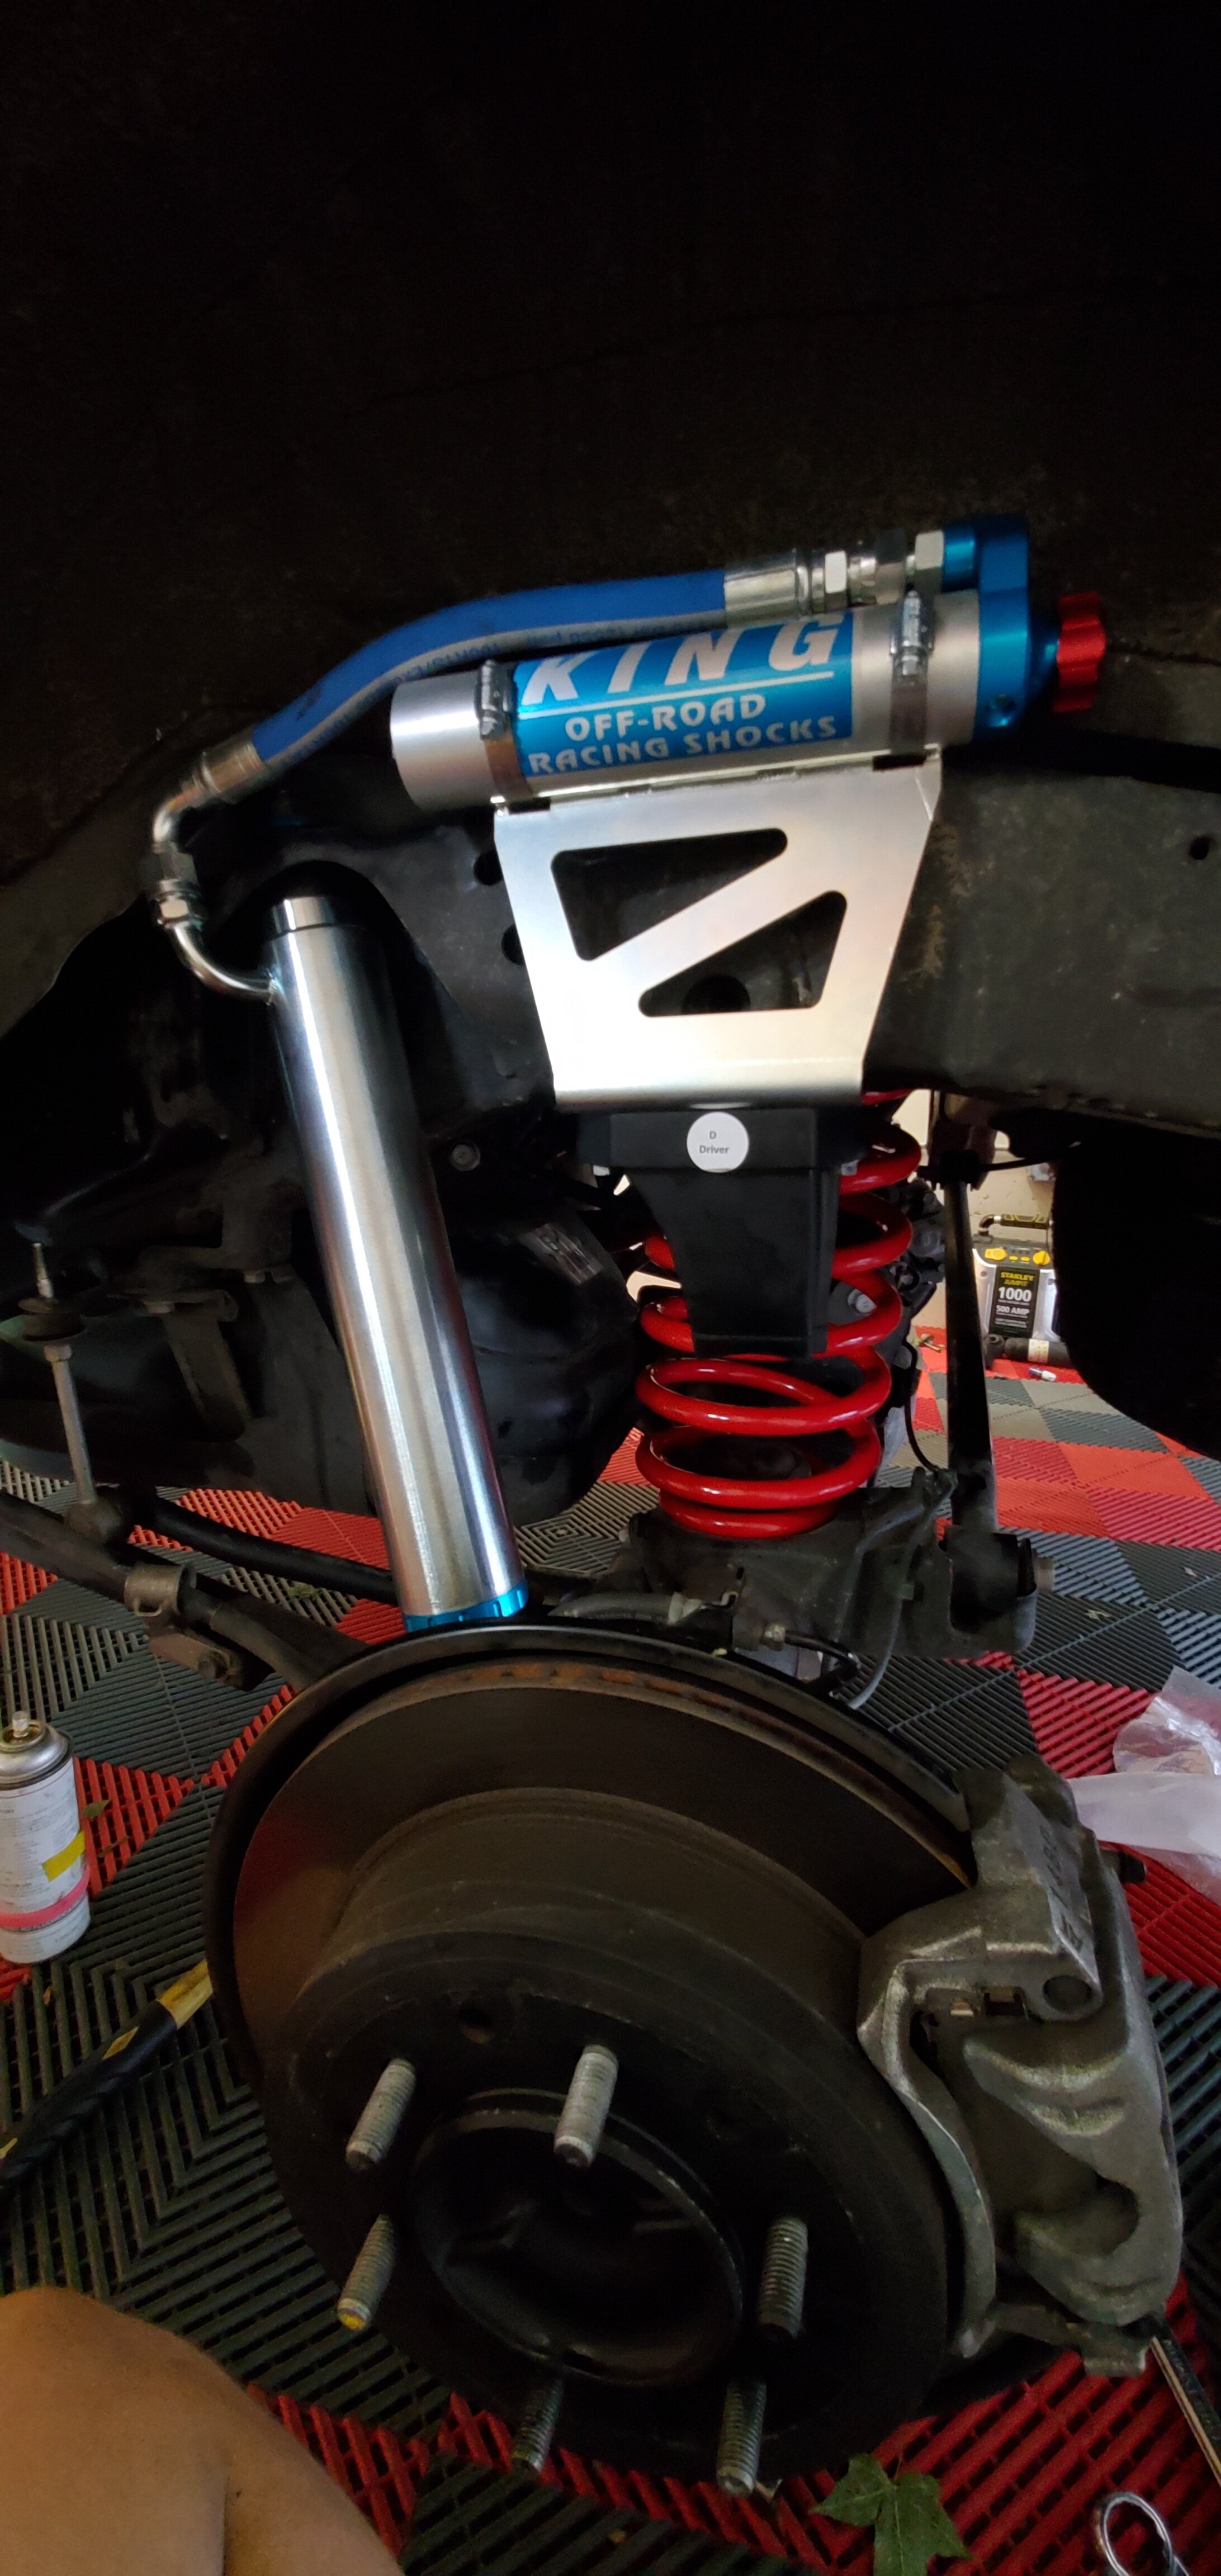
-King Rear Custom Length Shocks w/adjuster
-JBA Offroad UCAs
-Dobinsons C59-675v Variable Rate Rear Springs
-Dobinsons Rear Extended Sway Bar Links
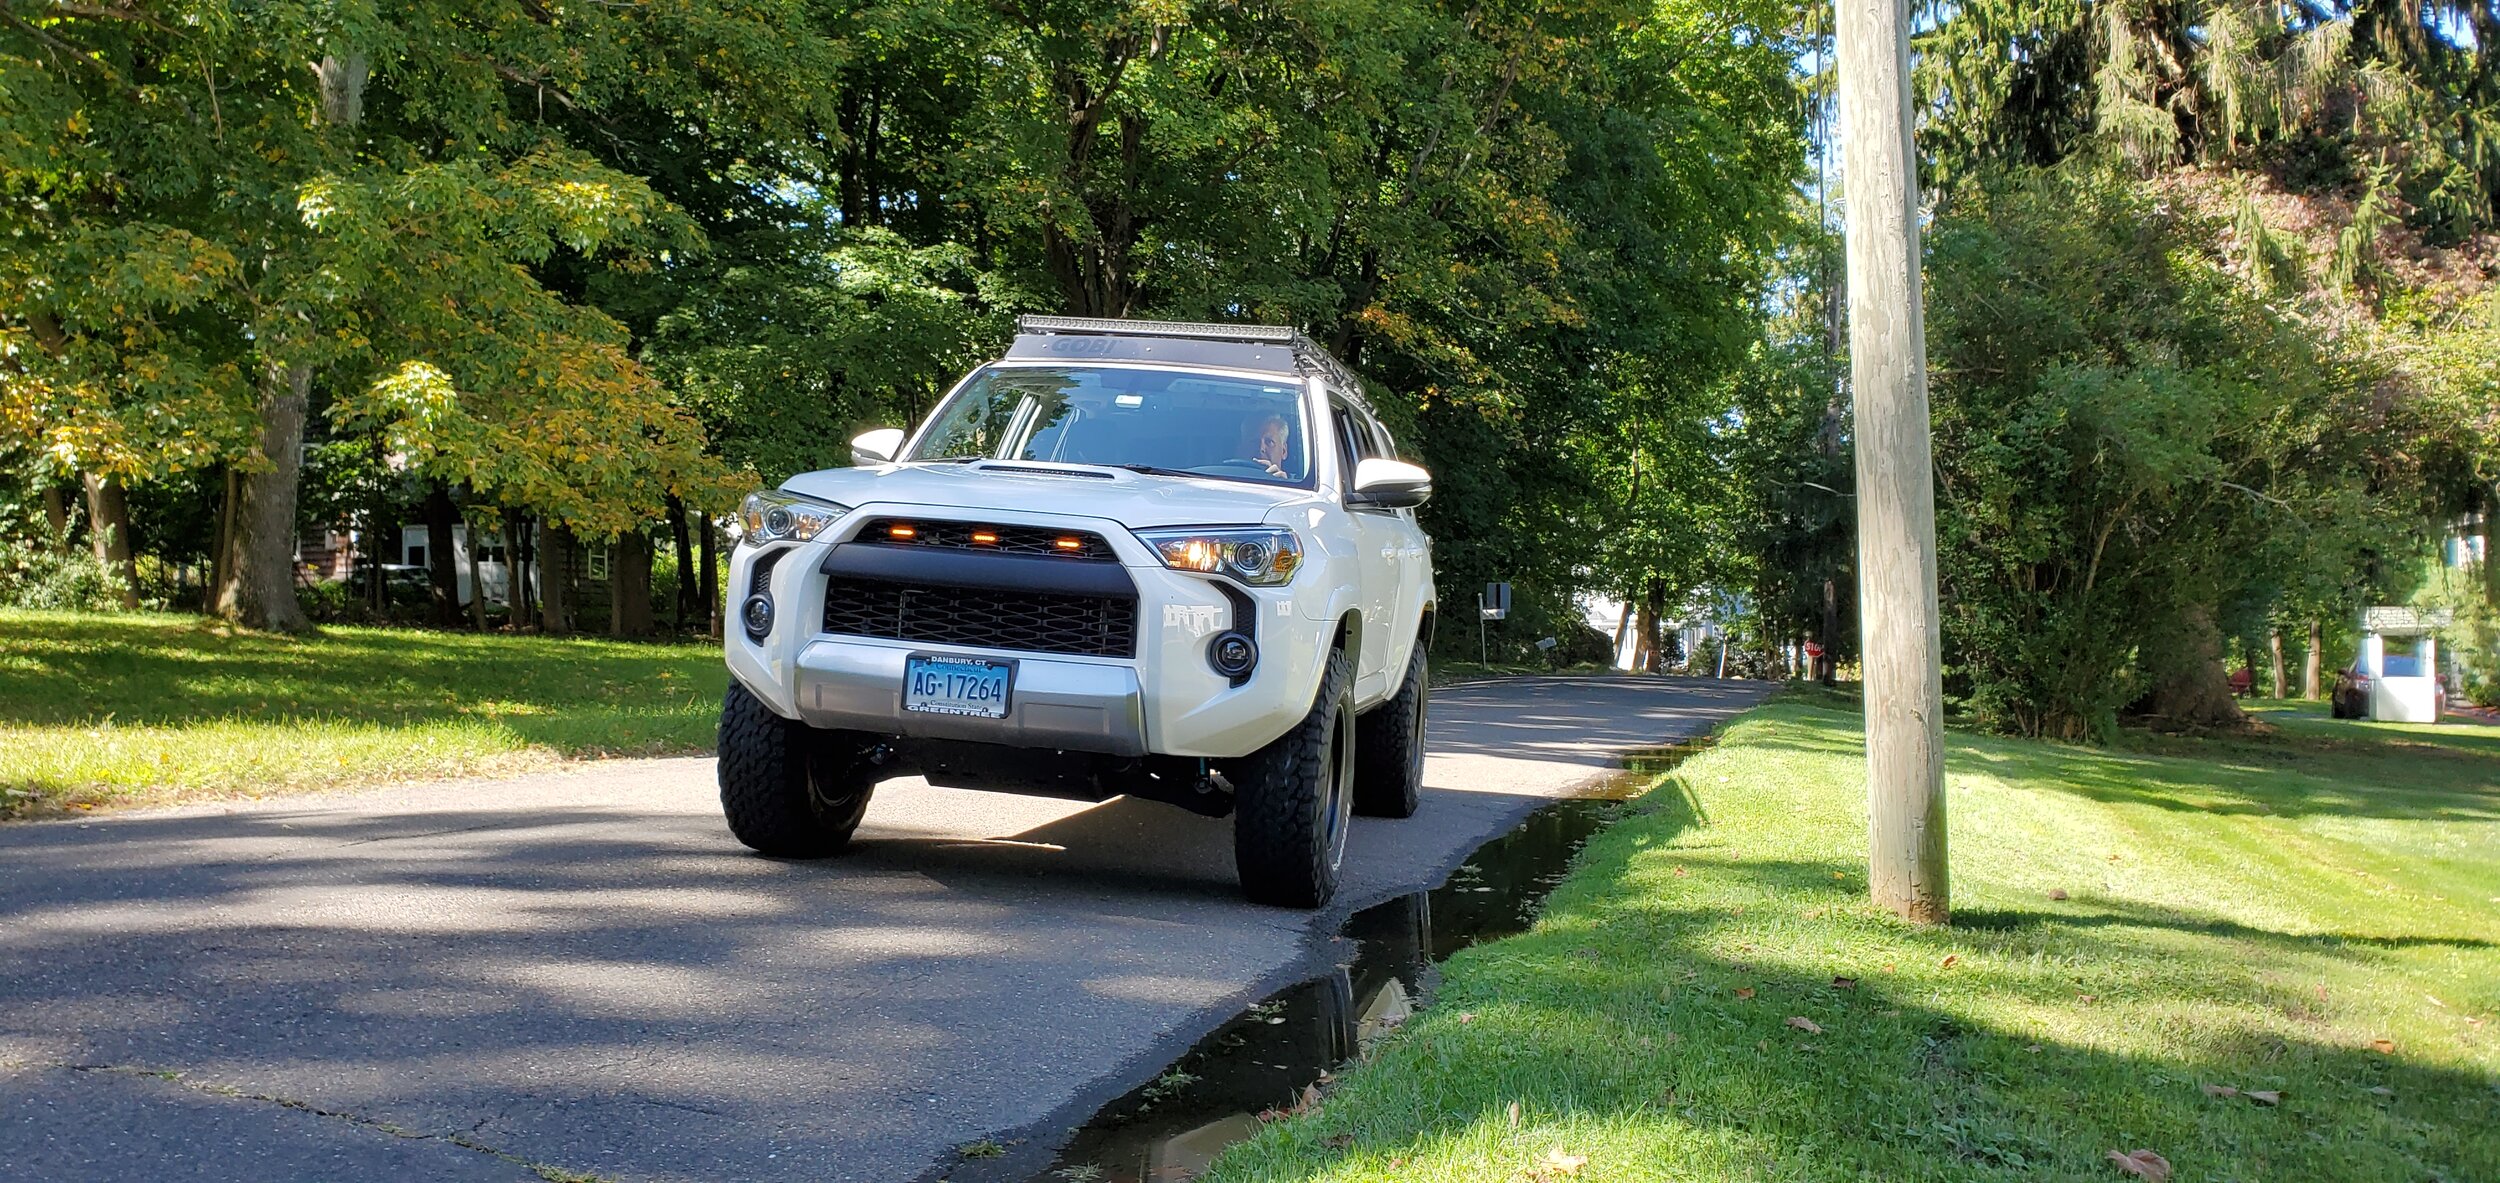
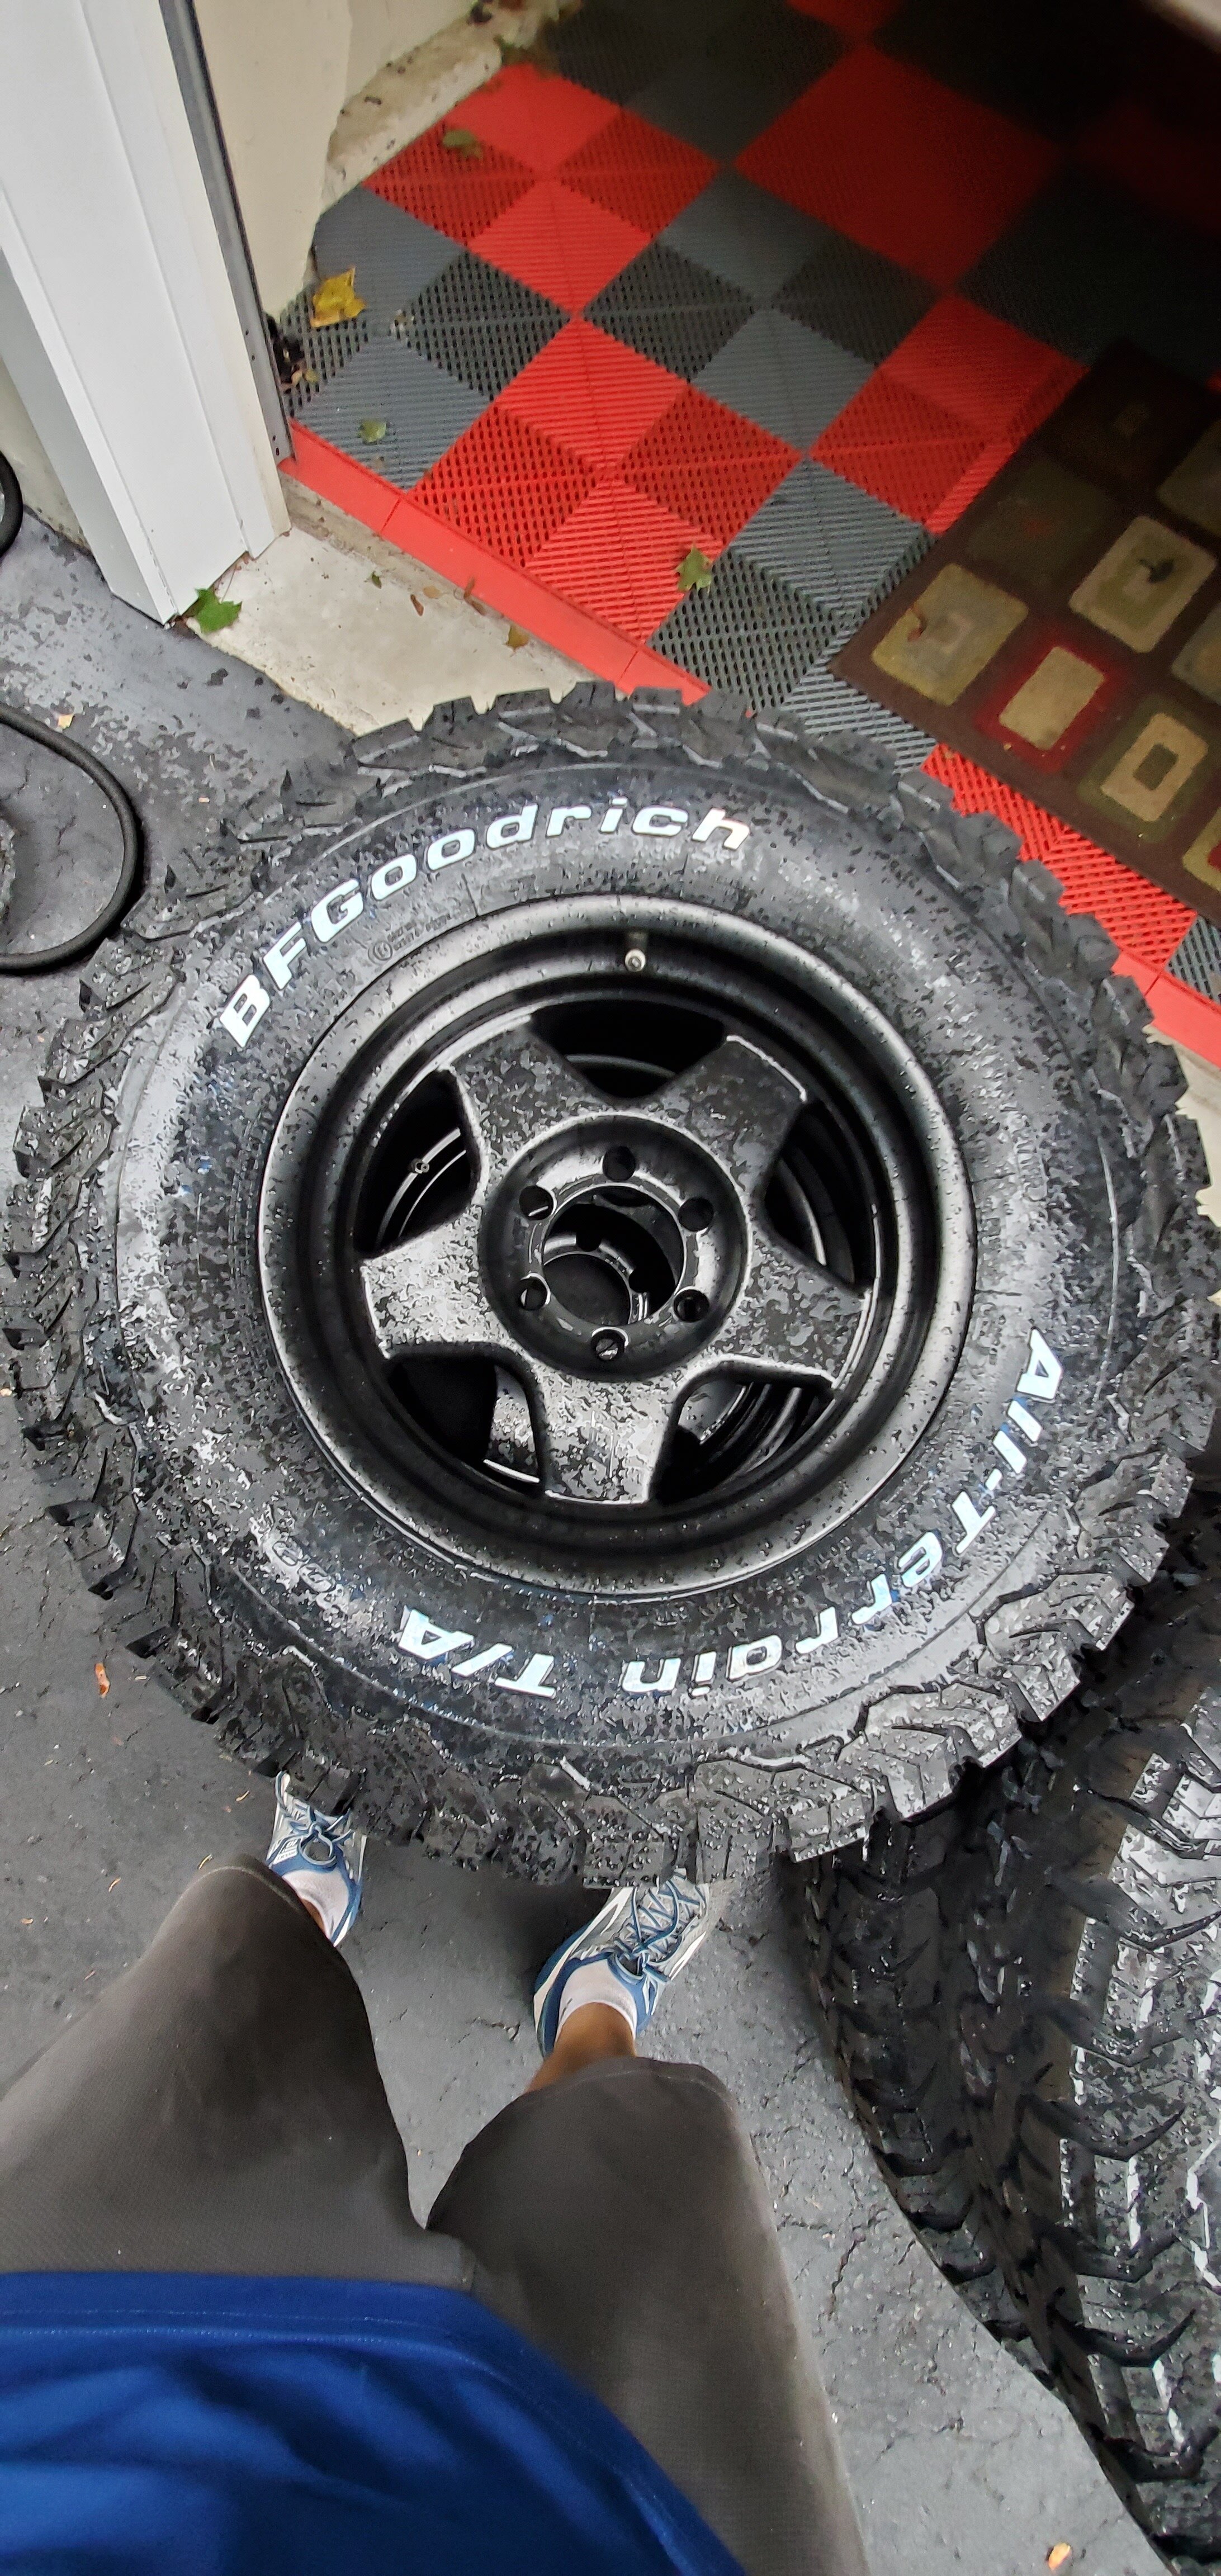
-Stealth Custom Series F5 17x8.5 -10 offset wheels
-285/70/17 BFGoodrich KO2s
My main goal with these parts was to simply enhance the capabilities of the 4Runner and allow us to access areas for camping that a stock 4Runner might have trouble with. One of the additional perks is the newfound ability to do some rock crawling lol.
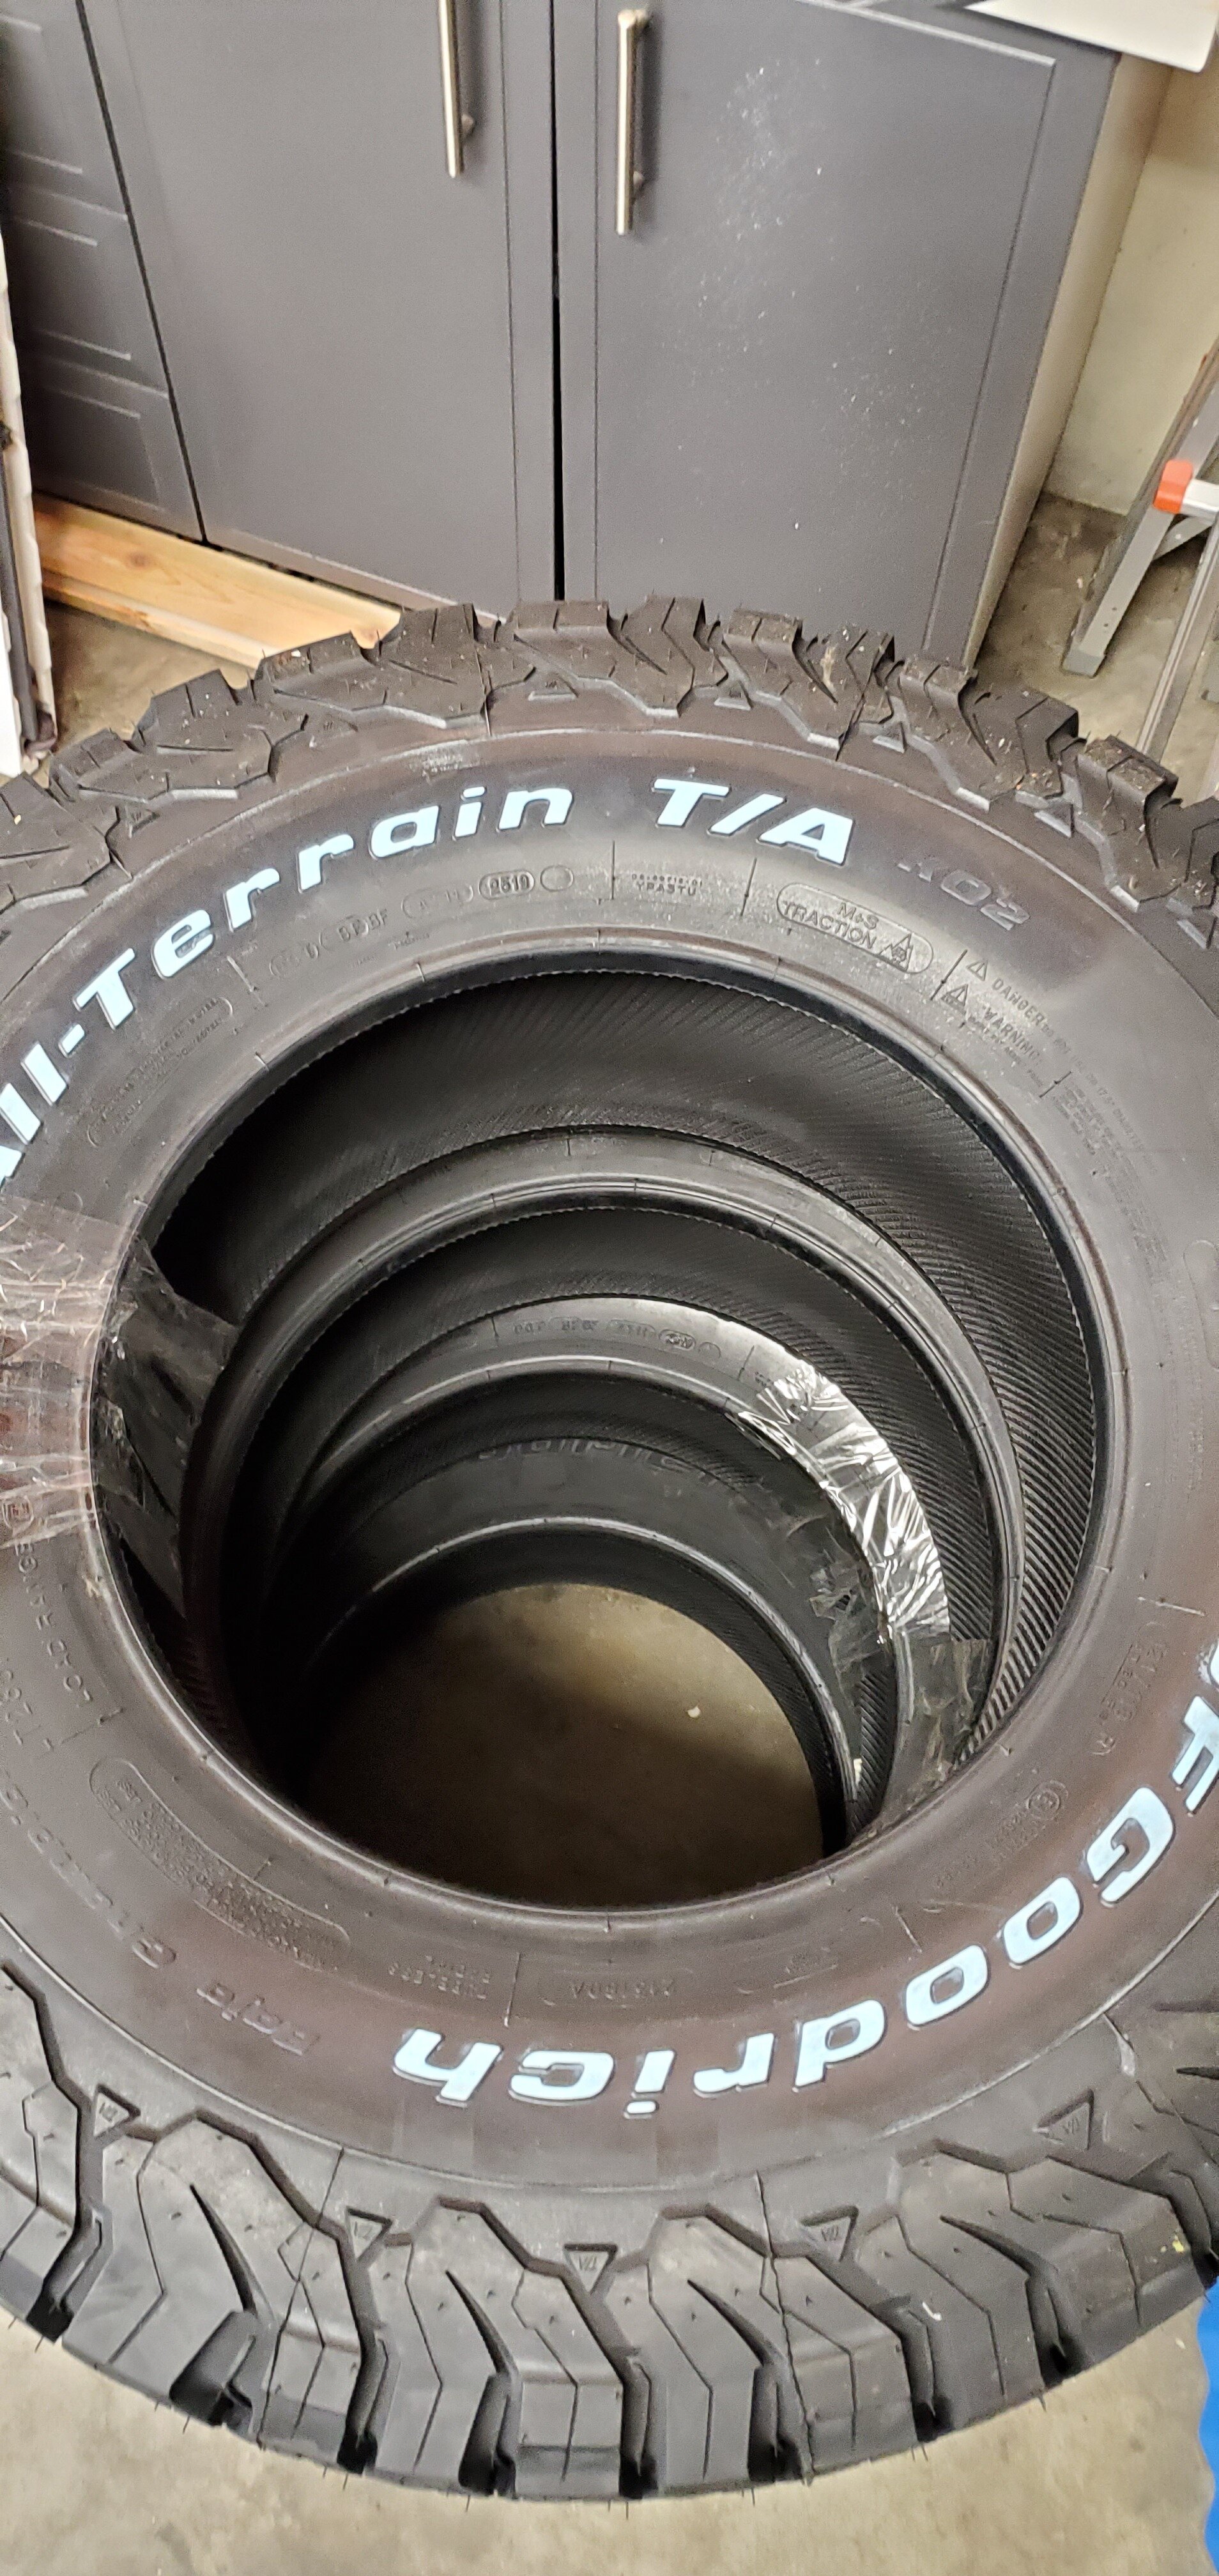

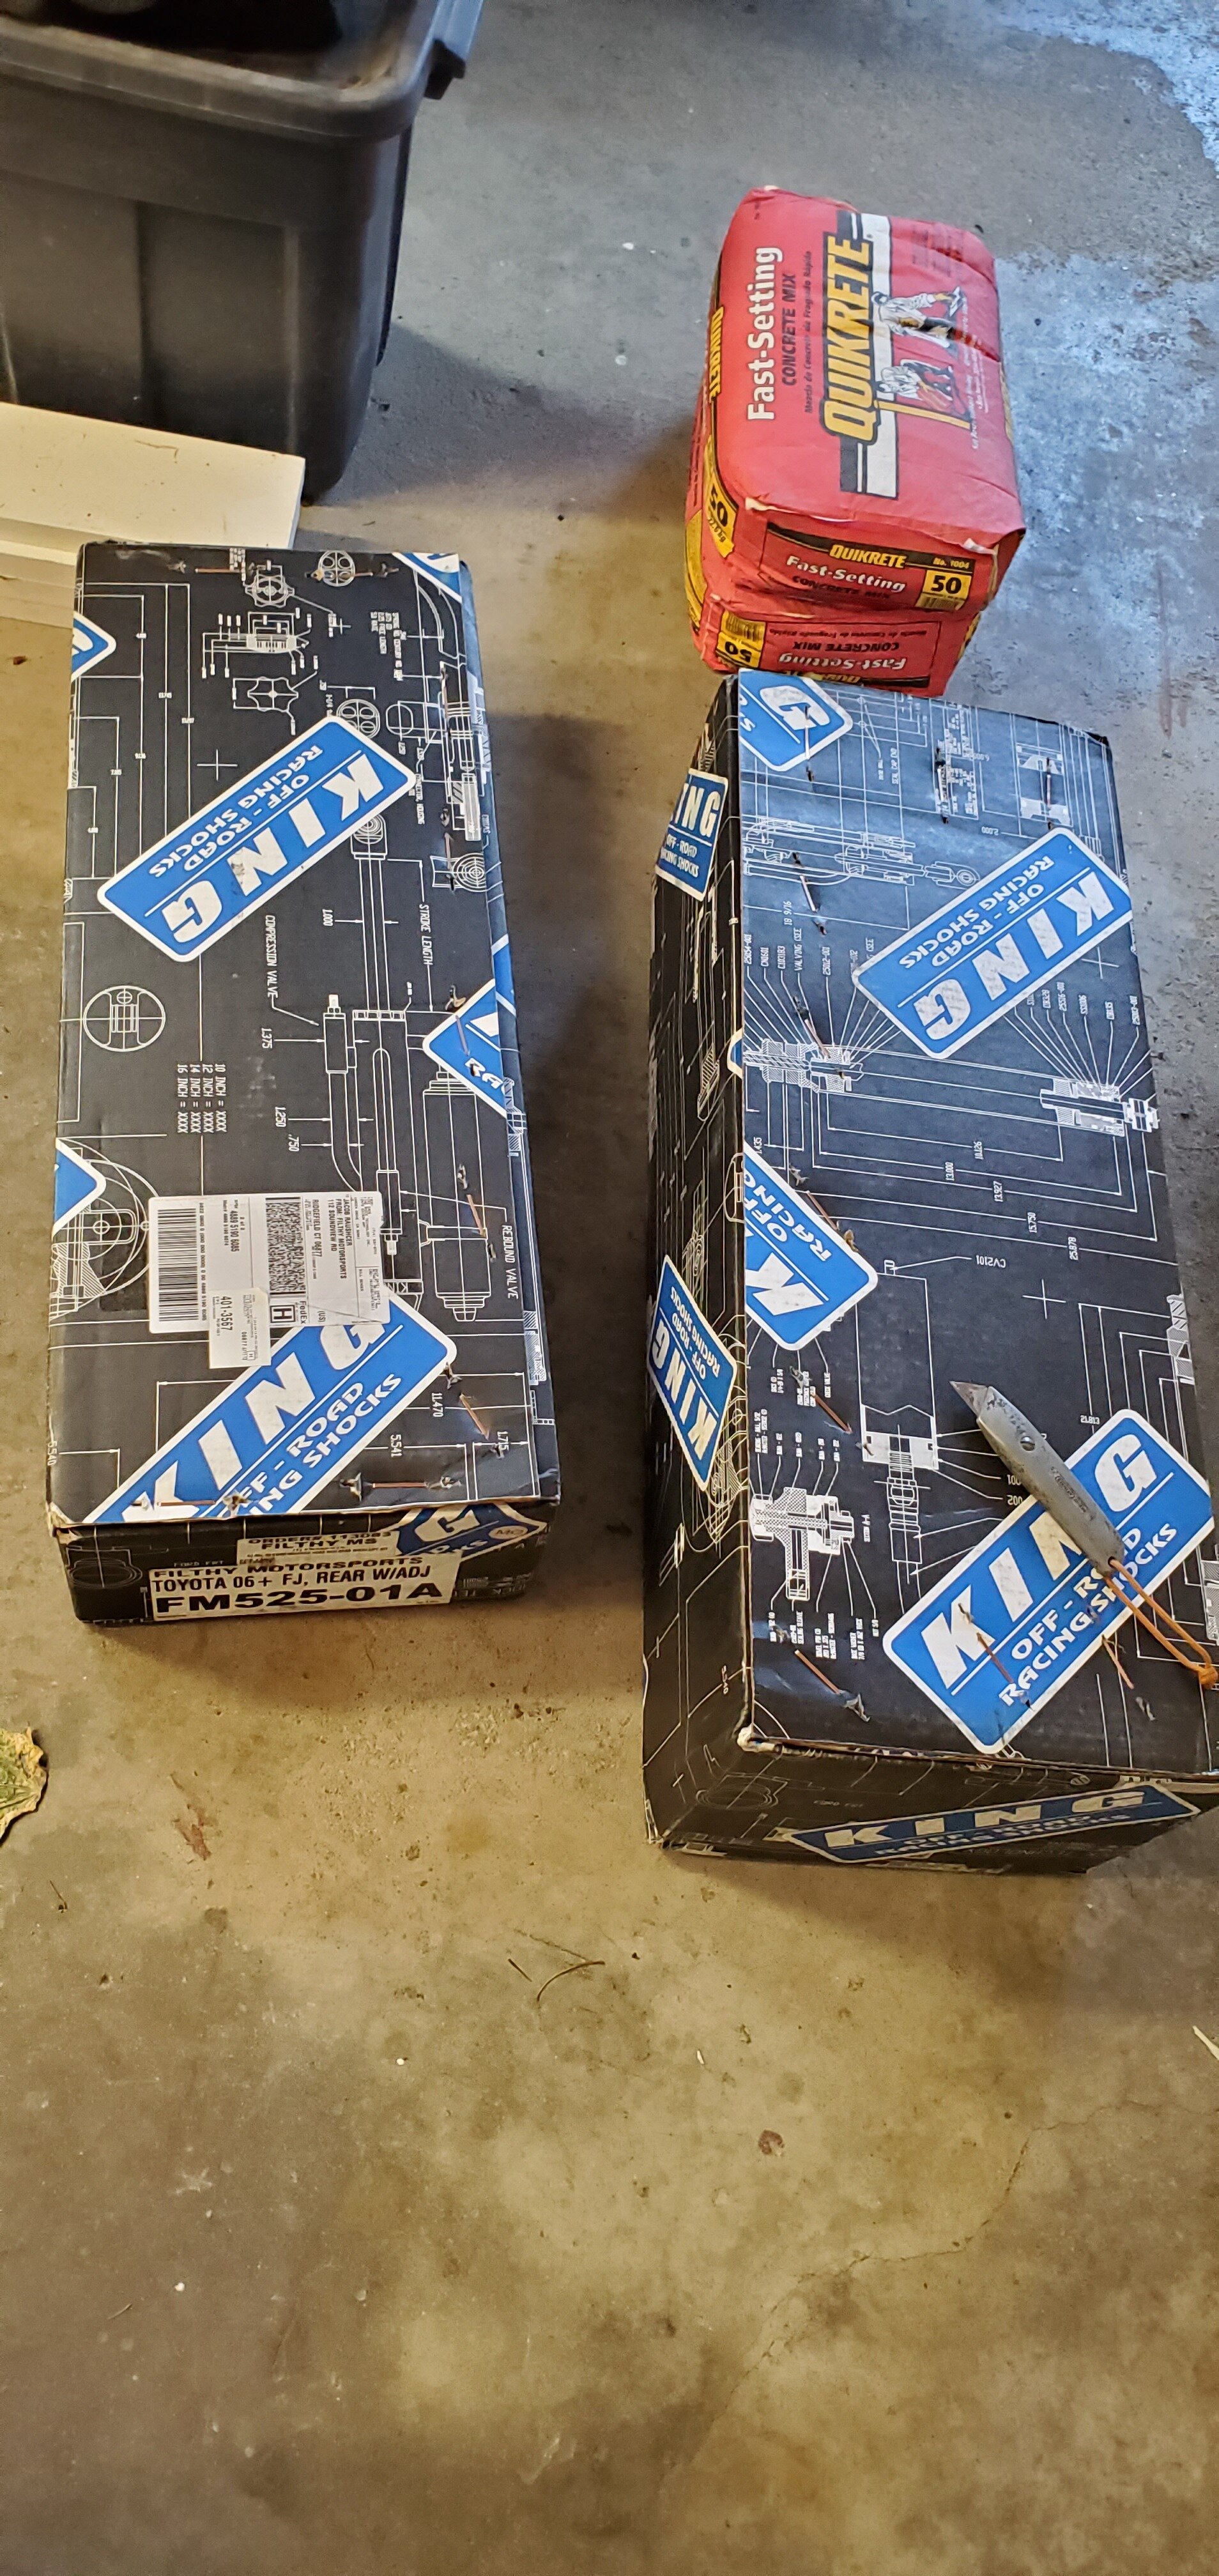
Kings have always been at the top of my list for suspension and I am super happy with my decision to go with them this time around. A number of friends of mine run JBA UCAs and have never had a problem, so they were a logical choice. The only downside is that they only come in red! Dobinsons is relatively new to the 4Runner market, but their variable rate springs really caught my eye; I wanted a comfortable ride in the rear when I simply had my tools and other EDC kit there but also be able to handle the weight of my full camping kit and kayaks loaded up on the roof. And finally, I had the KO2s on my old 4Runner, and I don’t think I would put any other tire on Po for now.

FRONT INSTALLATION
Installing them was not super difficult to be perfectly honest. I thought swapping out the UCAs was going to be the most difficult part, but honestly that was a bit of a breeze. I worked my way around starting in the front and disassembled the UCAs, struts, and sway bar mounts. Pulling those out was a cinch.
Next, the JBA UCA went in and that is definitely a 2 person job. You need to have someone feed the bolt through the mount while the other person fits the various washers that need to go in to place along the bolt. This can be fairly tricky, but a bunch of wiggling will get it through. Then the King coilovers go in to place and get bolted right up. Make sure they are oriented the right way because the reservoir mounts need to be bolted up to the sway bar mounts and it only works one way!
Finally, start bolting things back together. I made sure to go around with a torque wrench and hit all of the bolts. One thing you CANNOT forget to do is reattach the ABS line to the new upper control arm. You do not want that thing to stretch out to much or you are going to have a costly dealership experience on your hands…..And now on to the rears.

REAR INSTALLATION
I started in the front because I thought that was going to take the most time. Little did I know… Installation on the rear was not hard, just incredibly time-consuming. Removing the old suspension was relatively smooth. The top nut on the rear shocks is always the biggest pain point; without room to get a full wrench around there, you can really only get a 1/4-1/2 turn each time you grab it. Luckily, once you get the rear shocks and sway bar links off, you can basically push down on the rear axle and the stock springs will fall out.
The Dobinsons springs are MUCH longer than stock, so getting them in the mounts was a pain in the ass. I started out by using spring compressors (which I absolutely hate) and kept having to compress them more and more. We finally got the spring in the mount, but then I didn’t have any room to remove the spring compressor….DOH! To combat this each, I ended up unbolting some brackets and lines to get an extra couple inches of droop out of the axle. And it worked! The two springs popped right in after an hour or so of fighting.
Next, the King shocks went it. Getting them in was easy, but that damn top nut was a pain in the butt again. The nut that king uses is larger than the stock nut, which makes getting a wrench in there even harder! After about 200 quarter turns, I was able to torque it down to the specs outlined in the instructions. After that the lower bolt popped right in and I torqued that just the same.
Finally, I lengthened the Dobinsons sway bar links to set the sway bar angle to be factory and bolted them up. No fuss no muss there, so at least that went smoothly
And to close it out, I simply drove around the block a bit, listened to anything rub, cycled the suspension a number of times, and went home. I re-torqued everything to make sure nothing had come loose and started some minor trimming on the fender liner and bumper. I am still rubbing at full lock in reverse, but I don’t think I am hitting the body mounts, so that is good! I might do a body mount chop in the future as I will definitely hit them when the suspension compresses. All in all, I am incredibly happy with how it came out and can’t wait to hit the trails and campsites with this bad boy!
I will report back with a review after 5k-10k miles to see how the whole kit has been treating me. Stay tuned!