Mod 16: CB and HAM
Finally getting around to installing these off of the old 4Runner. In my 4th gen, I ran CB for some of the dinosaurs that I offroad with who haven’t gone to HAM yet, and I run HAM because it is superior to CB in virtually every single way in my opinion. Installing these was not tricky at all in the 4th gen, so lets see how hard it is on the 5th gen!
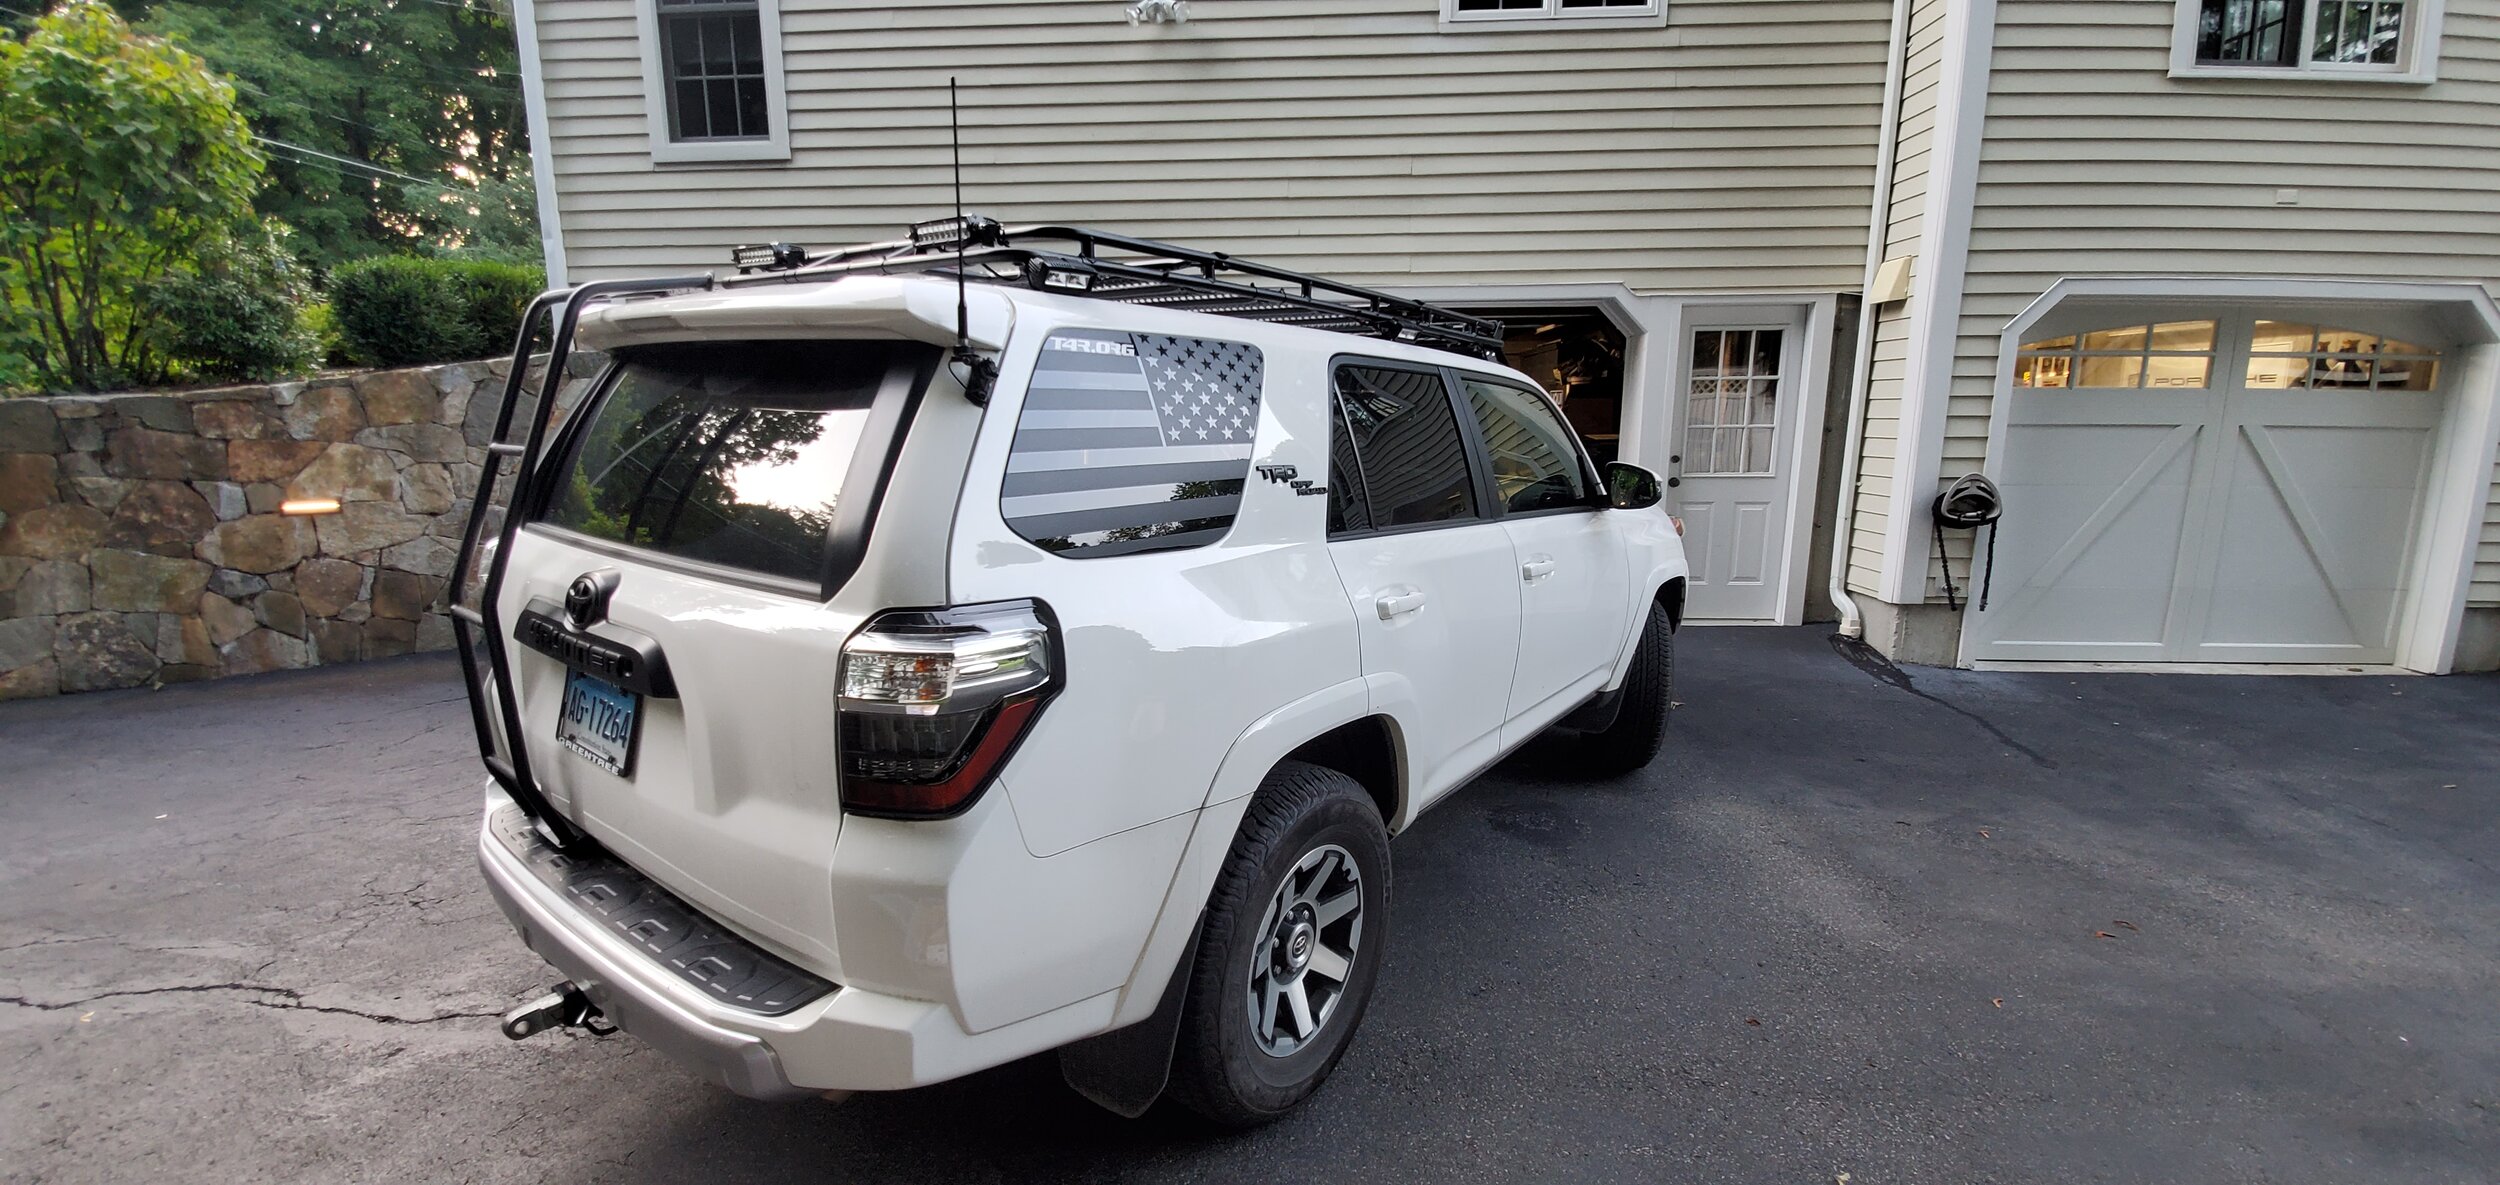
I started with the part that took me the longest; running the cables. As with my previous build, I decided to run the HAM antenna on the passenger side of the hatch and the CB antenna on the driver’s side. I started from the back and worked my way forward this time around, running the CB coax, HAM coax, and the wiring for my reverse lights while I was at it.
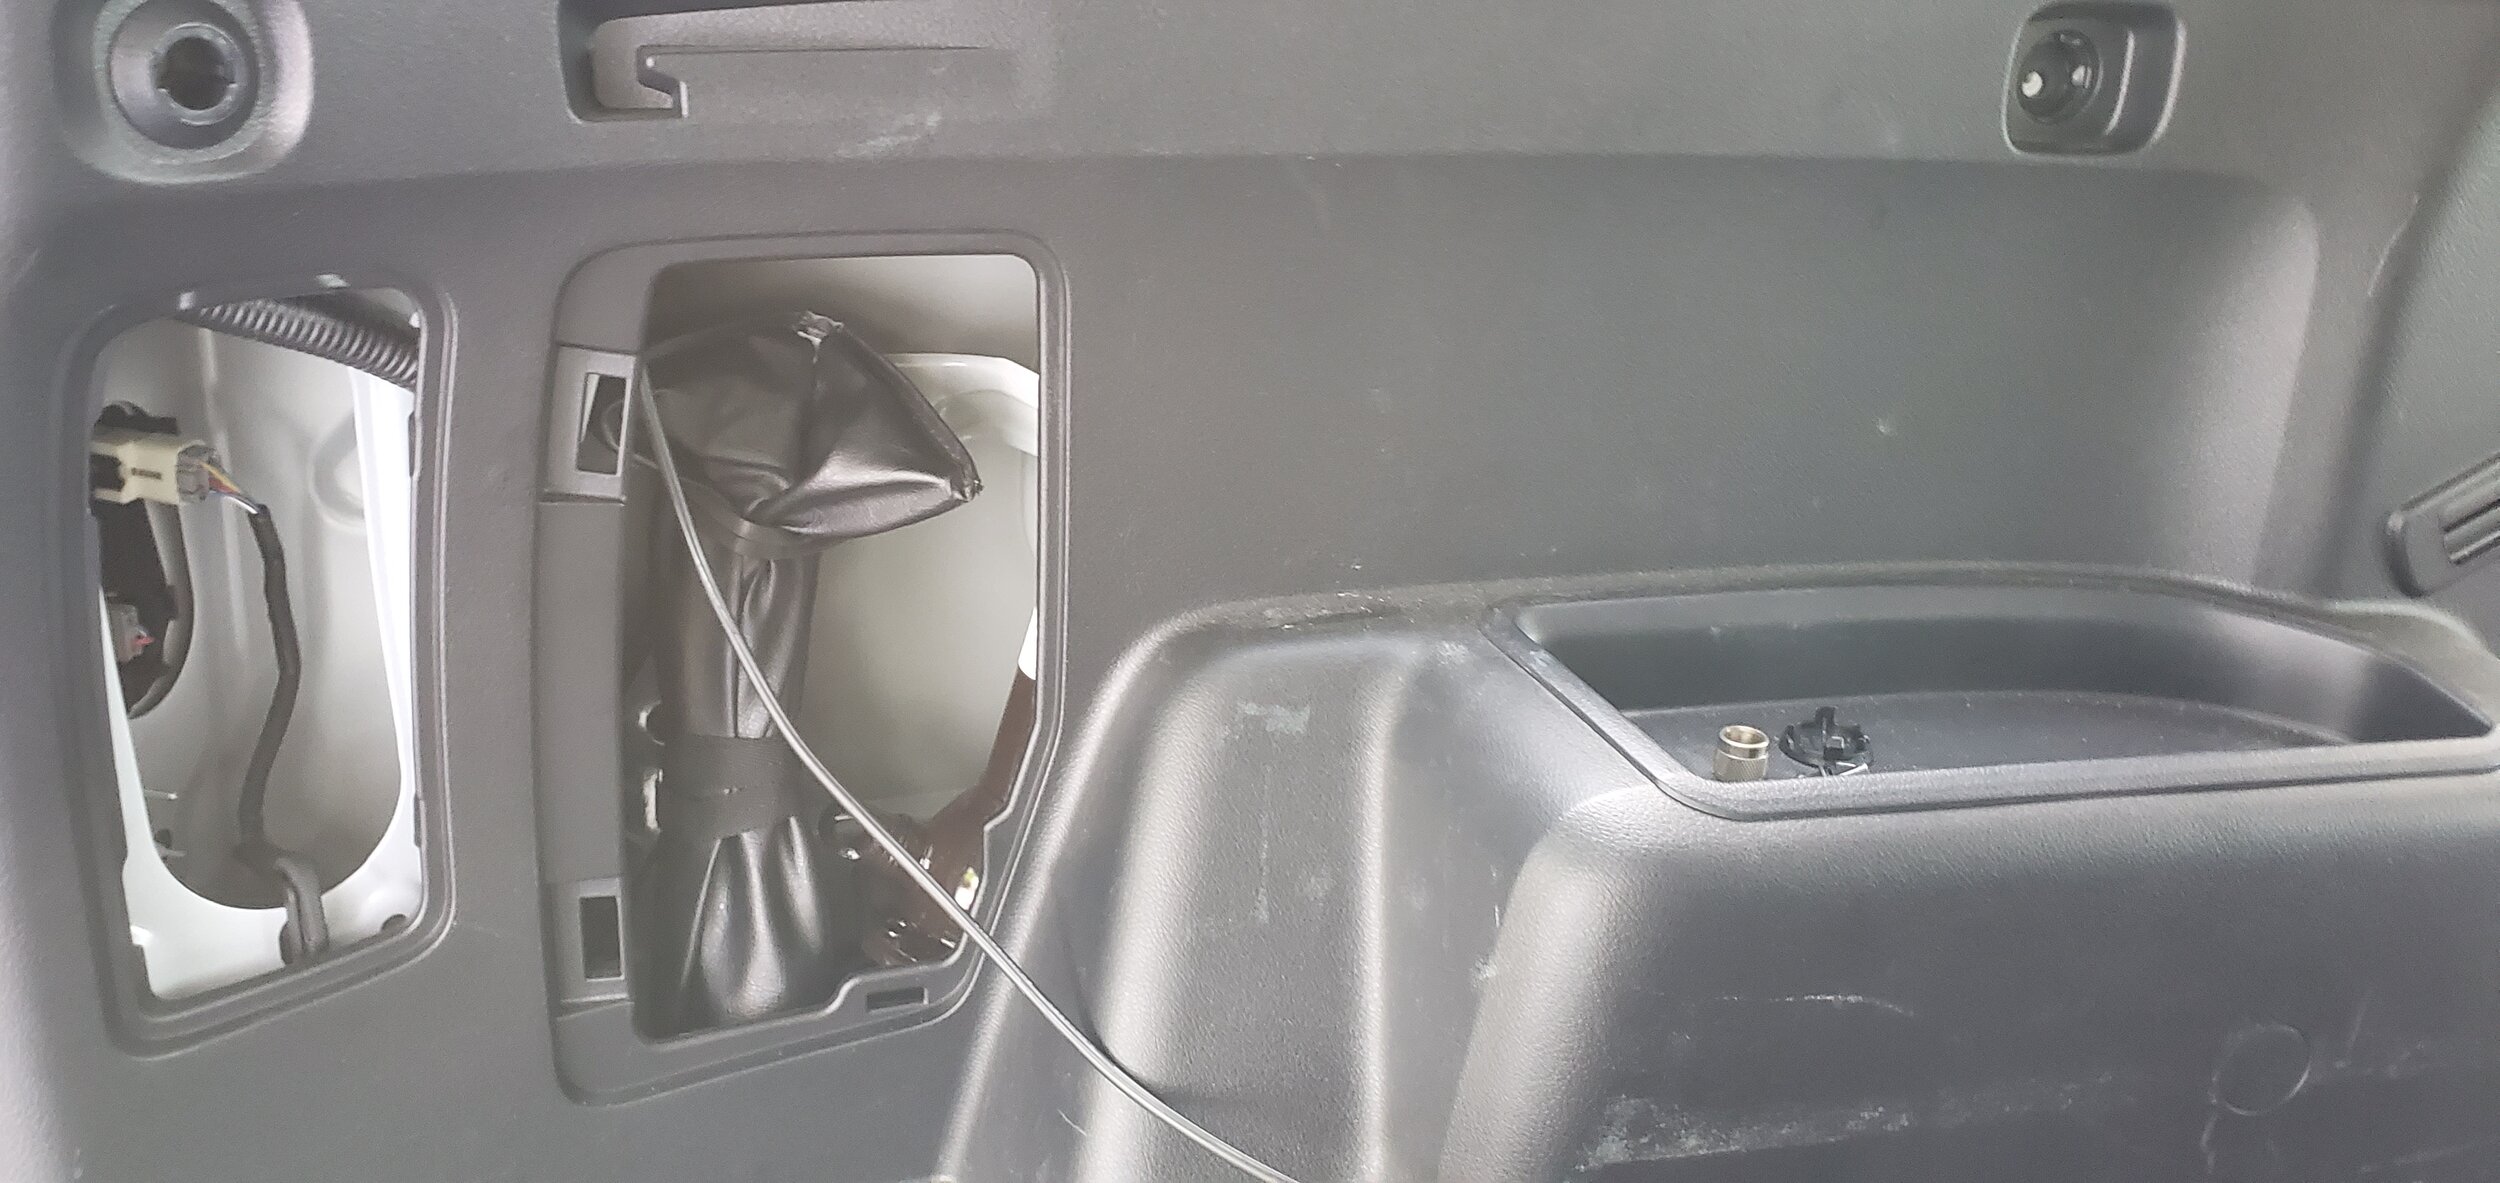
I started by slicing a small hole in the grommet that has the other wiring. I ran the wires in as far as I could in to the headliner, and then slowly started trying to fish them down the pillar. This can be really tricky as the pillar can be hard to break free. I ended up popping off the top of the rear pillar, reaching for all of the cables, and then pulling them straight down in to the jack area.
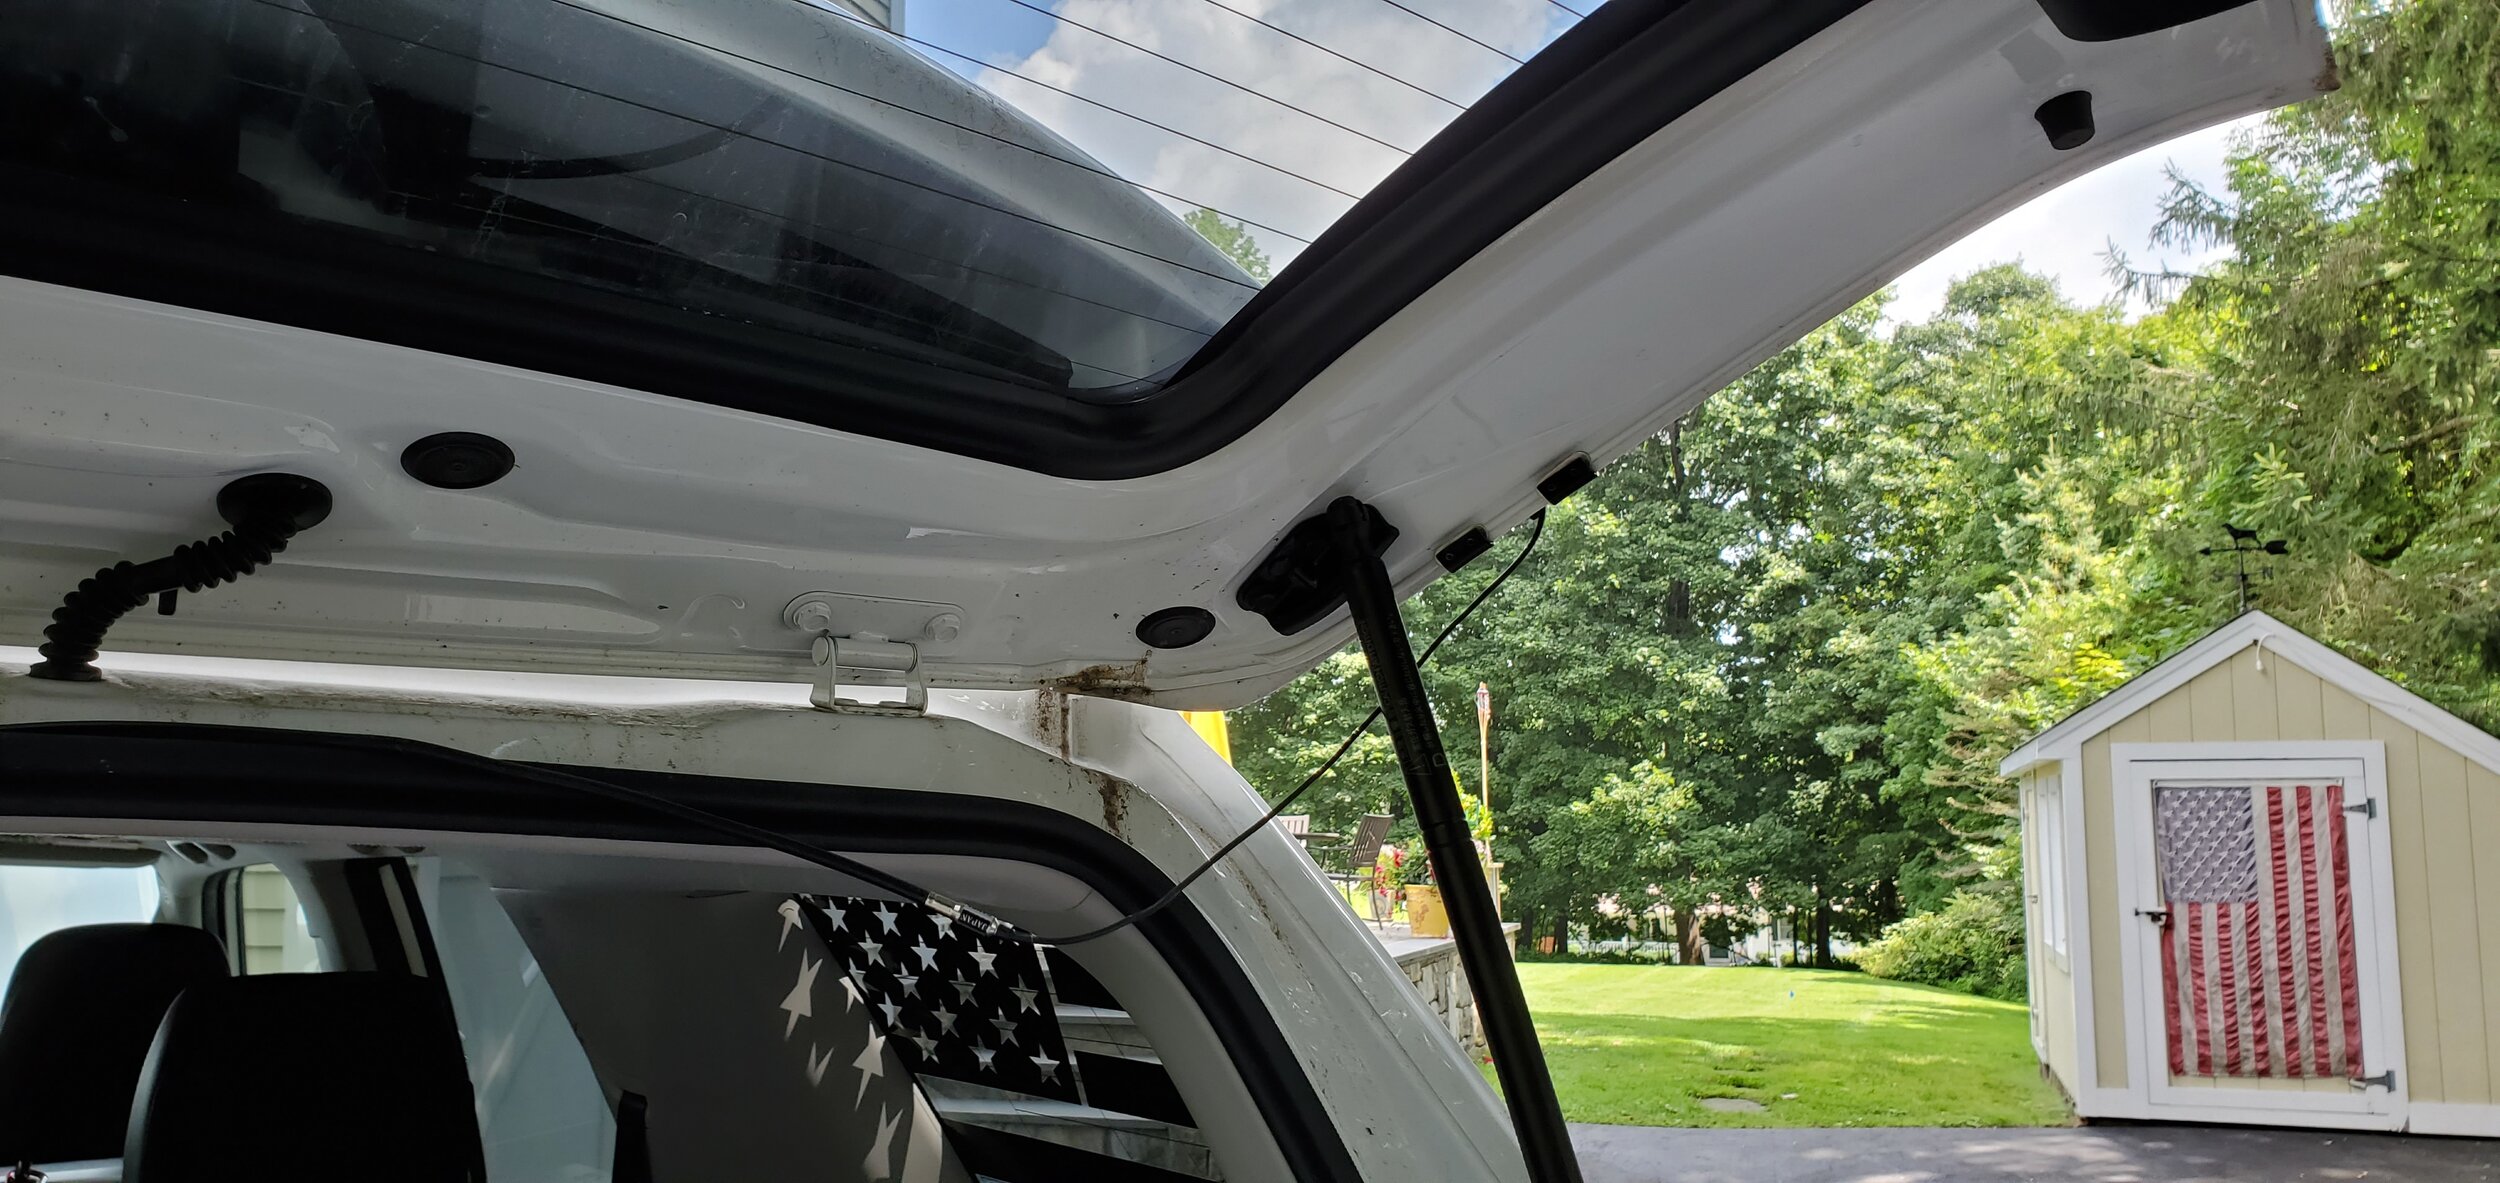
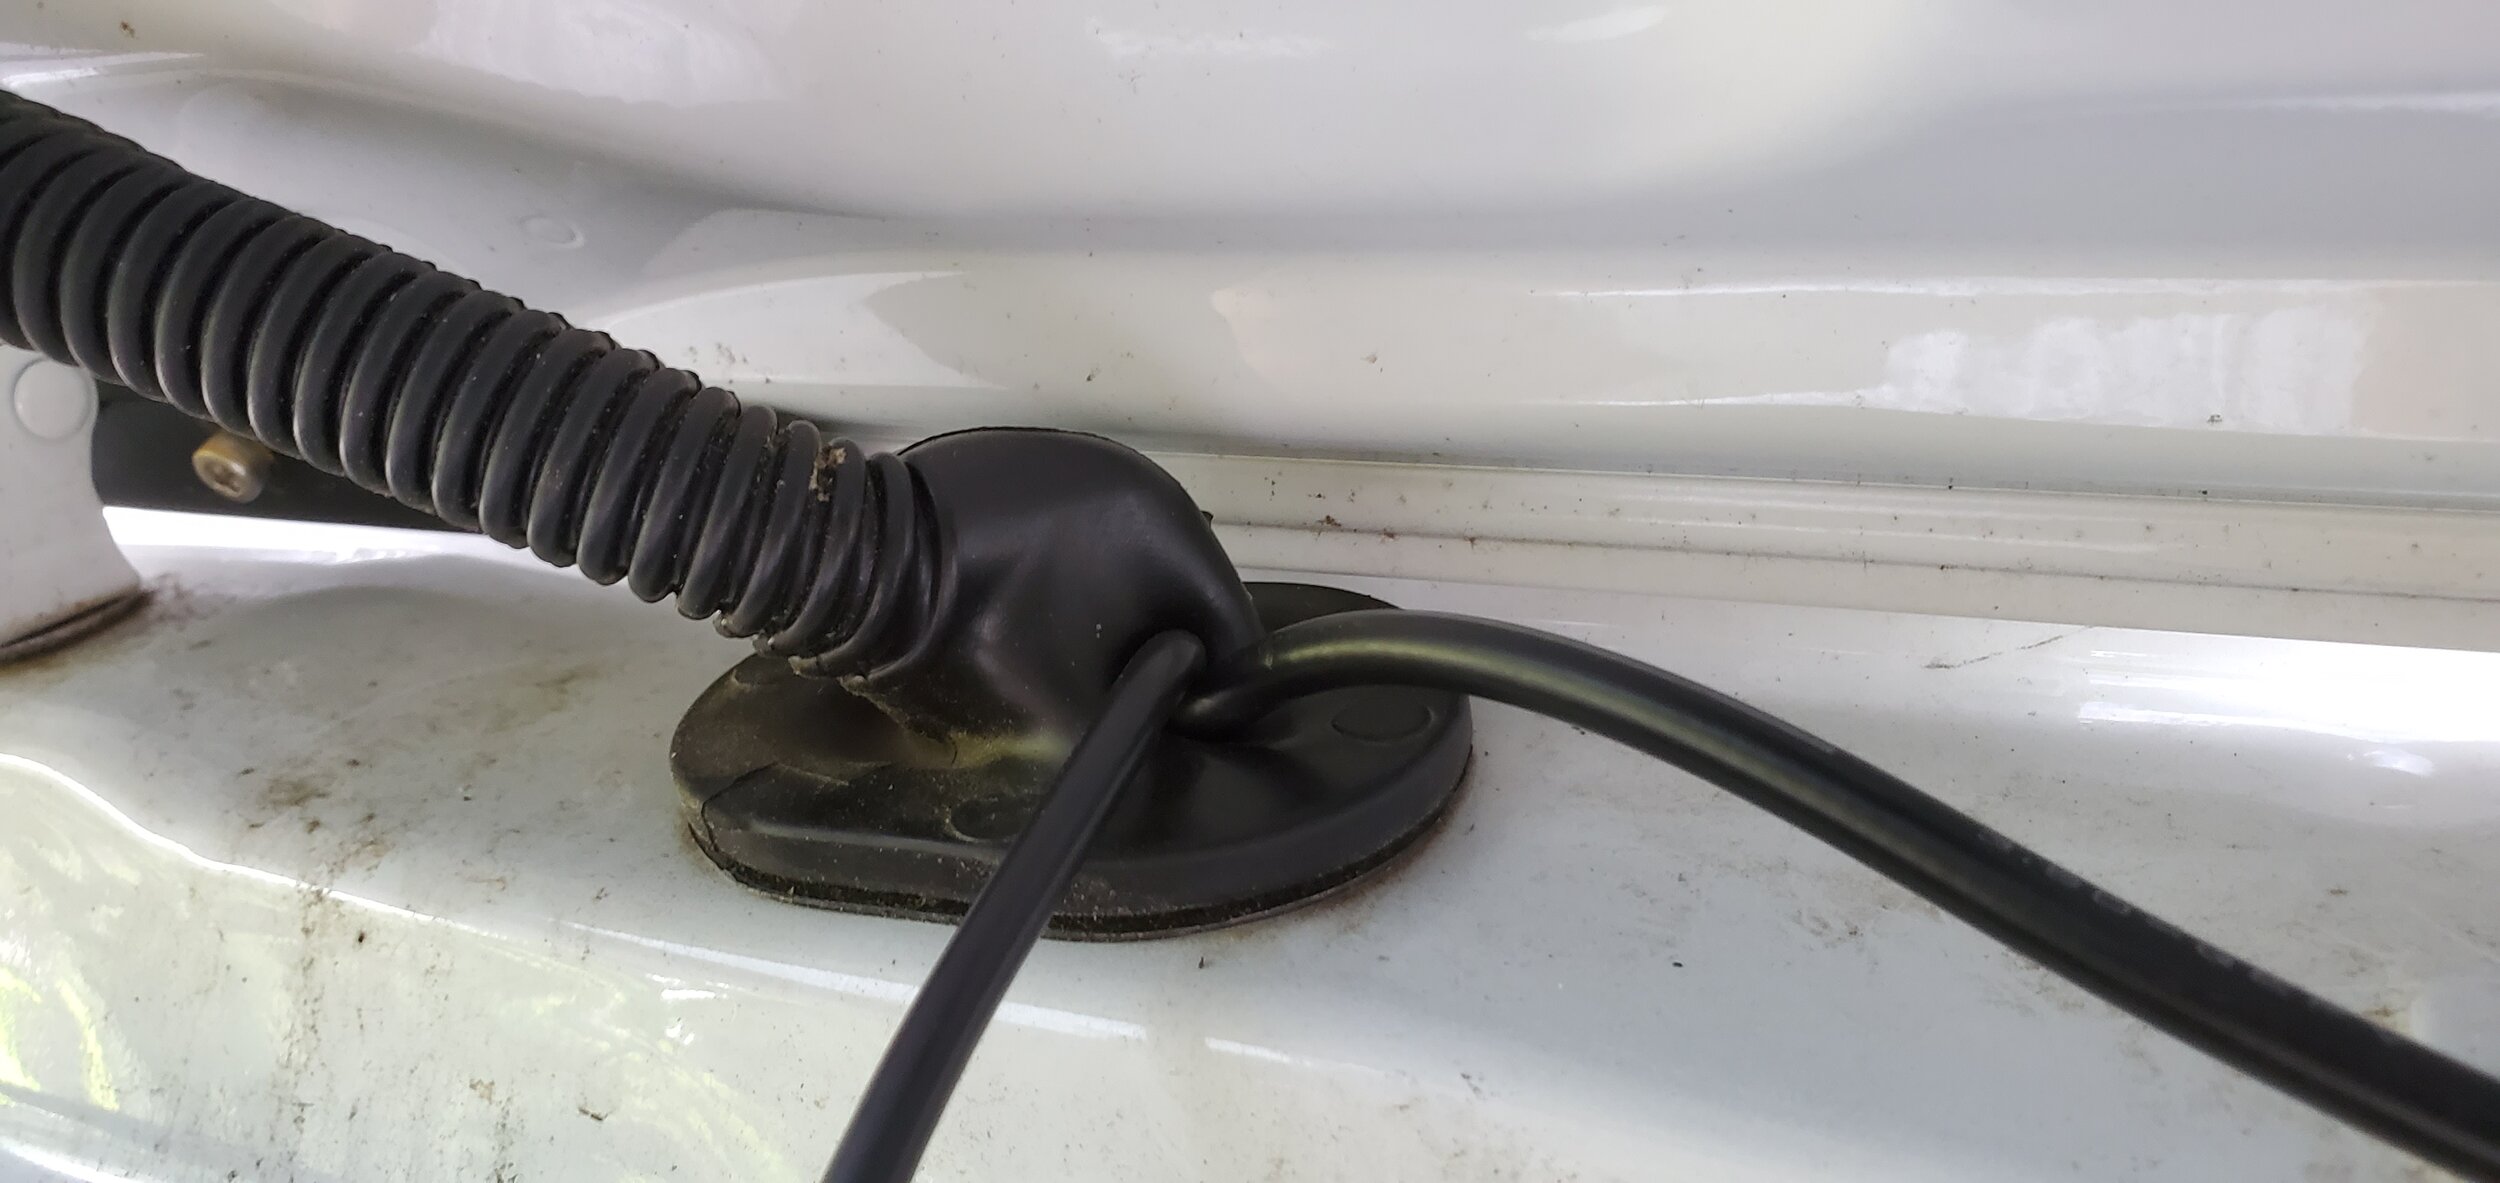
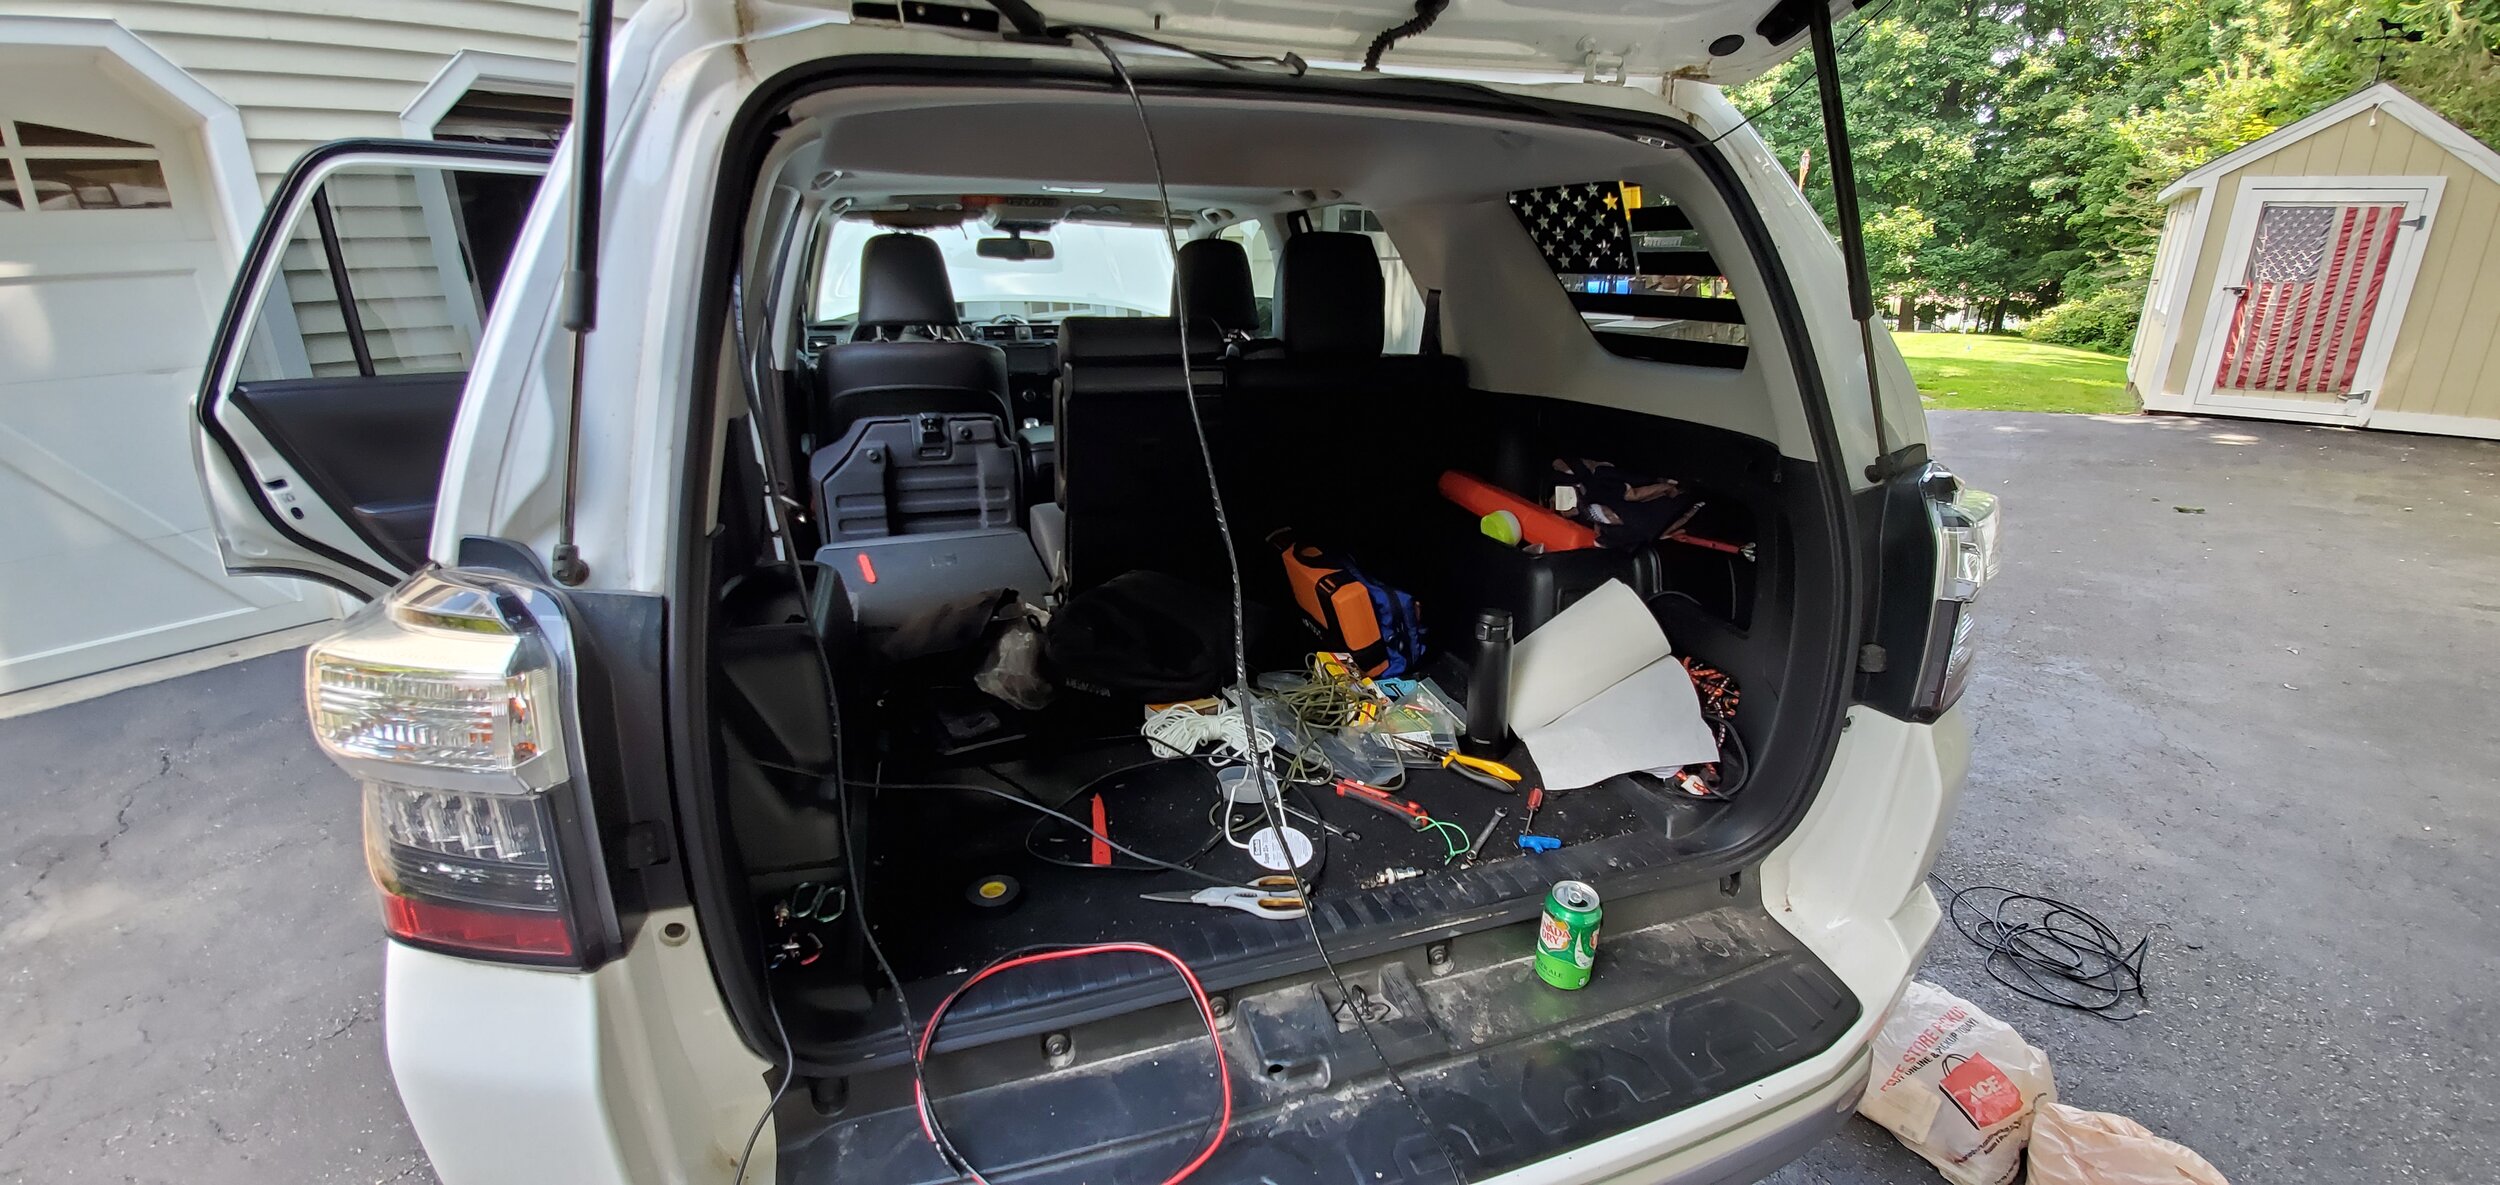


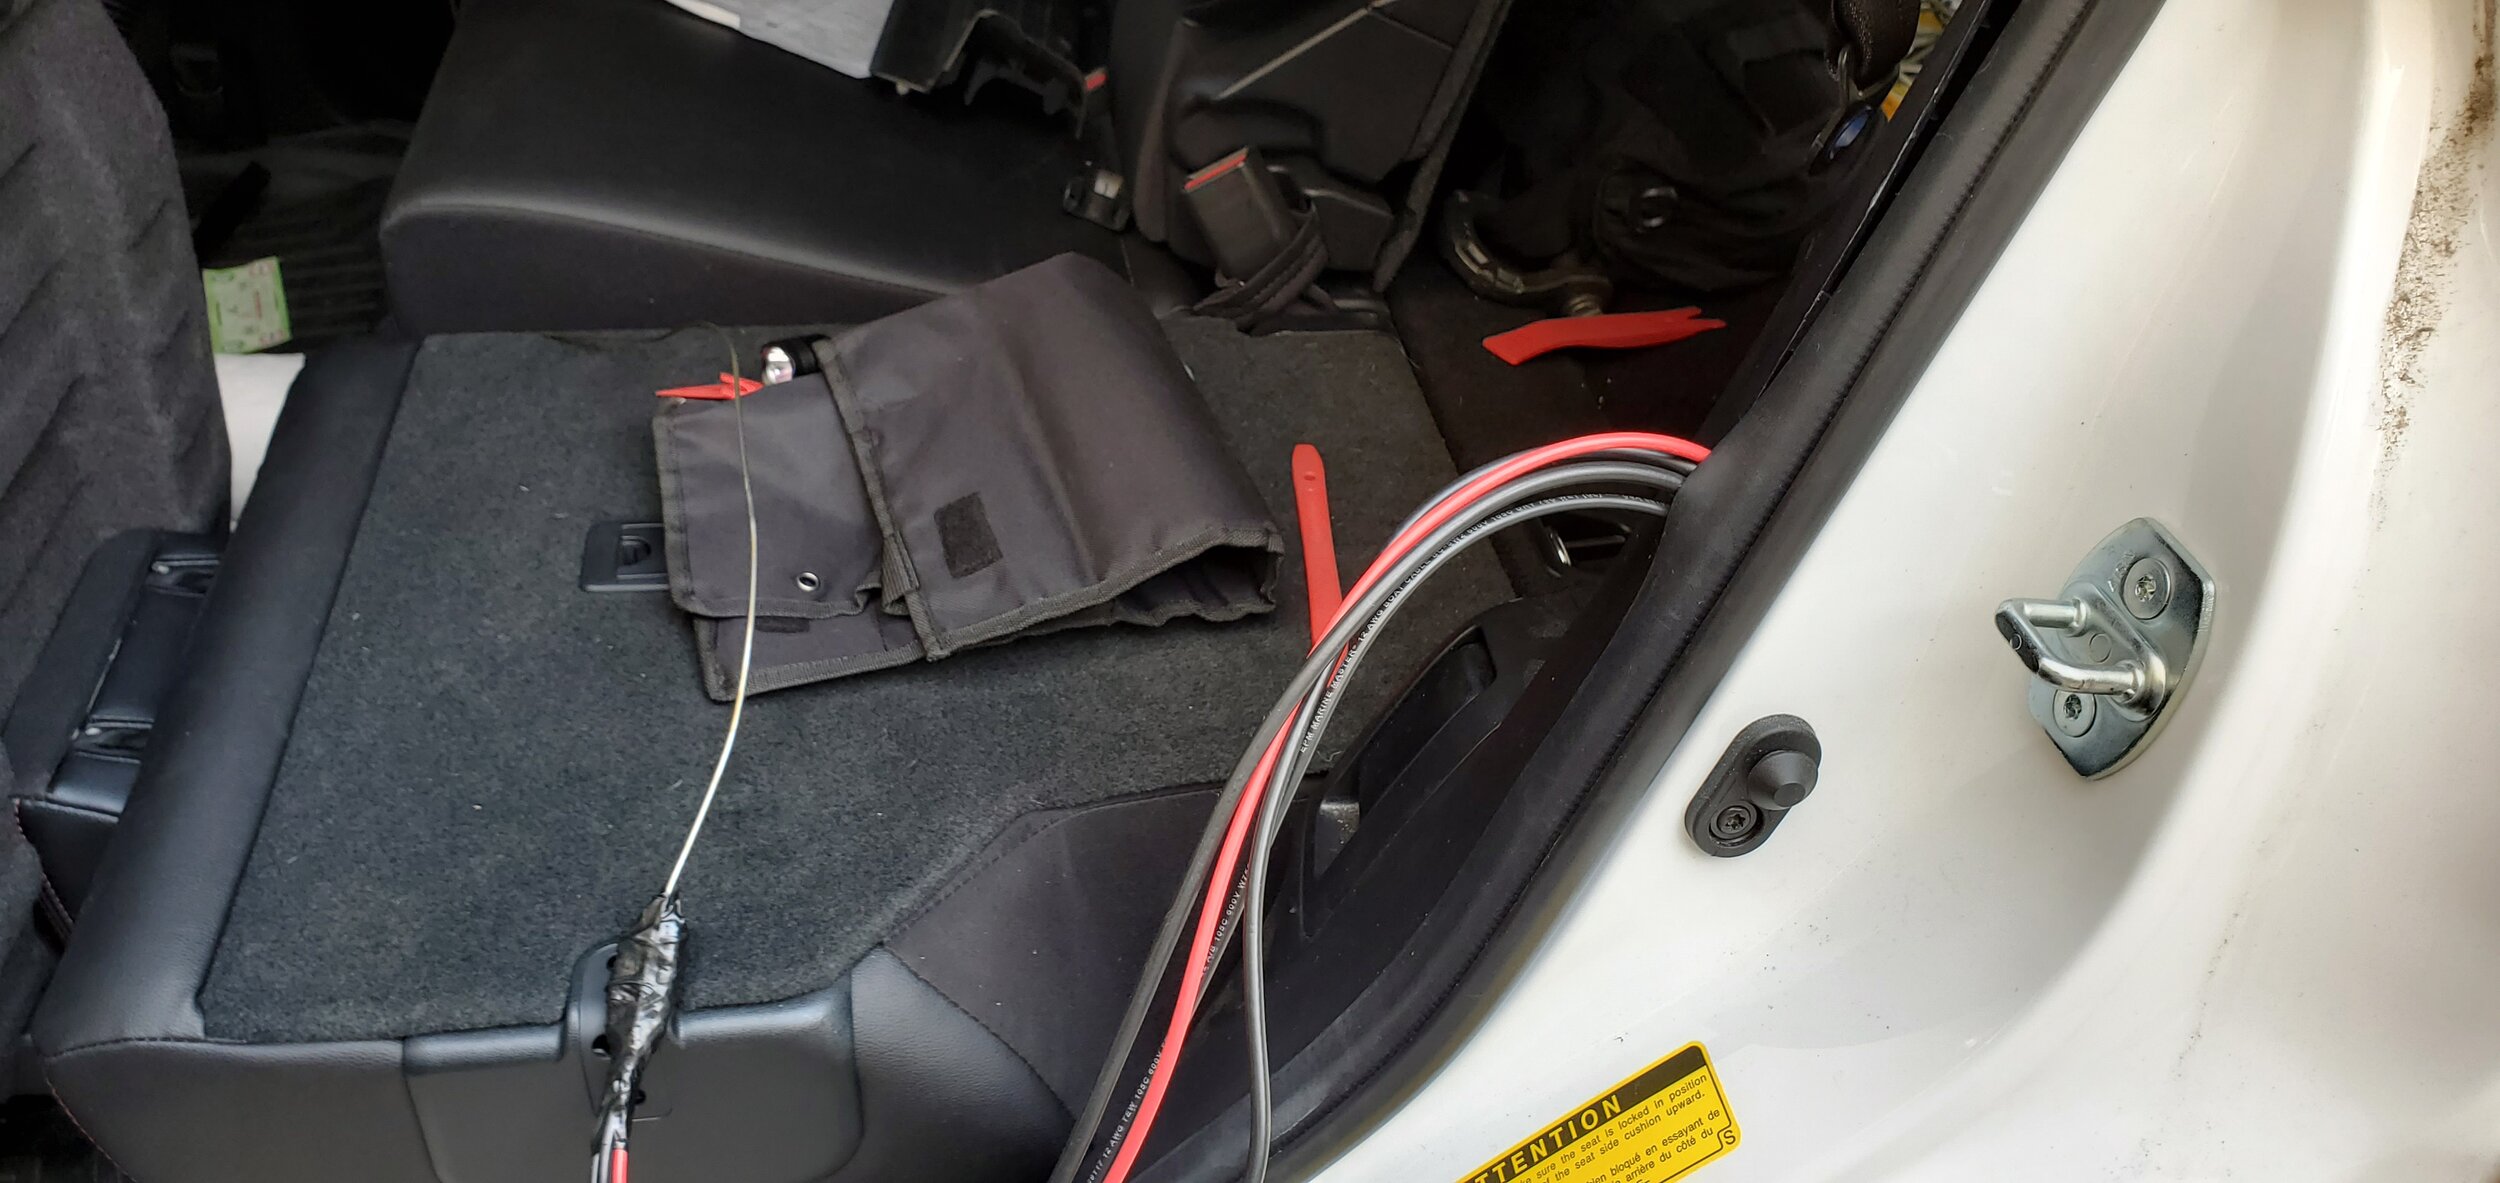
You can see how messy the rear of the truck was while doing this. Once I got everything down to the jack area, I had to run it through the quarter panel. This was REALLY tricky for me, but maybe I was doing it wrong. I started by running the wires as far as I could, and then I slowly poked and lifted them along with a wire hanger. This allowed me to lift them over certain obstacles behind the plastics and push them through some tight gaps. Once you finally run it down to the seat and seatbelt area, you are basically home free.
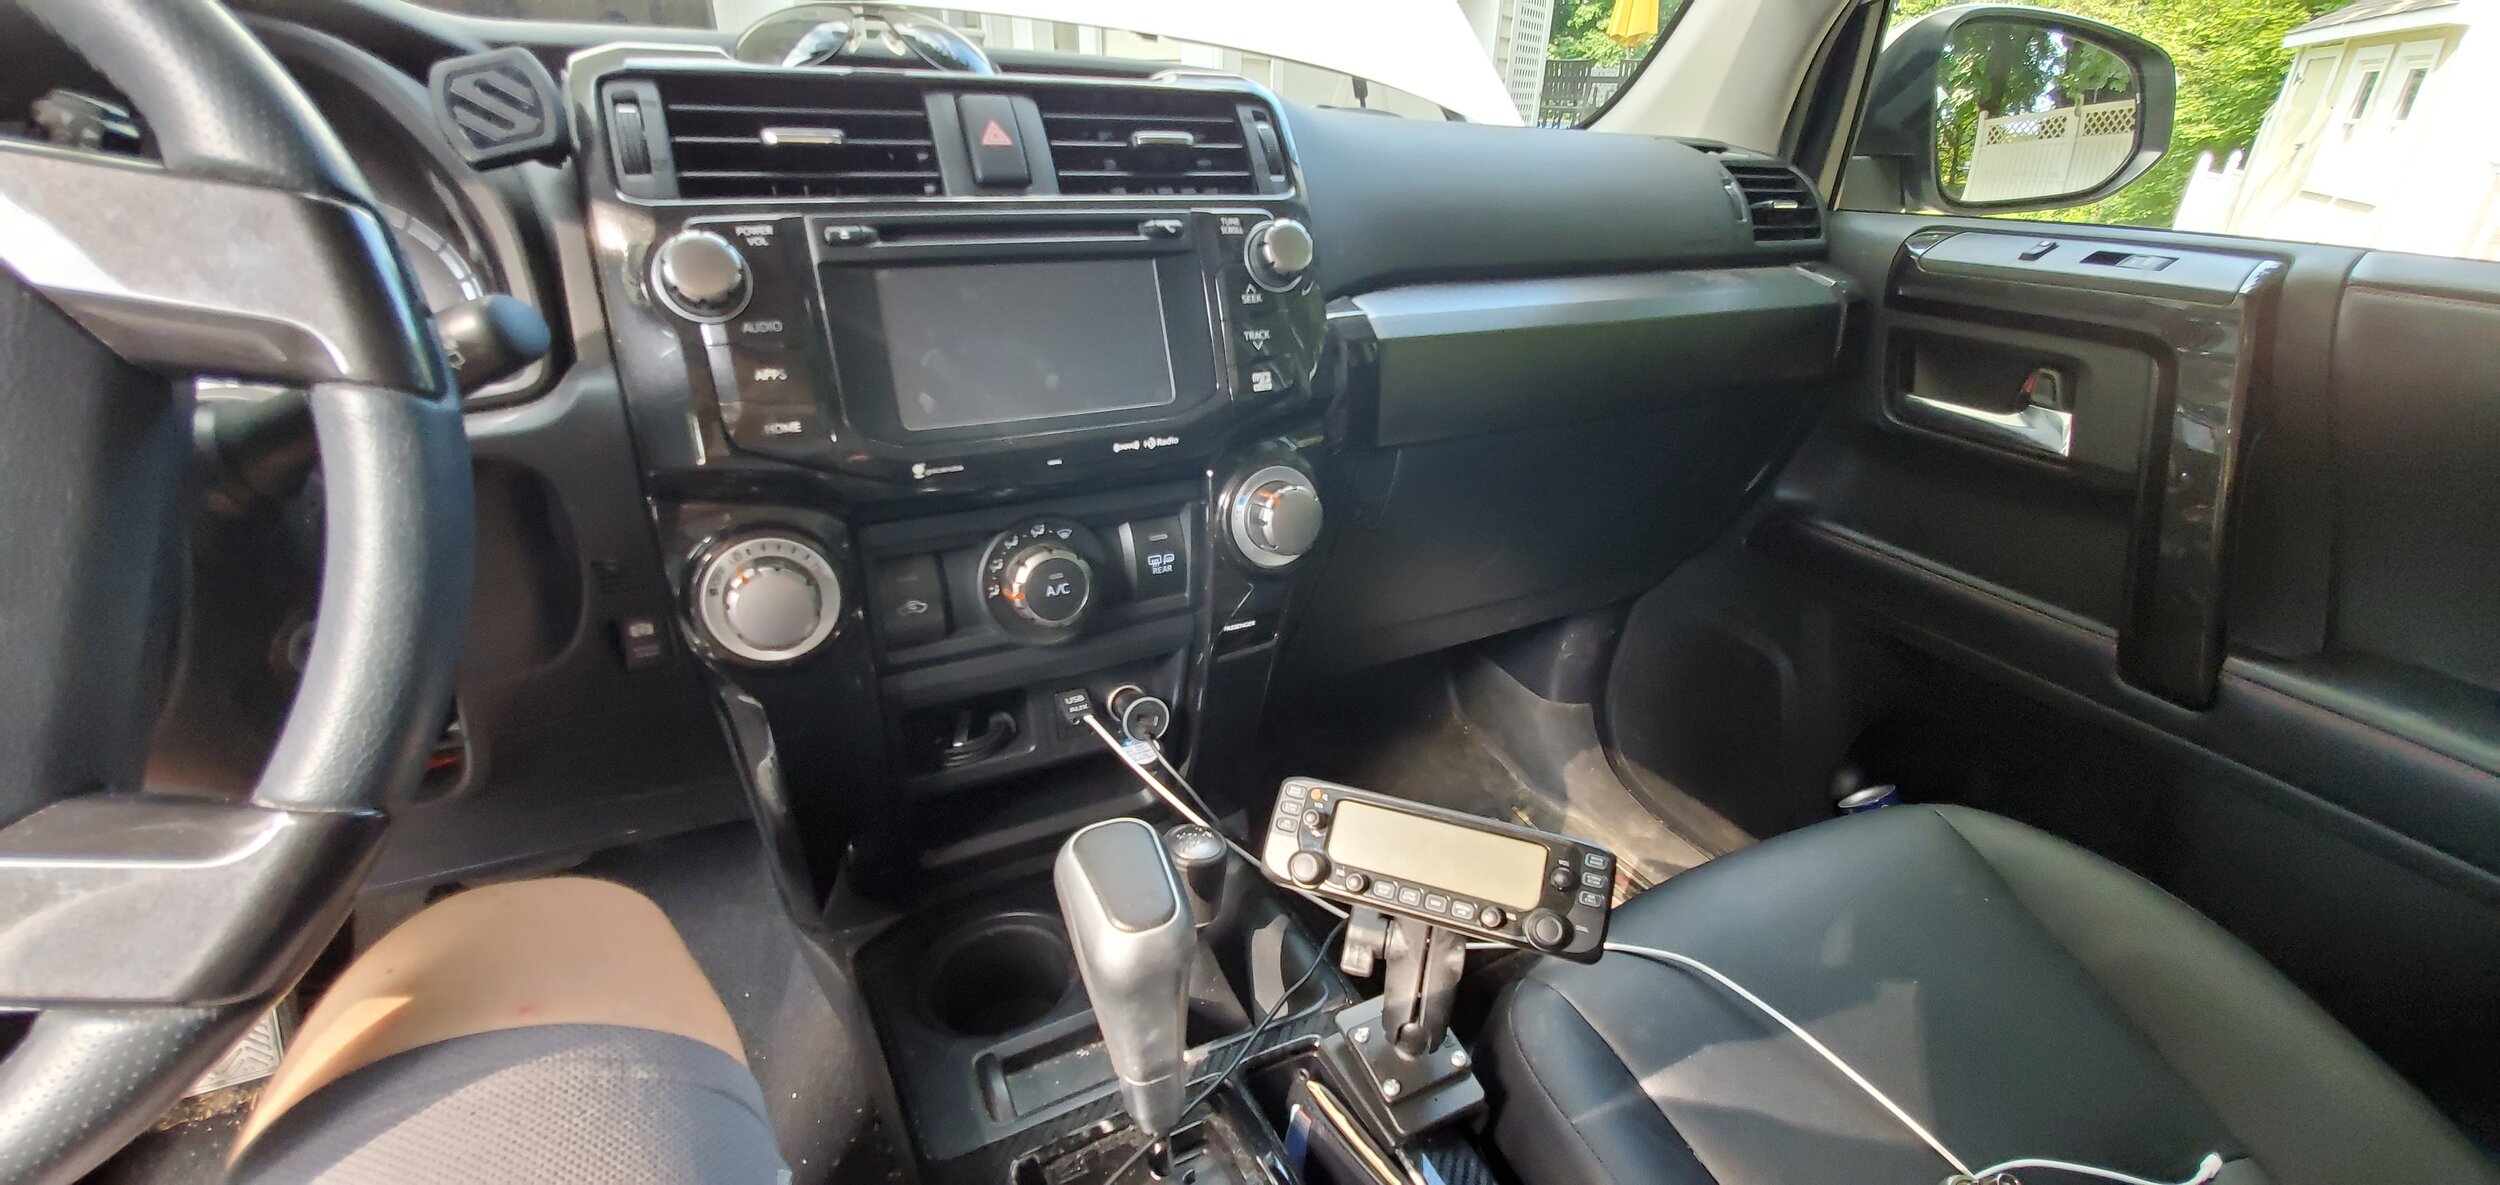
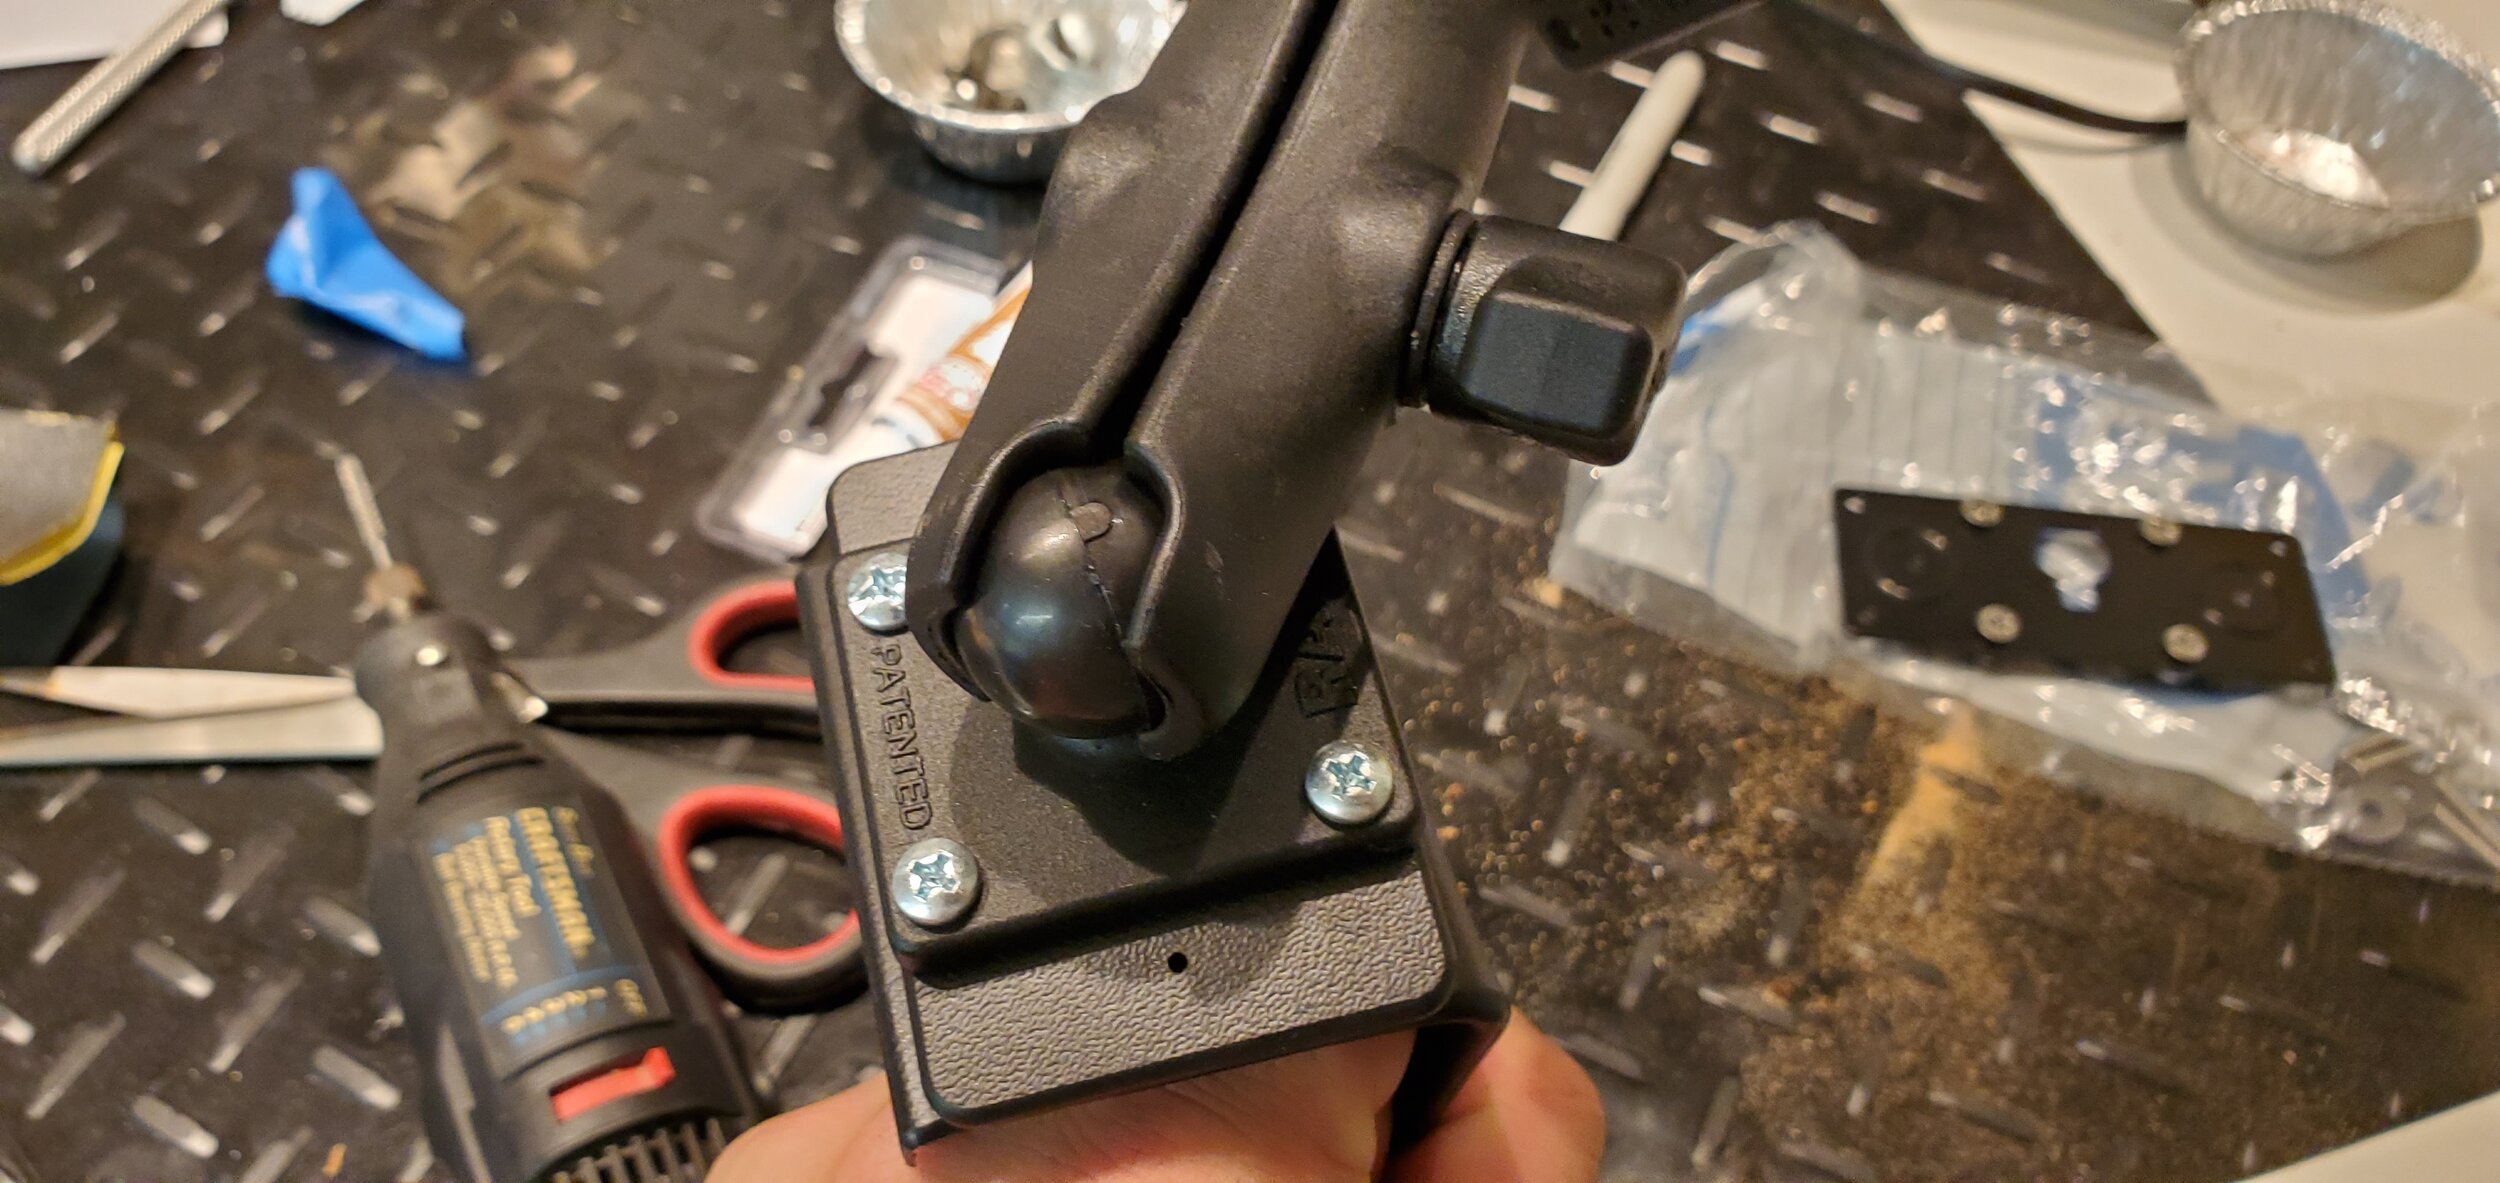
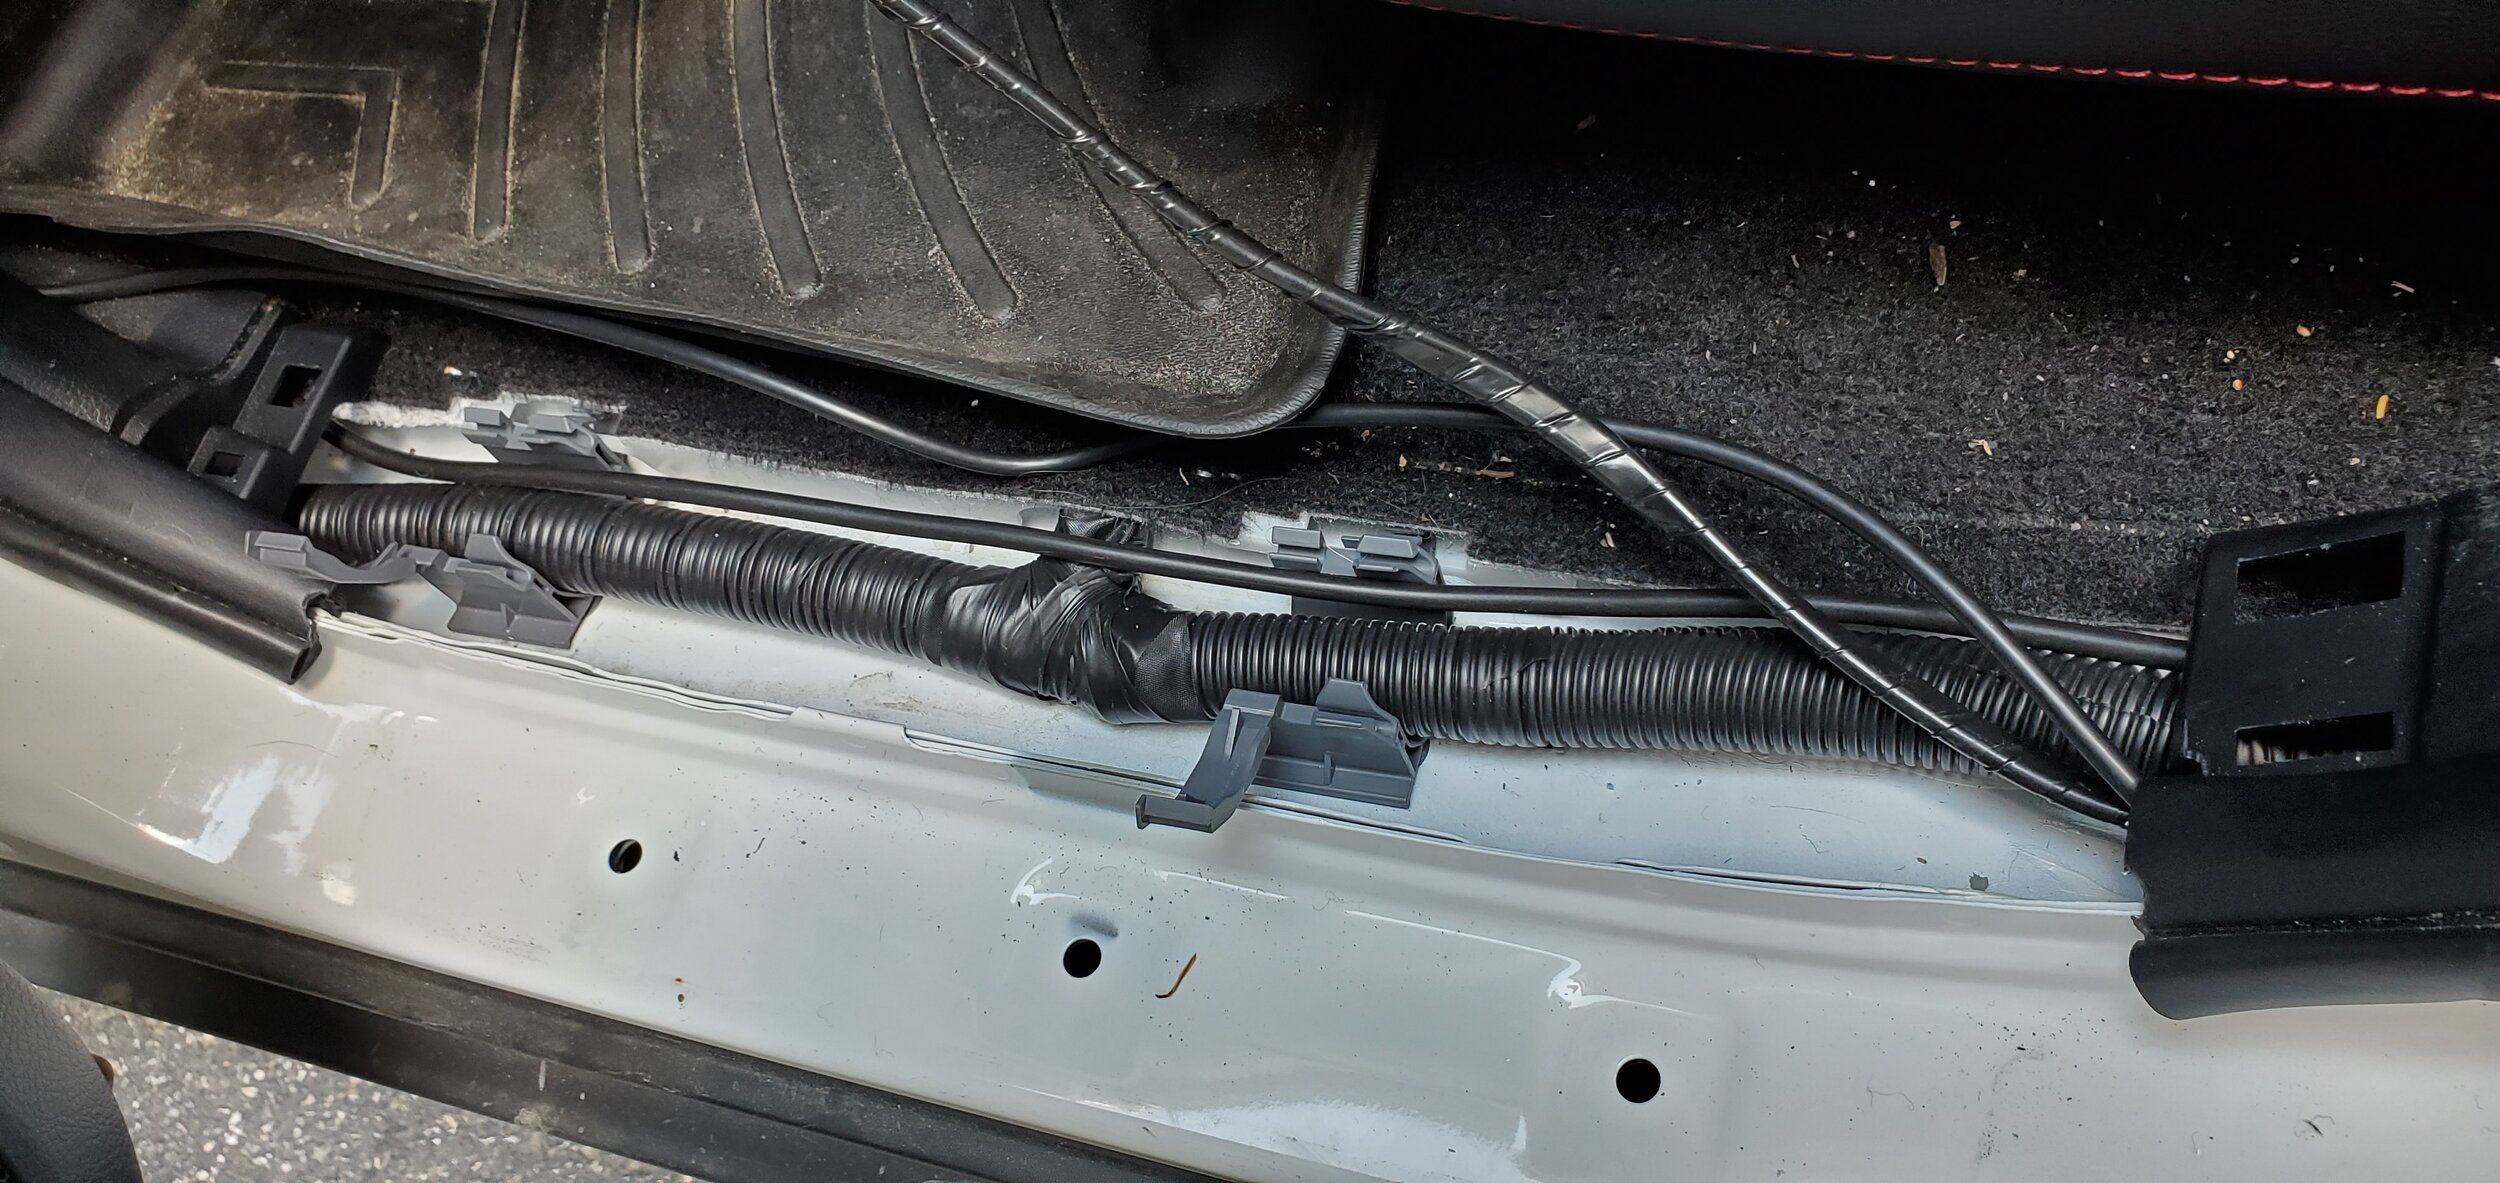
Start by popping off the trim guards in the footwell for both the front and rear doors. Run your cables all the way up to the front and under the driver seat, and you will be good to go. I am using a Cobra 75 (not pictured cause I installed later) and an Icom 2370A Dual Band HAM radio. The Cobra 75 has a small box that I put some velcro on and placed under the driver seat. I ended up running the cobra so that it sat on a mic mount right by my left knee. The Icom on the other hand is a bit trickier to install as you have to deal with the handheld radio, the faceplate, and the actual radio body. Again, I placed some velcro on the radio body and put it under my seat. I used an adjustable RAM mount and the magnetic backing plate to get a clean install on the face plate on the right side of the center console. And then finally I ran another mic mount on the right side of the center stack to hold on to handheld radio portion.


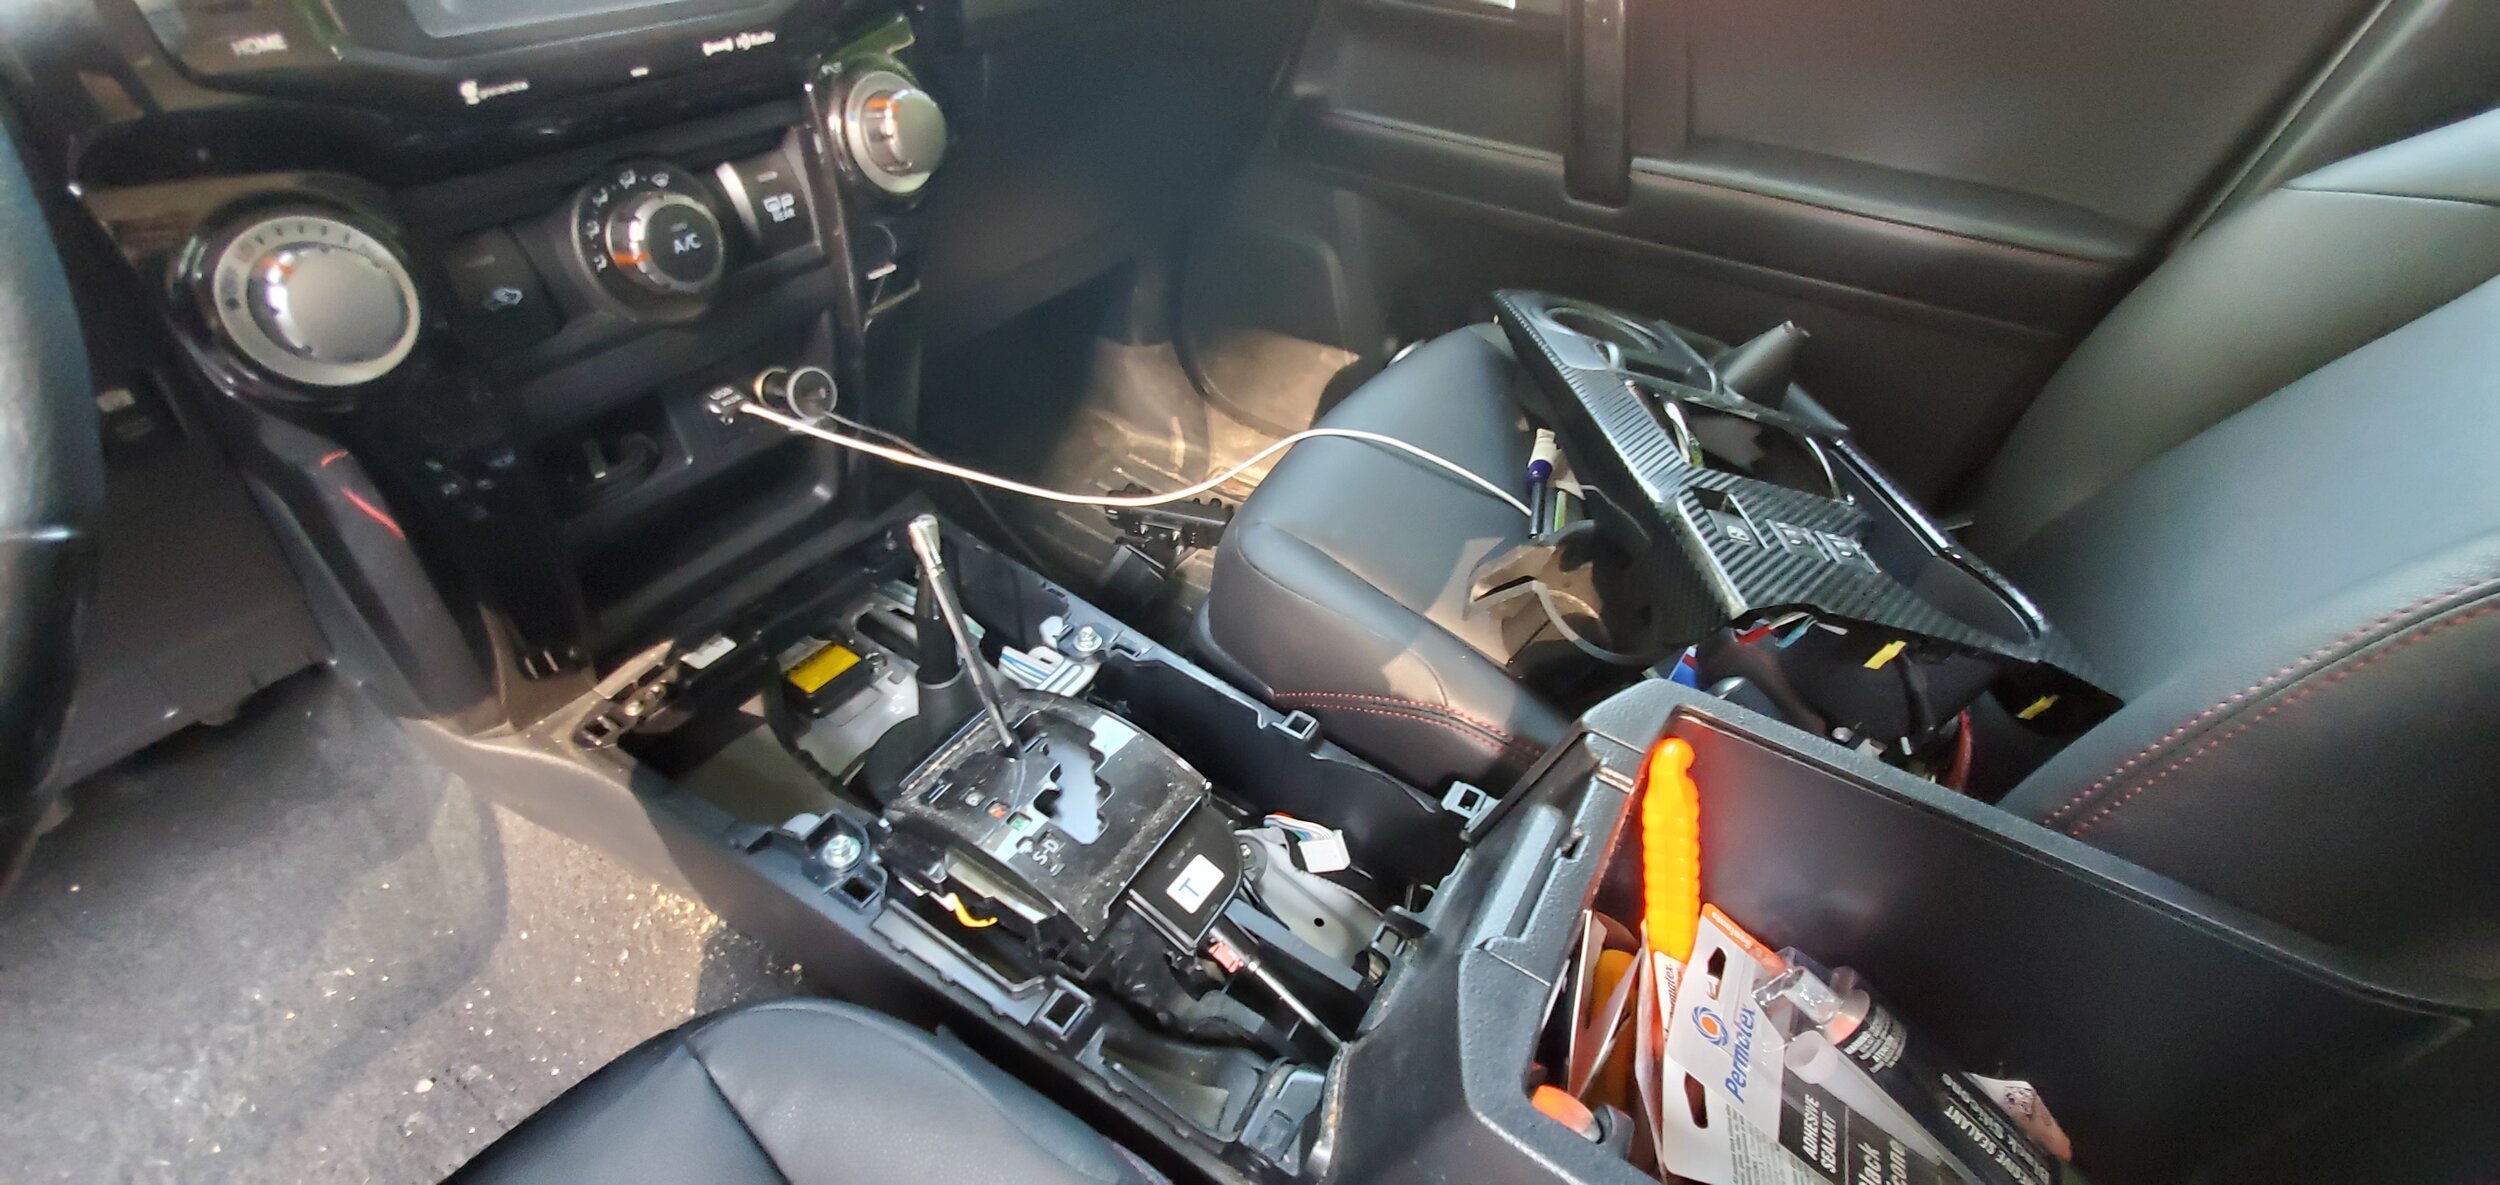
All in all, I really like the way these radio installs turned out and I would highly recommend other people install in similar locations. I haven’t found that the CB gets in my way at all while driving, and the Icom handset doesn’t feel far away or anything. I can easily reach for both without having to take my eyes off the road. And as a bonus, we haven’t found the handset or the faceplate to get in the way of the shifters, cupholders, or the passenger seat!