Mod 22: DIY Valence Vinyl Wrap
From the factory, the TRD Off-Roads come with front and rear bumper valences that are glossy silver color, and that was just not jiving with my black and white color scheme. I wanted to change these to black, but I wanted to do so in a way that wasn’t going to be irreversible. Looking through the forums and asking around, it seems like there were a few options that would have worked.
First, the tried-and-true plastidip. It’s cheap, it’s relatively easy to work with, and it can be peeled off whenever. I originally was going to go down this path, but I just wasn’t sure if plastidip was up to task of handling rock bumps and gashes. Furthermore, it seemed like you had to spray a fairly thick coat or multiple coats and even then peeling it off could be a pain in the butt. That led me to look in to the next option.
A factory valence replacement from Toyota. While they look great, I didn’t consider this option for very long for a couple of reasons. First, they are expensive. For a simple piece of plastic and clips, it was going to cost well over $400 to replace the front and rear. That’s CRAZY. And second, there isn’t a lot of room behind the bumpers, so removing them completely is almost required. I did not feel like having to deal with that. Call me lazy.
That leads me to the third option and what I ultimately went with; Matte Black 3M 2080 Vinyl Wrap. I looked through a ton of guides and videos and figured what the hell, I could probably do that. So I ordered up some sheets of vinyl and waited for their arrival.
After prepping the surfaces, I started on the rear valence thinking it would be the more difficult one. It was a narrow but long piece, and it had a bunch of little dips and curves to it. I also had to deal with the cutout for the hitch. Little did I know that the front valence was just biding it’s time, waiting to kick my ass.
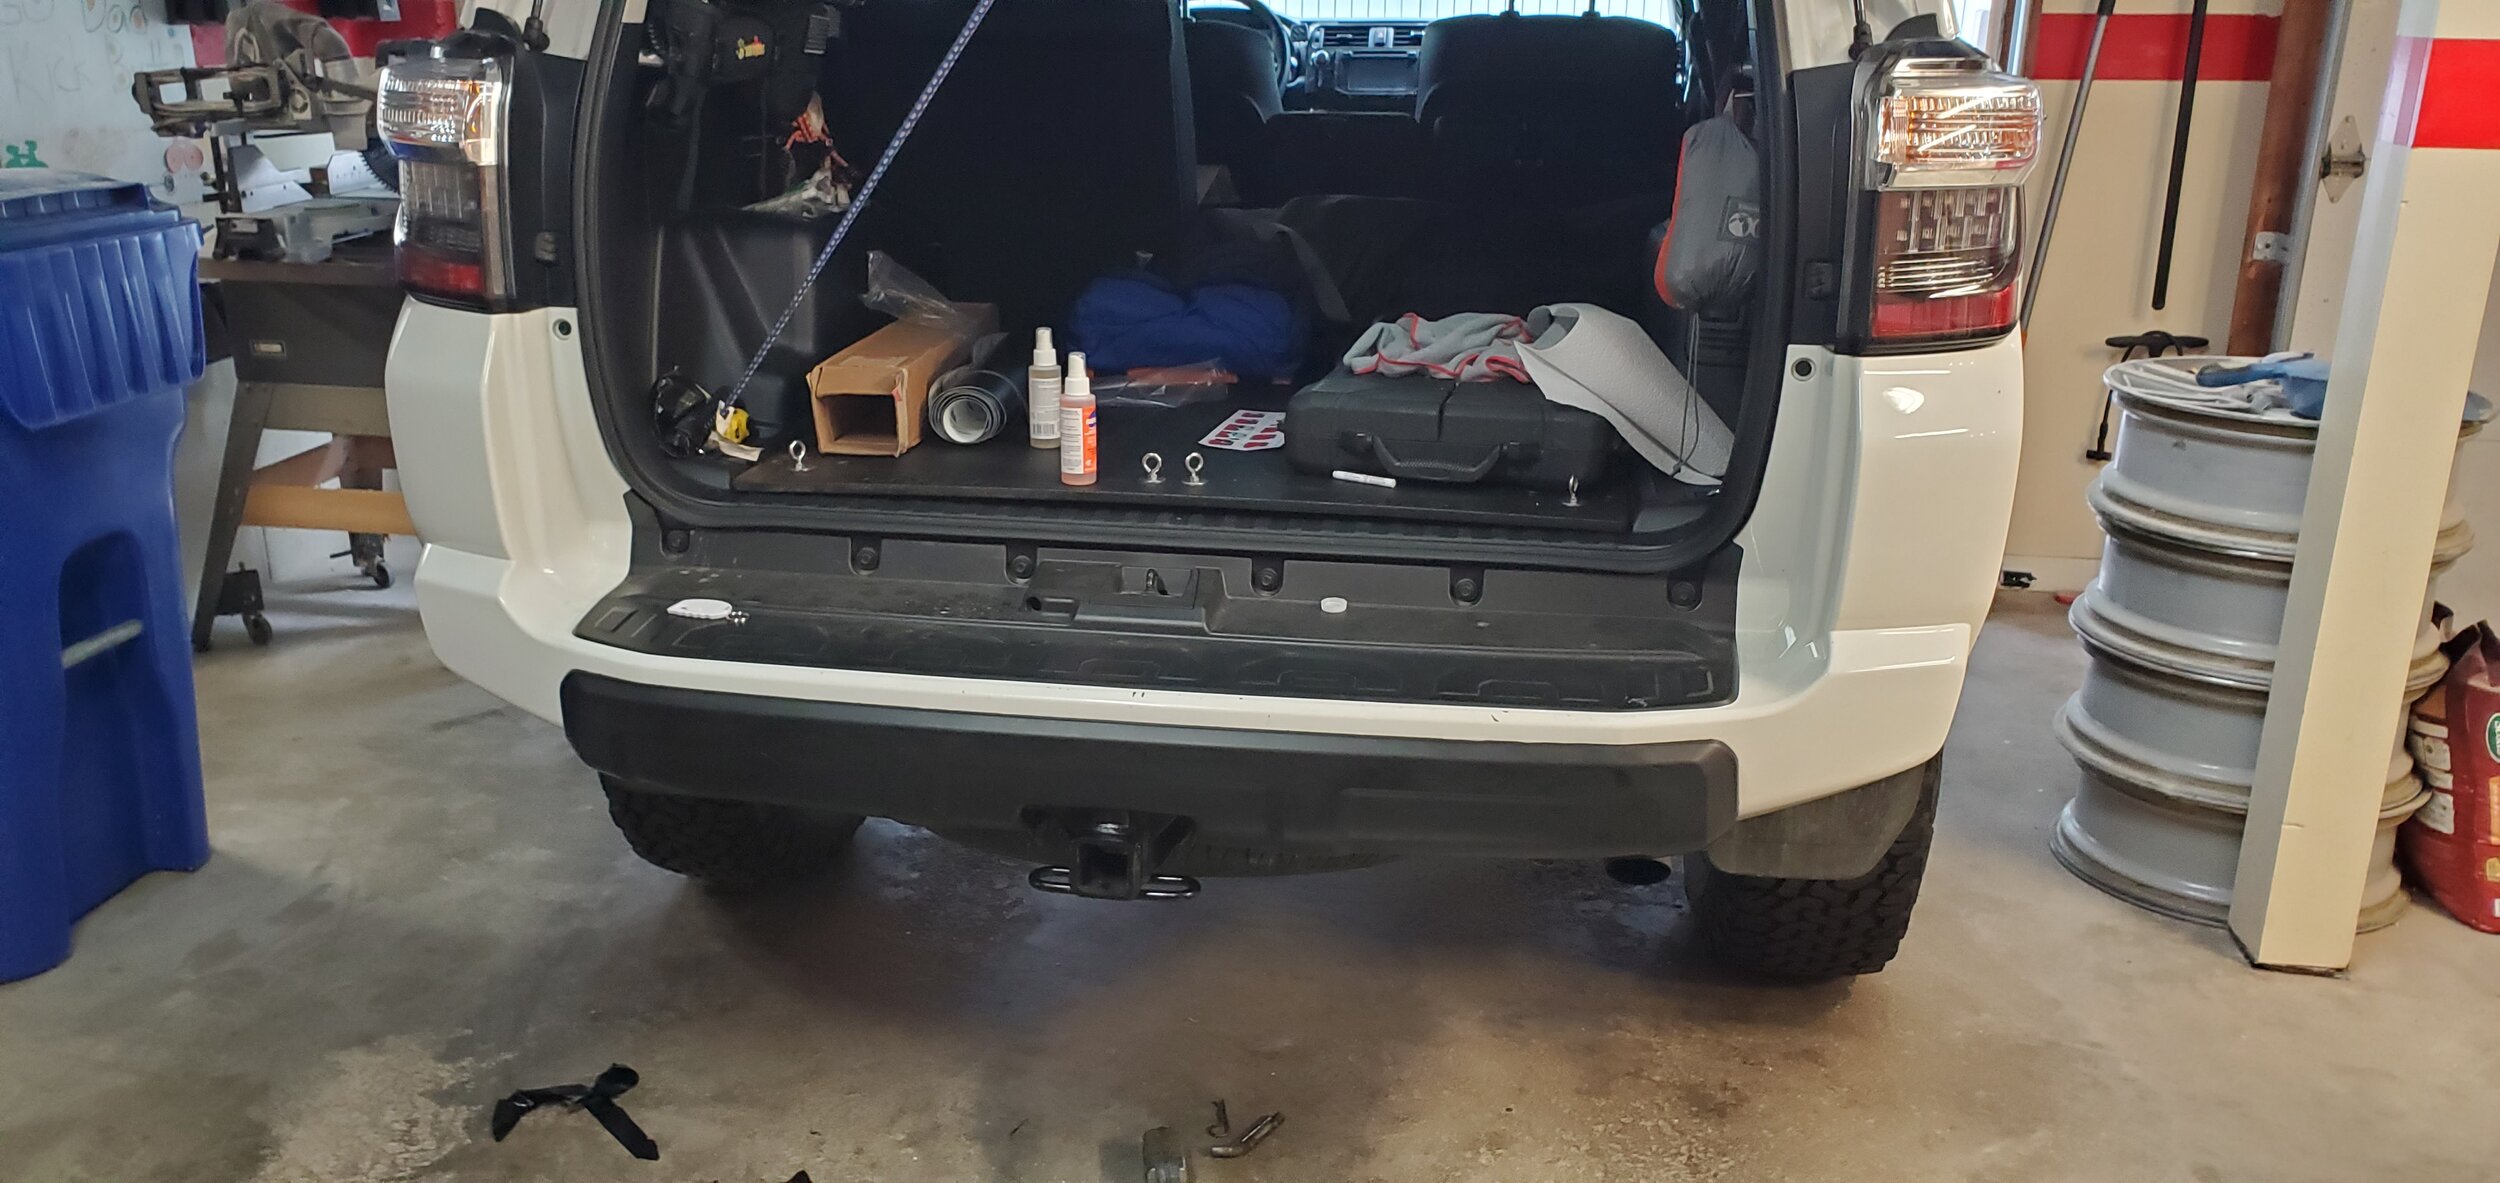
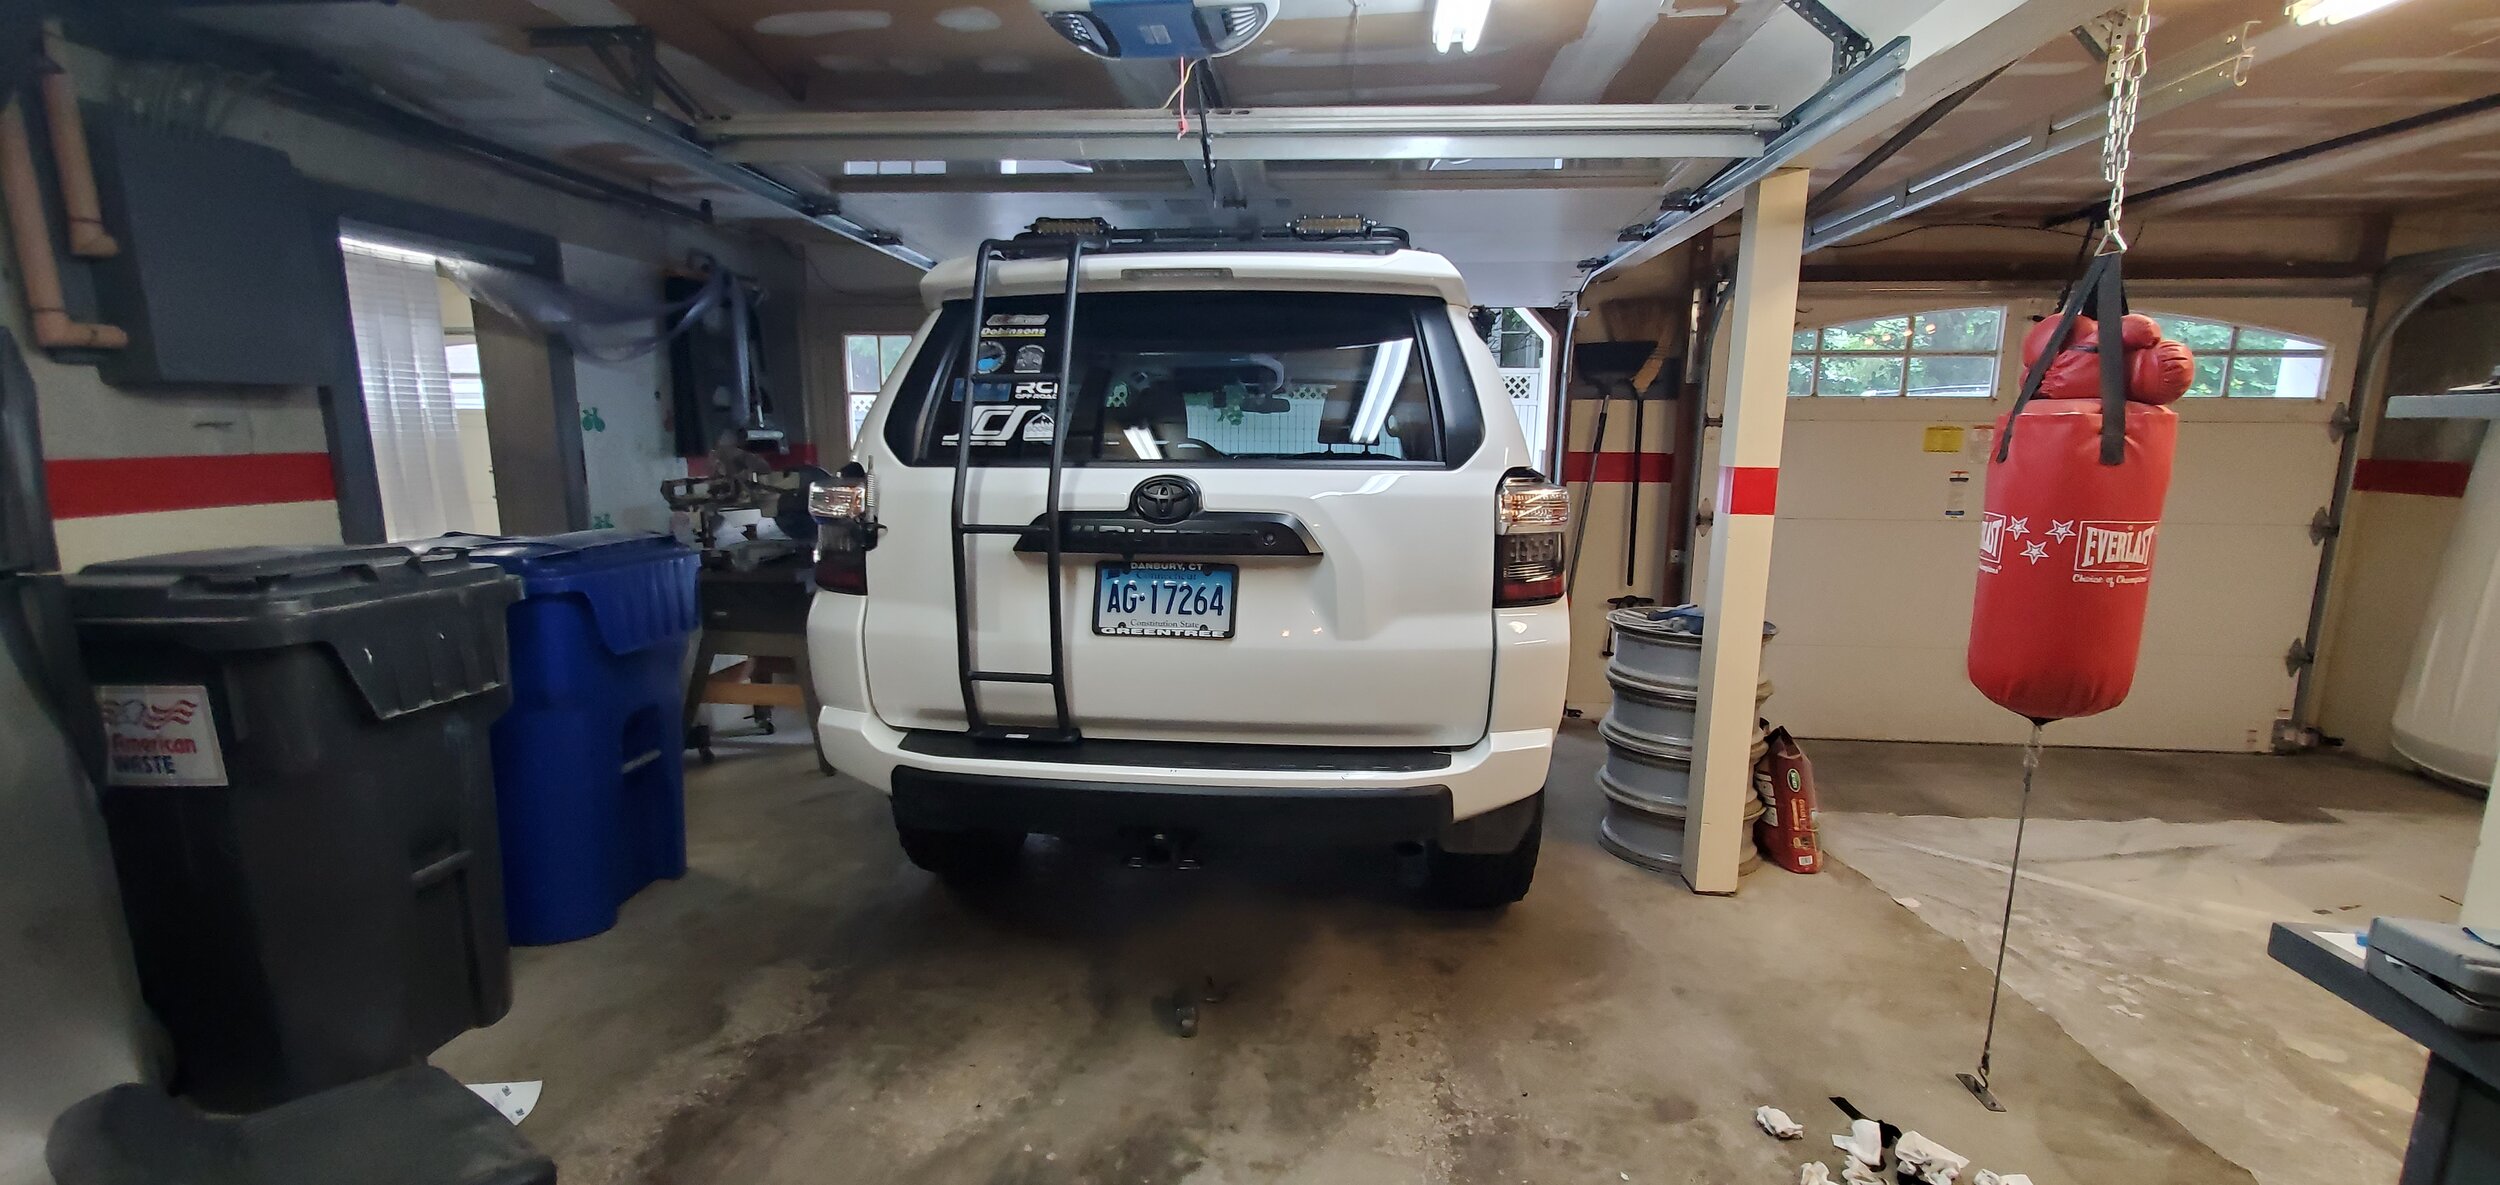
Overall, the rear went on without too much of a problem. Using a heat gun and squeege made this a relatively simply but VERY long process. I started from the middle and worked my way towards the outside and I definitely got better as I went along. There are some minor imperfections and wrinkles on the rear valence, but I wasn’t going to let that hold me back. The only major problems I had on the rear were with the edges. Wrapping around the edges and getting a solid hold without taking the valence off was very difficult, but in the end, I think it came out pretty great.
And now on to the front. The real pain in the ass. I originally went in thinking that this was going to be the easier piece to do. Boy oh boy was I wrong. I started wrapping the front, but the sheer size of the piece really made it difficult to work with alone. On my first attempt, I ran in to an issue were the vinyl actually folded over on to itself and got completely ruined. That pissed me off and I had scrap the entire piece that I was about 50% through. For the second piece, I made sure to tape up certain areas so they couldn’t fall while I was working on the other side. This seemed to work much better and allowed me to work with far fewer problems.
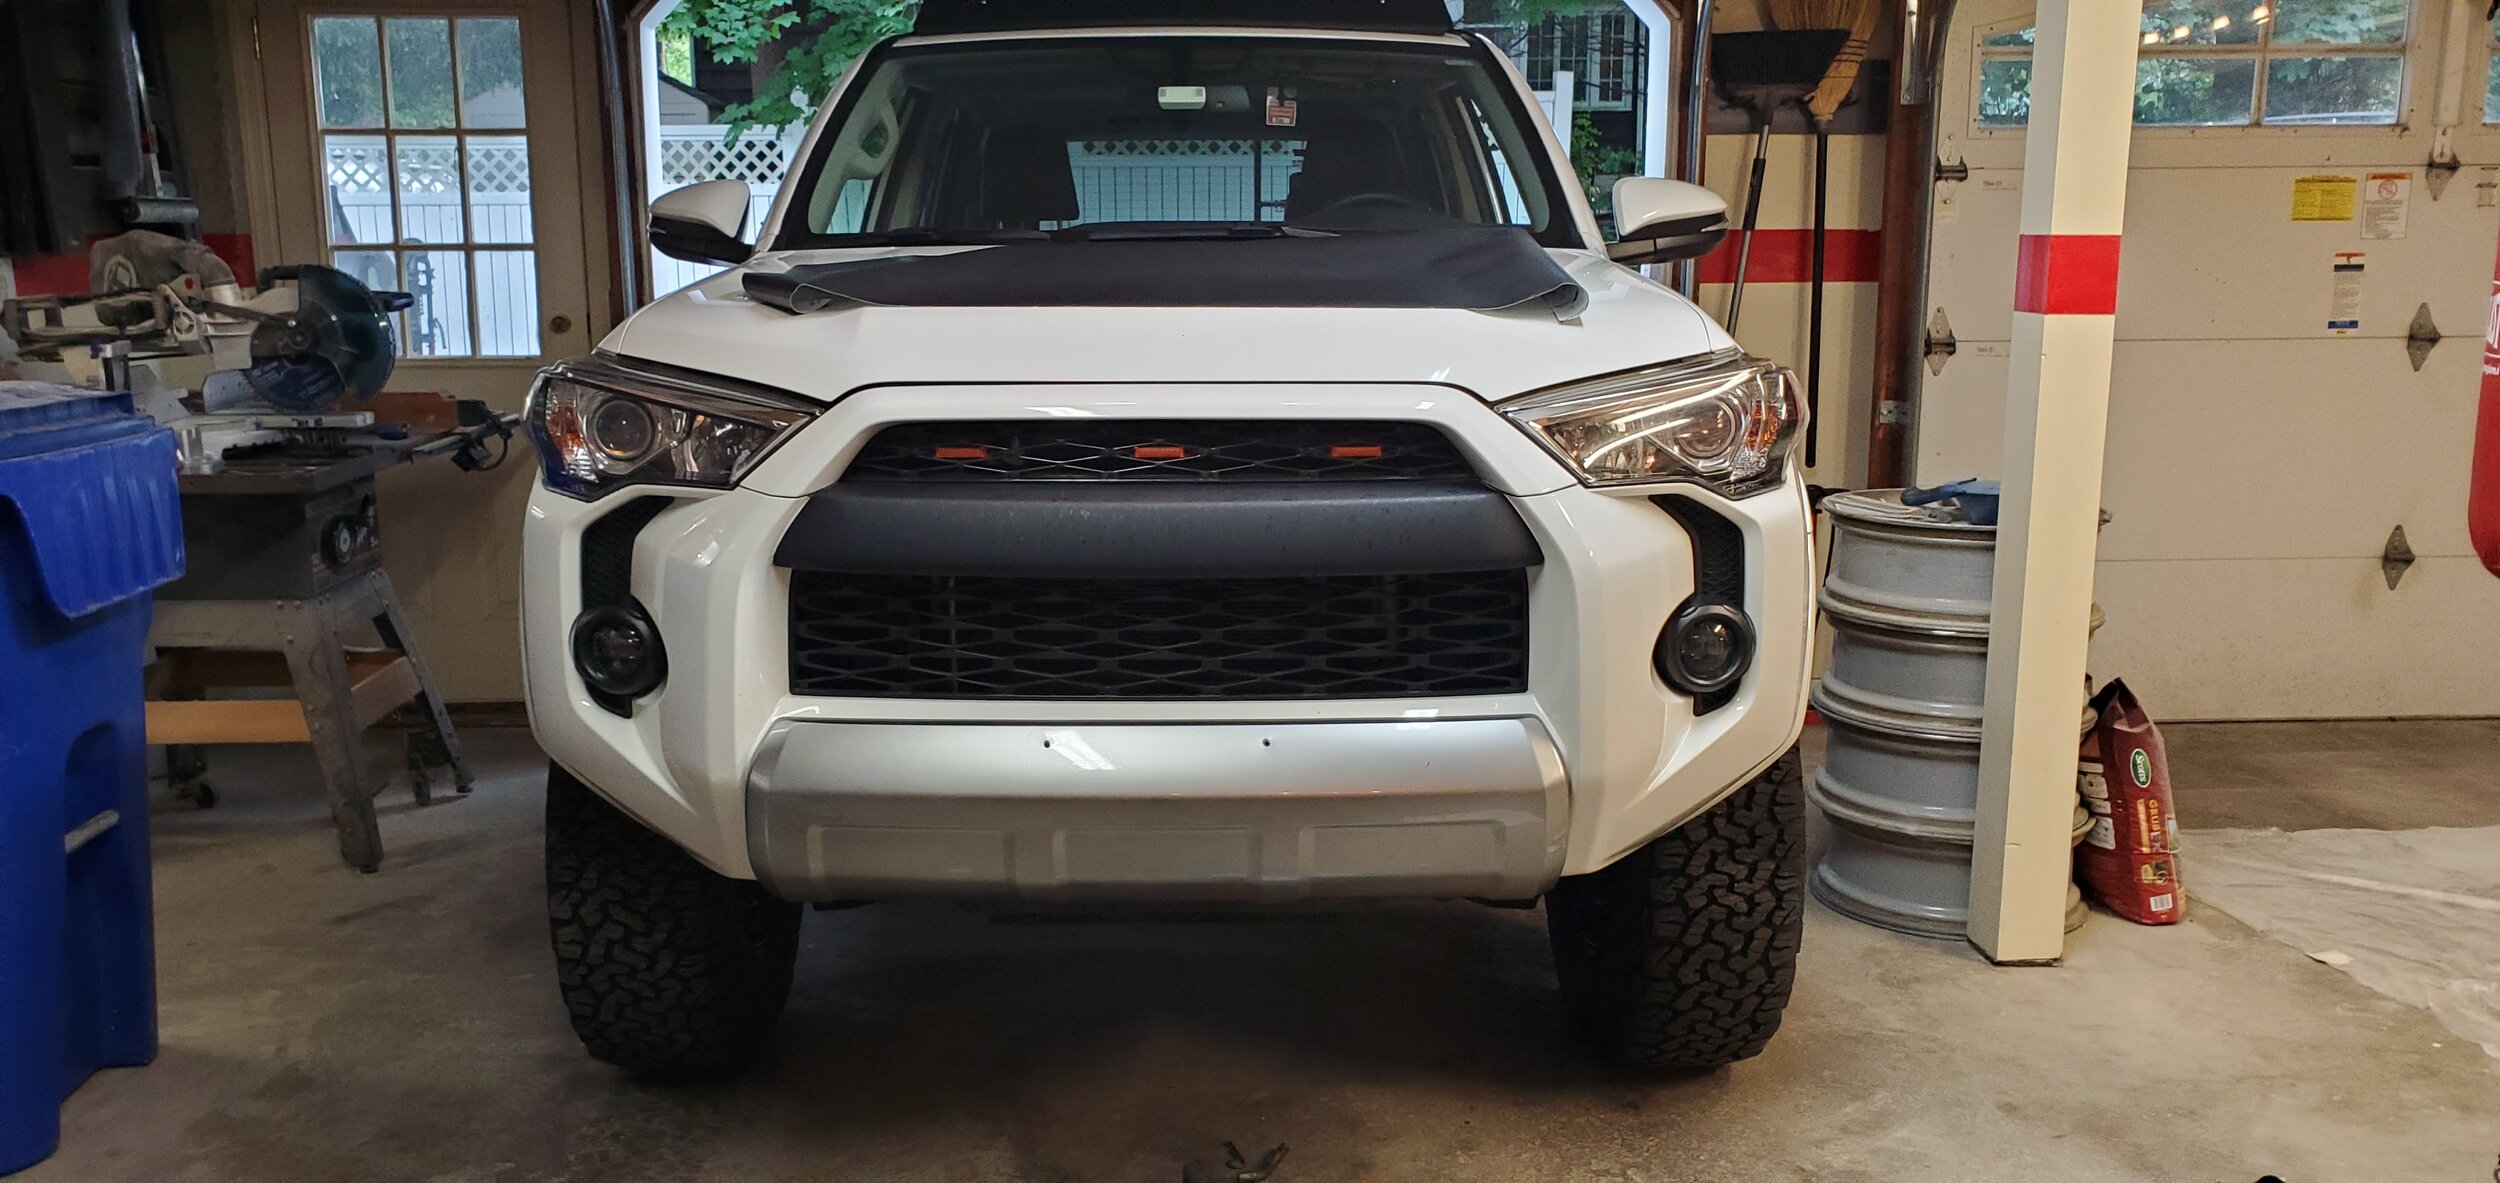
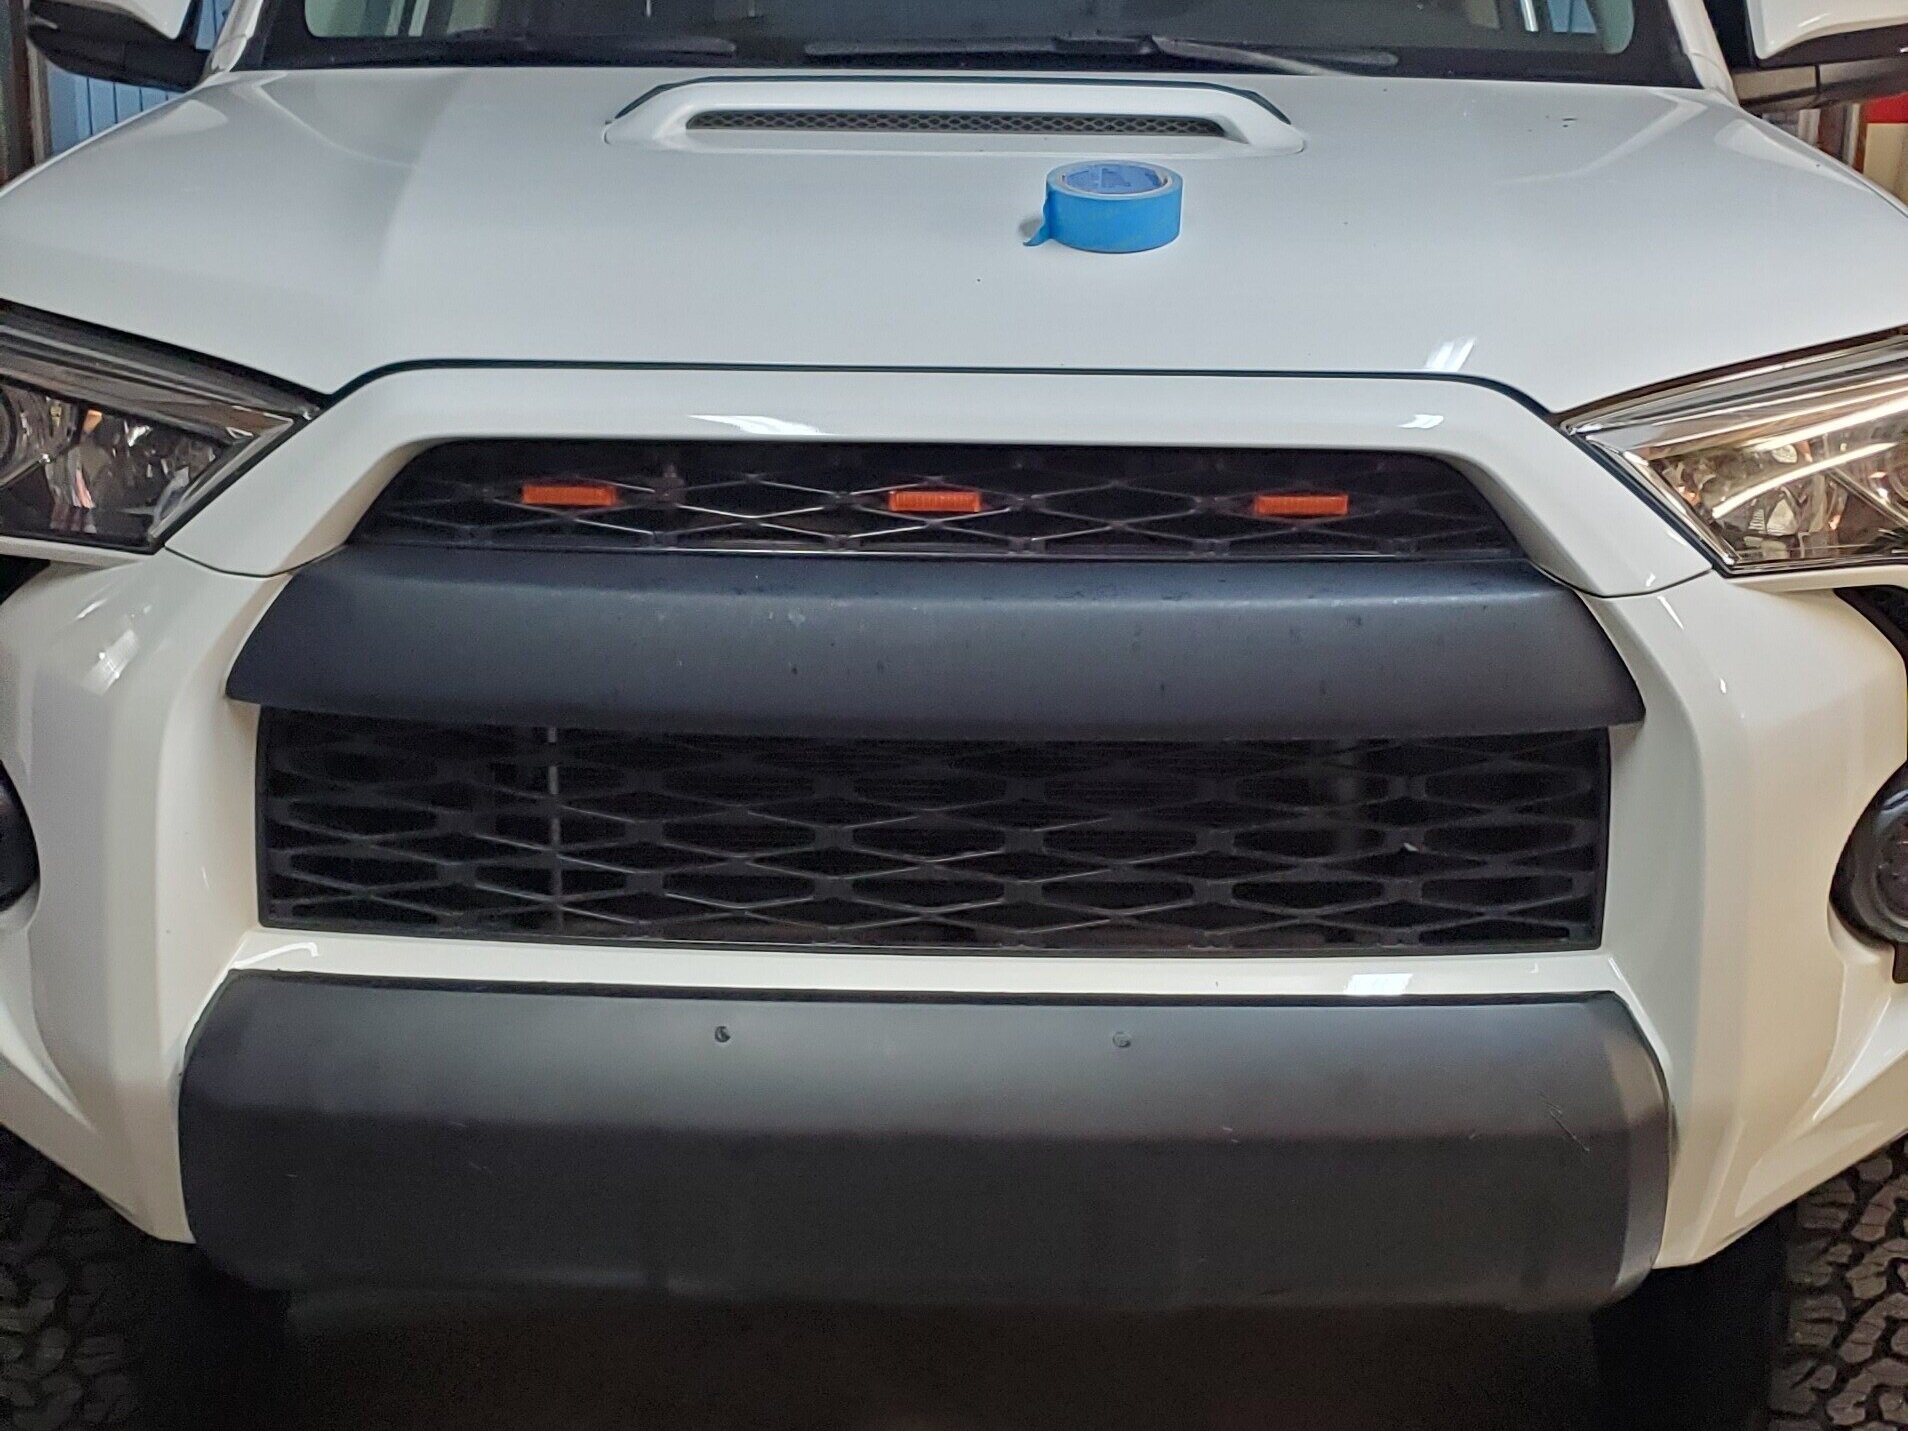

In the end, I was fairly happy with how the front went on. Near the end, I got fed up with how difficult the final corners were being, so I allowed a few large wrinkles to get caught in there. For my first time vinyl wrapping, I am very happy with the results, but only time will tell as to how it holds up. I am hitting the trails of AOAA again in the near future and I am looking forward to seeing how the vinyl will handle pinstripes, rock gashes, and mud puddles.